Table of contents
- Install Ubuntu on macOS (For Apple Silicon)
- Install Ubuntu on Windows 10
- Install Ubuntu on macOS and Windows (Not for Apple Silicon and Windows 10)
Ubuntu is a complete Linux operating system, freely available with both community and professional support. This document will show you how to install Ubuntu on your machine (macOS and Windows).
Install Ubuntu on macOS (For Apple Silicon)
If you’re using Apple Silicon (Check if you’re using Apple Silicon), you need to install another tool like multipass to get Ubuntu on it.
Download Multipass
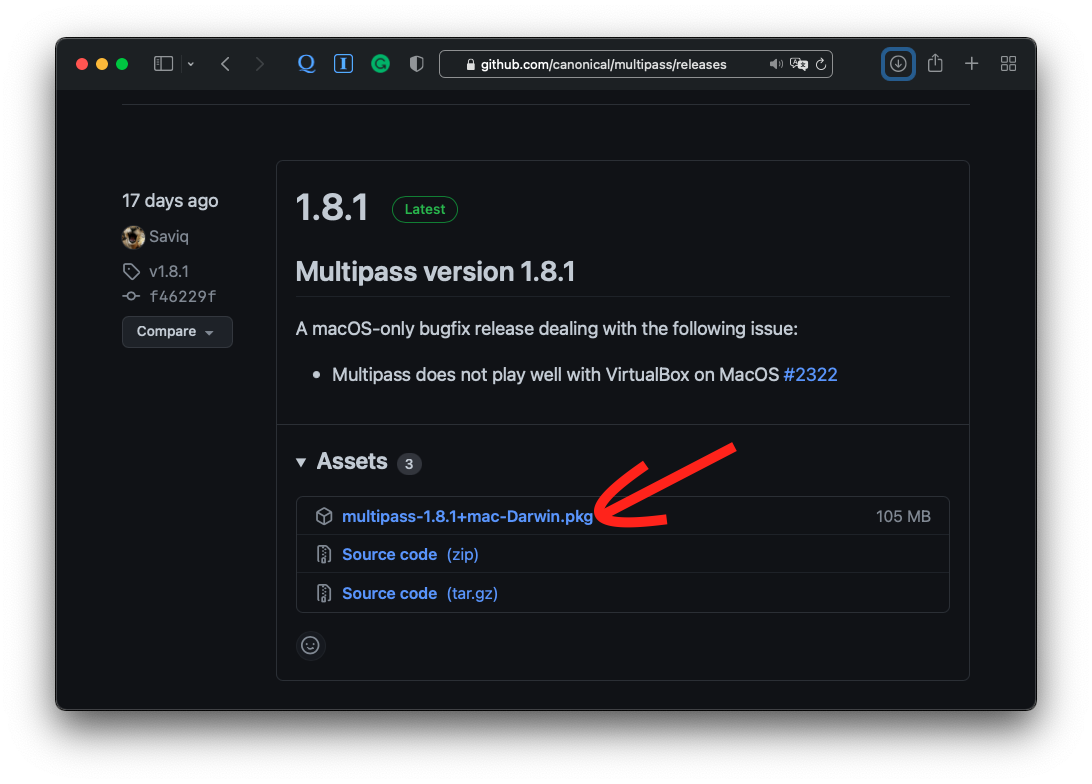
Go to the Multipass download page and download the latest version of Multipass. When this page was written, the current released version was 1.8.1.
Install Multipass

Start and Launch an Ubuntu Instance
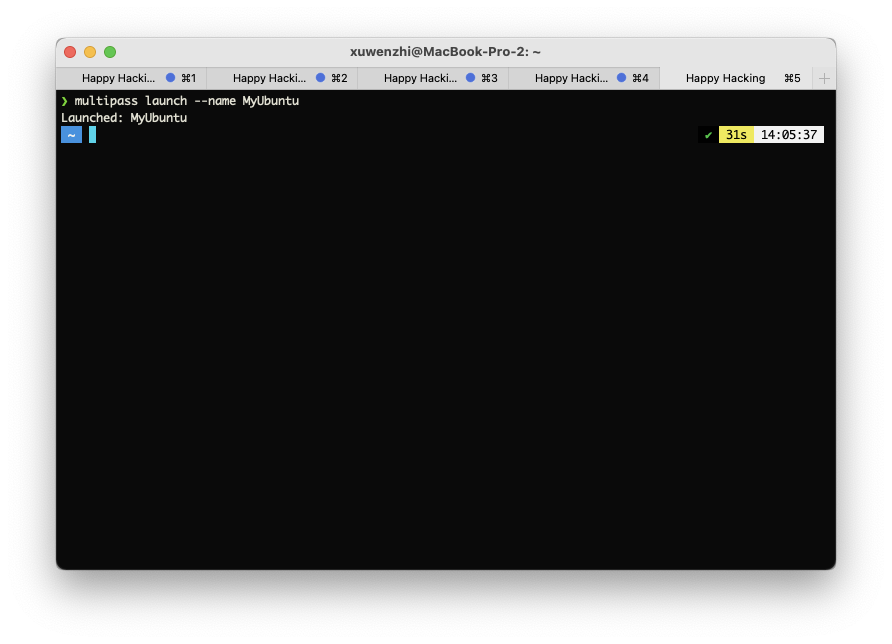
After you install multipass, you will get a multipass command in your machine. Execute the multipass launch command to start and launch a new Ubuntu instance.
Enter your Ubuntu instance
After launching a new Ubuntu instance, you can execute multipass shell {Your Instance Name} to enter Ubuntu.

More Multipass Commands
Install Ubuntu on Windows 10
1. Install Ubuntu LTS from Microsoft Store
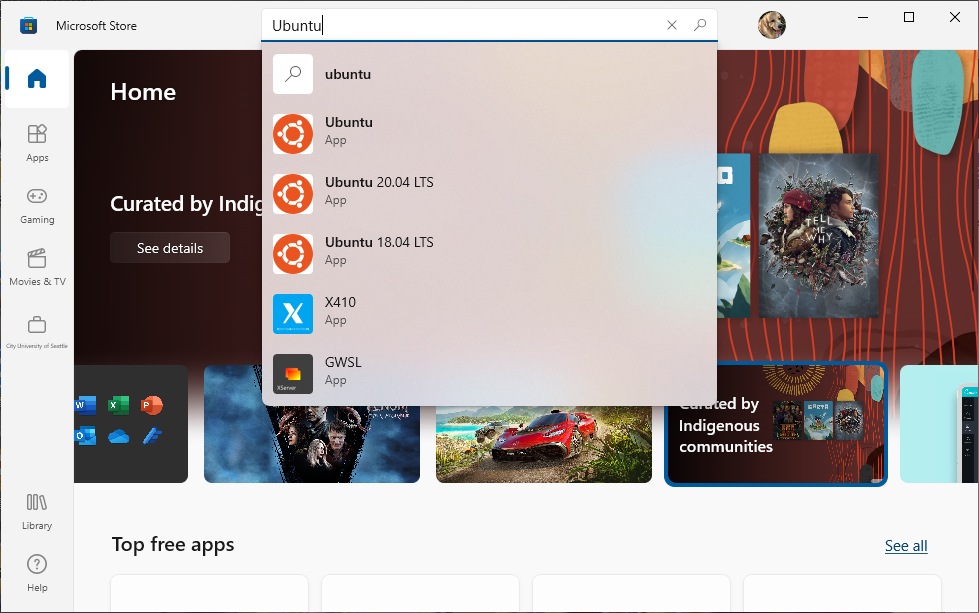
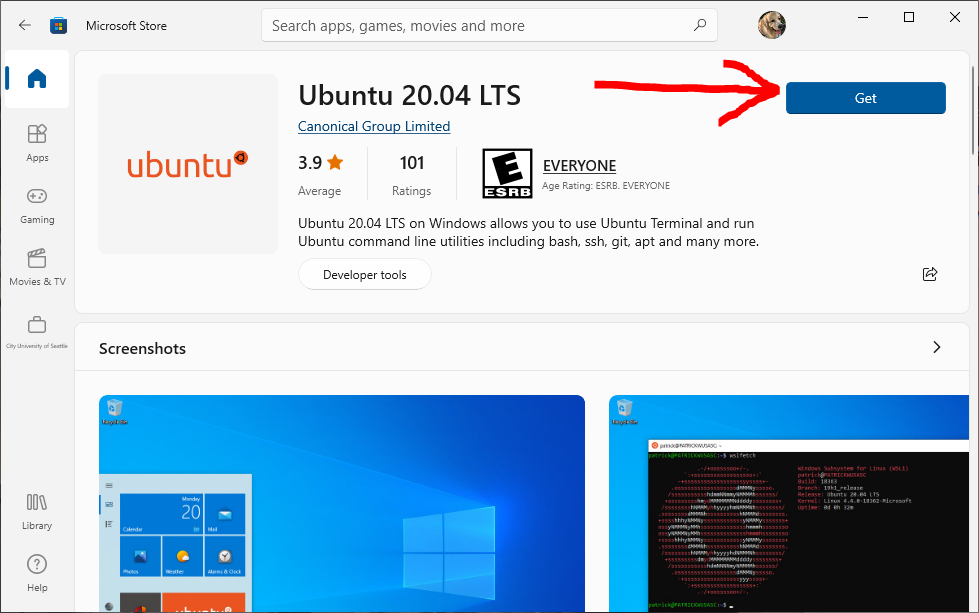
Open the Microsoft Store and search Ubuntu on the search bar. Some Ubuntu apps will come up. Click the latest version of Ubuntu. As of writing this page, the latest version was Ubuntu 20.04 LTS.
Click the “Get” button to install it. It will take a few minutes depending on your Internet speed.
2. Initialize your Ubuntu
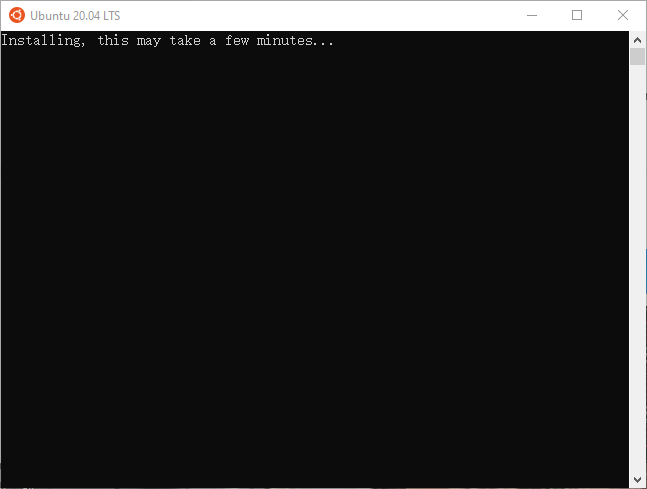
After installing Ubuntu on your Windows 10 device, open it. It will do some initial work for the first time.
Note: If any of the below errors occur, follow the resolution at the bottom of the page. 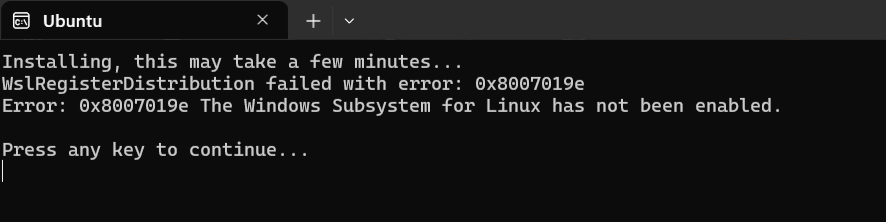

Continuing if no errors occur:
After a few minutes, enter your Ubuntu OS username and password as you wish. For example, mark or mike.
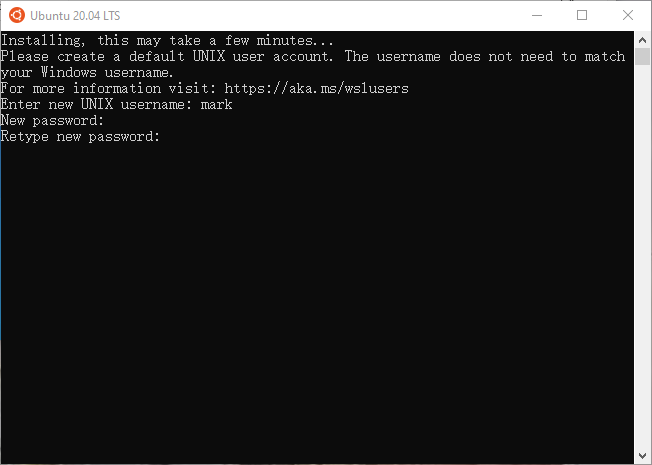
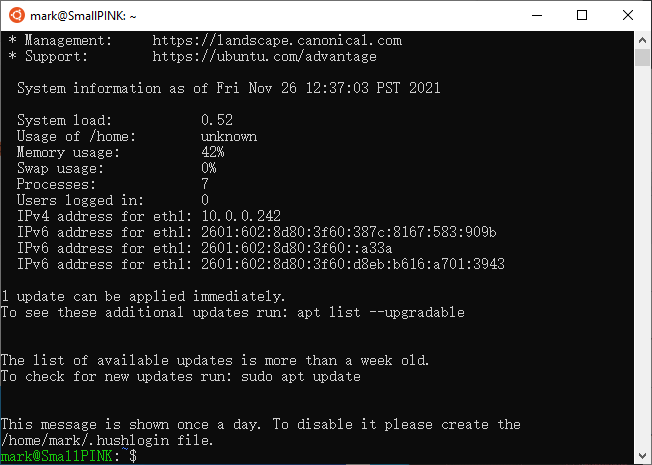
If you can see a similar window like this, you have installed the Ubuntu OS successfully.
Install Ubuntu on macOS and Windows (Not for Apple Silicon and Windows 10)
If you’re using Windows 10, please see Install Ubuntu on Windows 10
What you will need
- VirtualBox (If you don’t have VirtualBox installed, please follow this link to install it.)
- Internet Connection
- Ubuntu ISO file
Get started
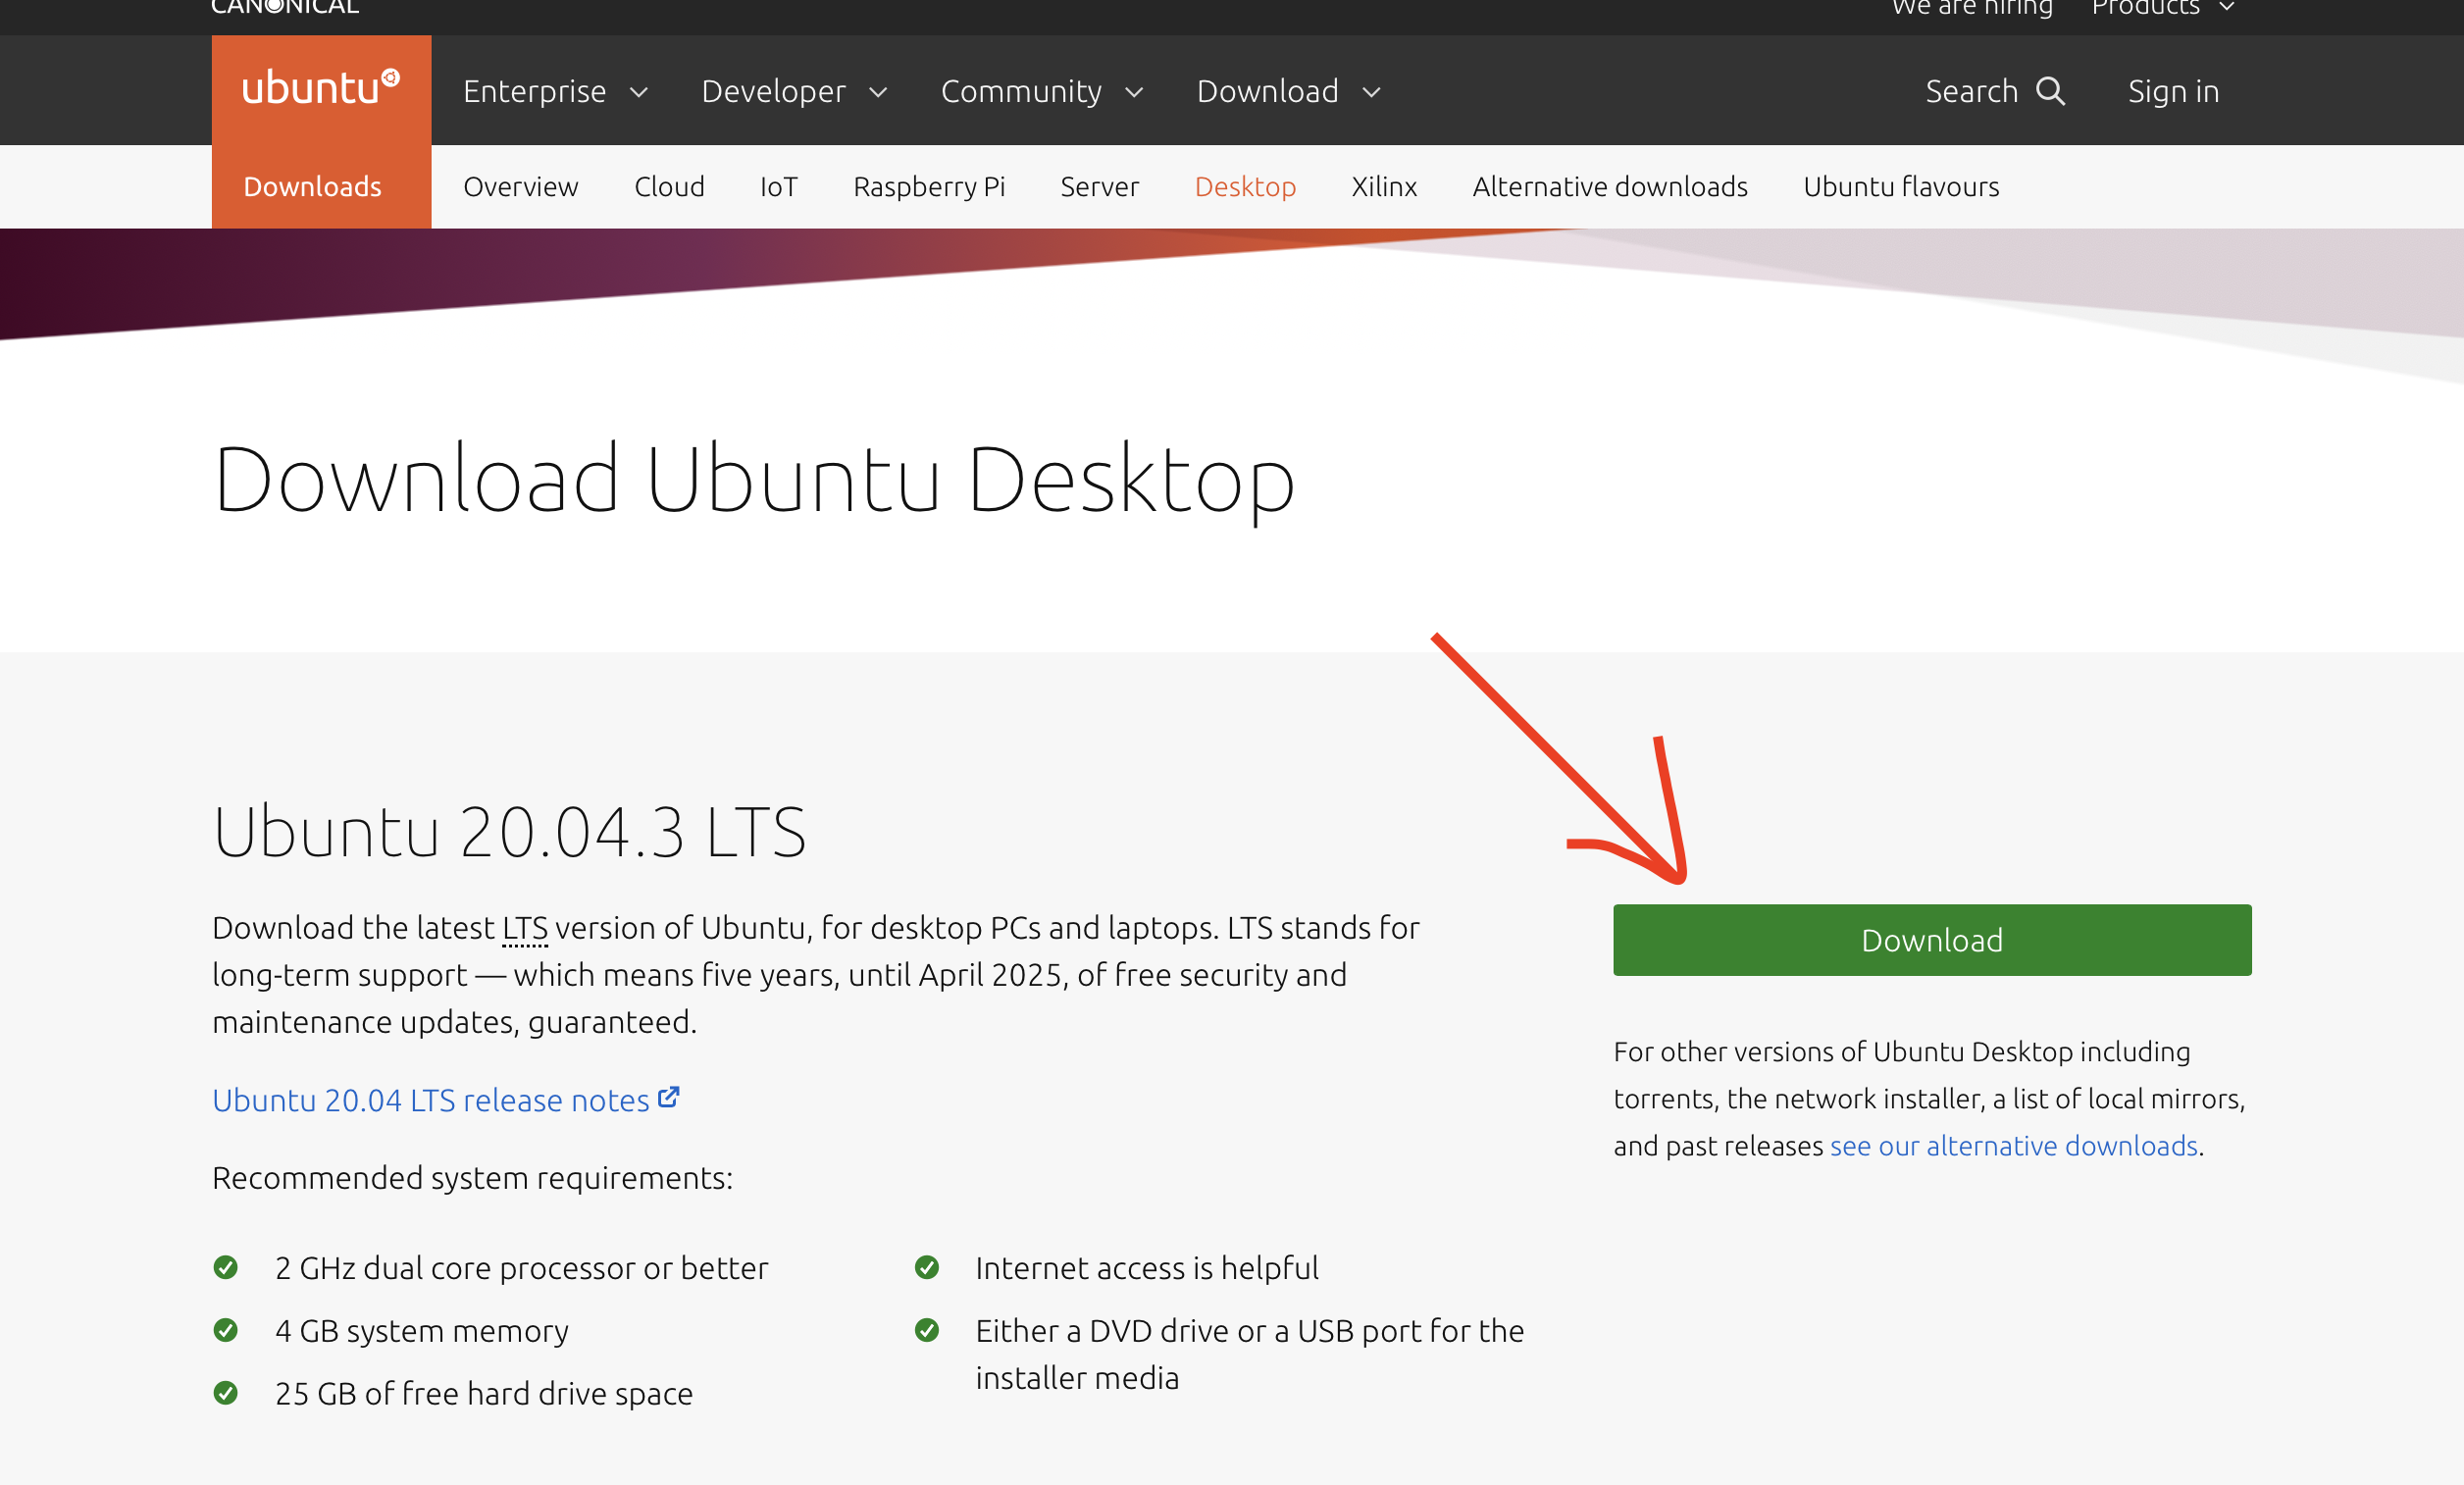
Download Ubuntu ISO
Go to the Download Ubuntu Desktop page and choose to download the latest version of the Ubuntu OS image.
The file will be more than 3 GB which will take a while to download. You can download it to the ~/Downloads folder or anywhere you know. We will use it later.
Open your VirtualBox in your machine

Click the “New” button, and choose to install Ubuntu
- Input your Ubuntu OS name
- Choose the Linux Type
- Choose the Ubuntu_64 version
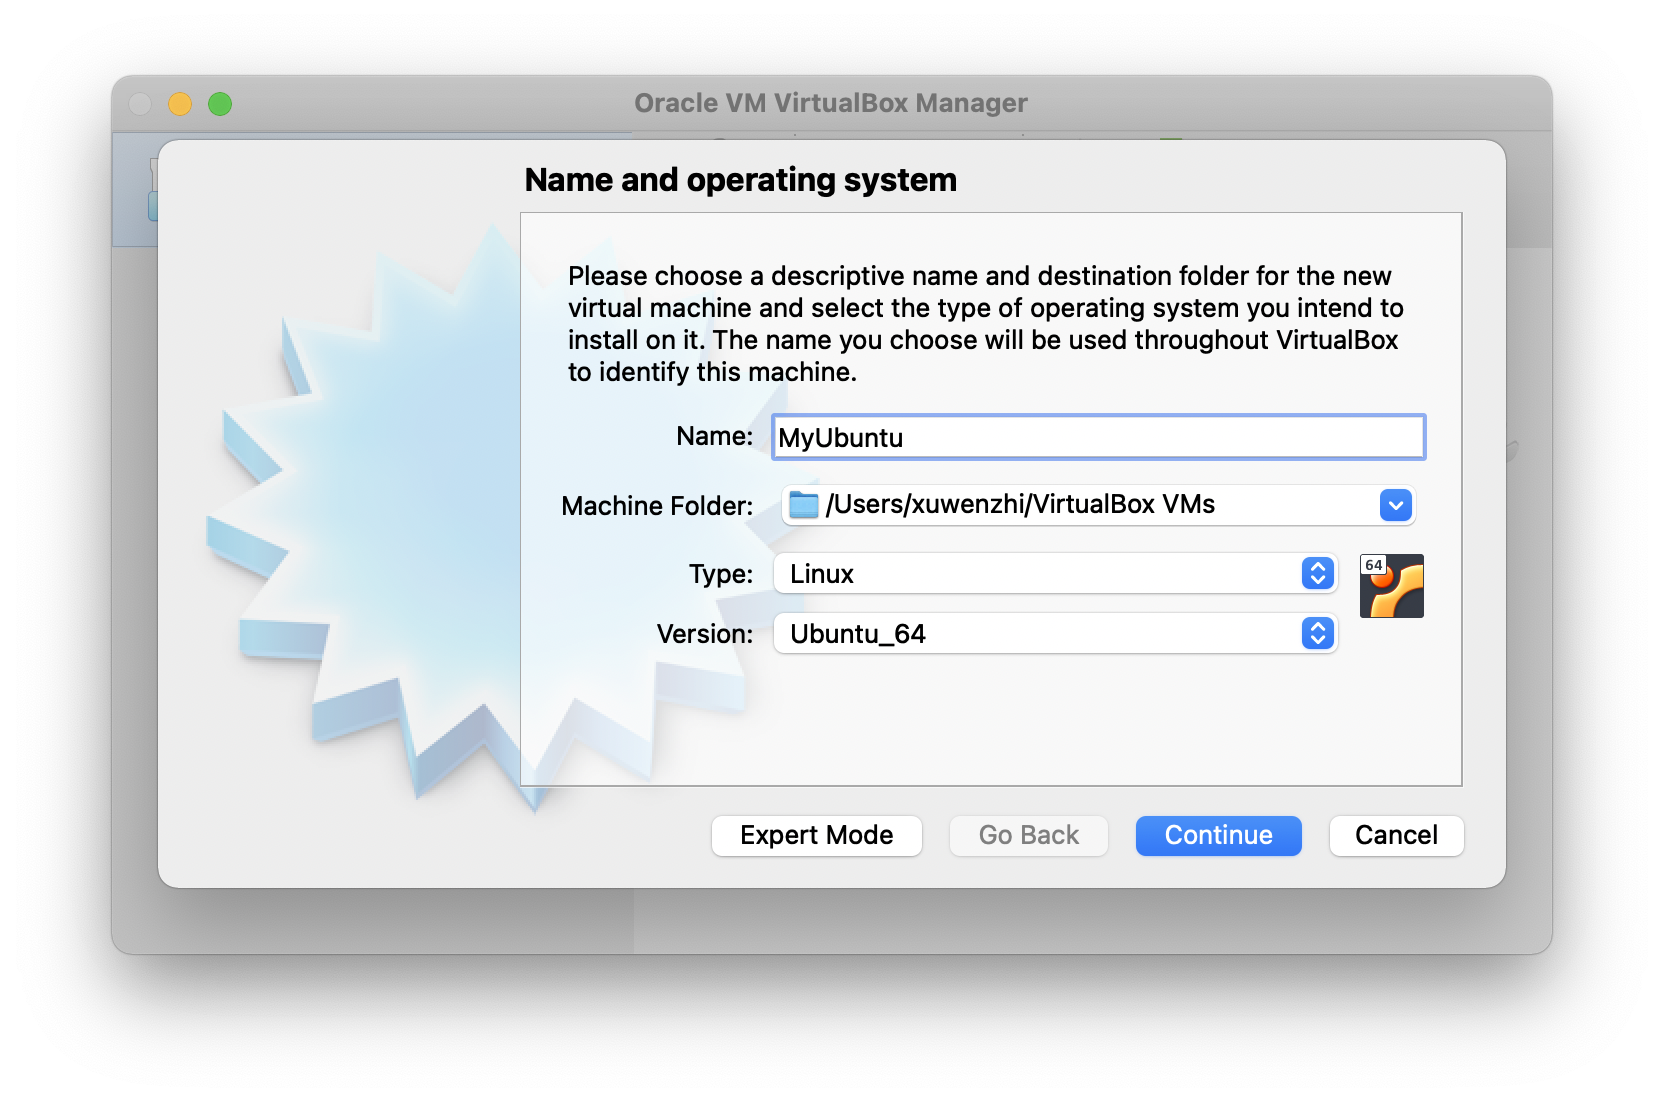
Then, click “Continue”.
Choose Memory Size
The memory size will influence the performance of your Ubuntu. You can just use the recommended memory size - there’s no need to change it.
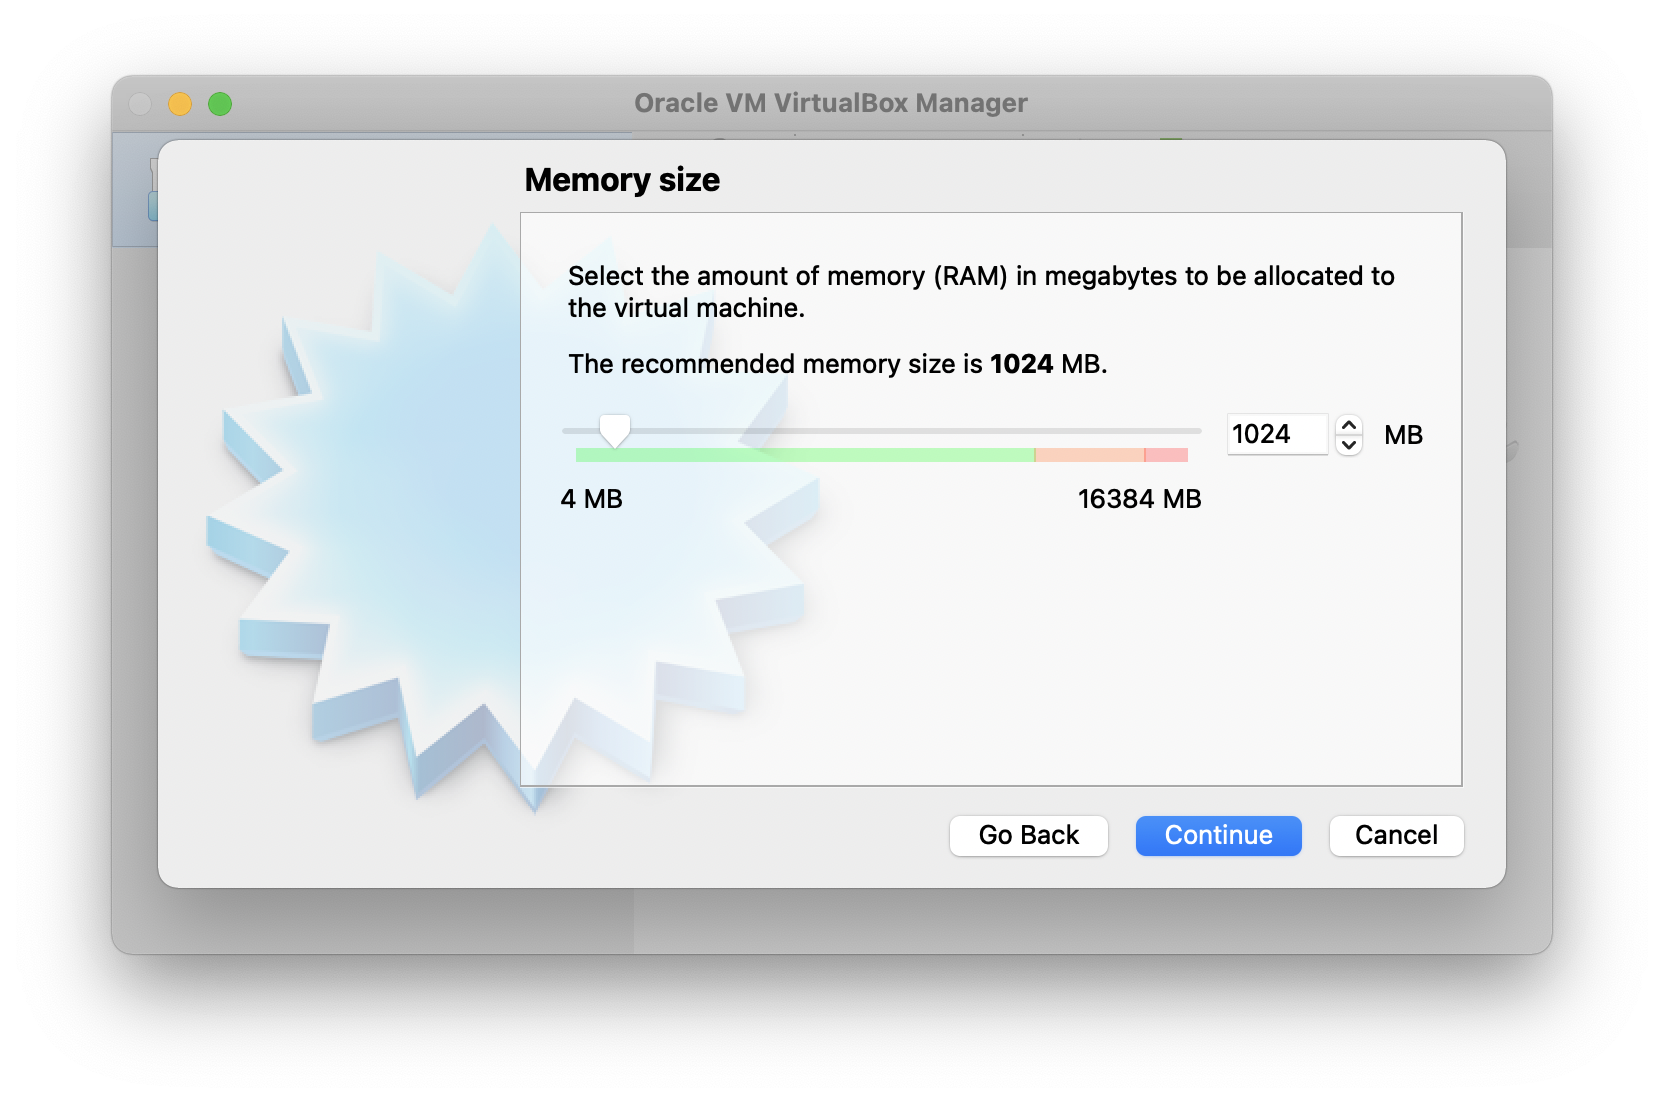
Then click “Continue”.
Create Hard Disk
The hard disk is used for storing data inside your Ubuntu OS. Choose the “Create a virtual hard disk now” and click “Create”.

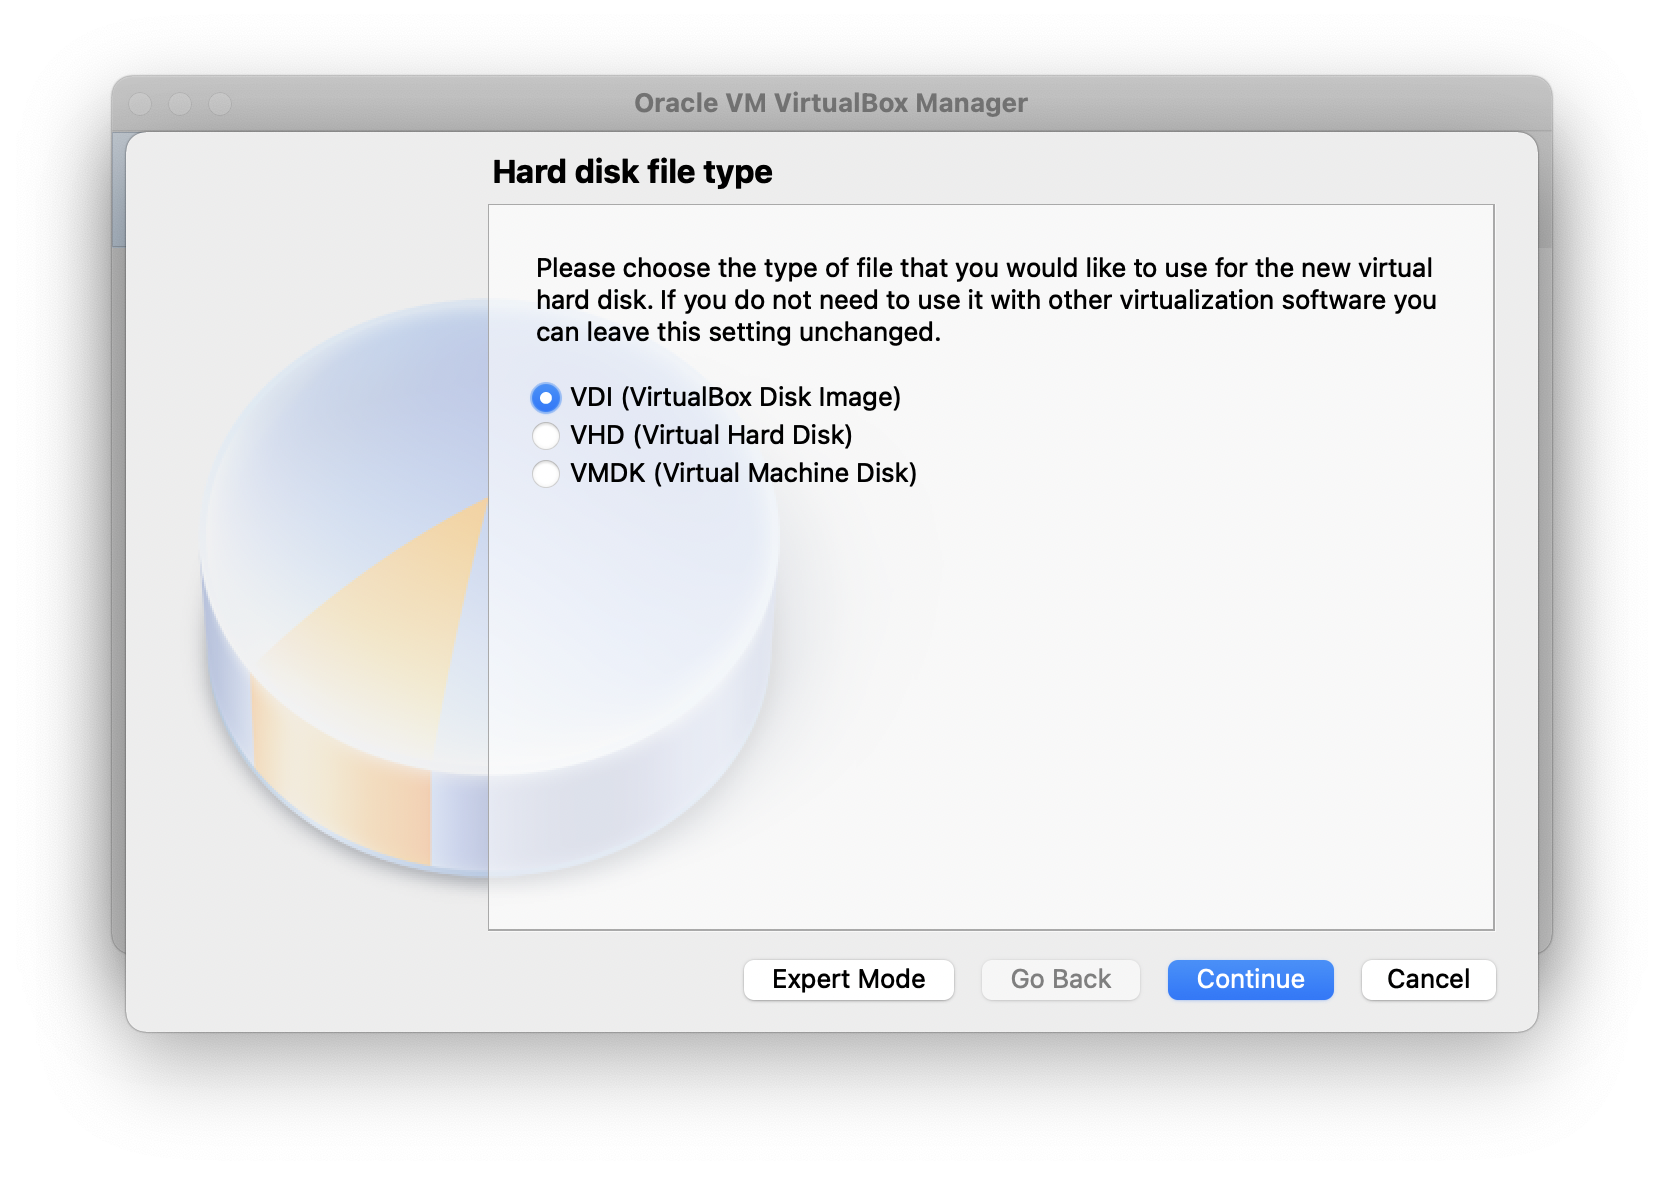
Choose Hard Disk File Type
You don’t need to change this setting. Just use the default option “VDI (VirtualBox Disk Image)” and click “Continue”.
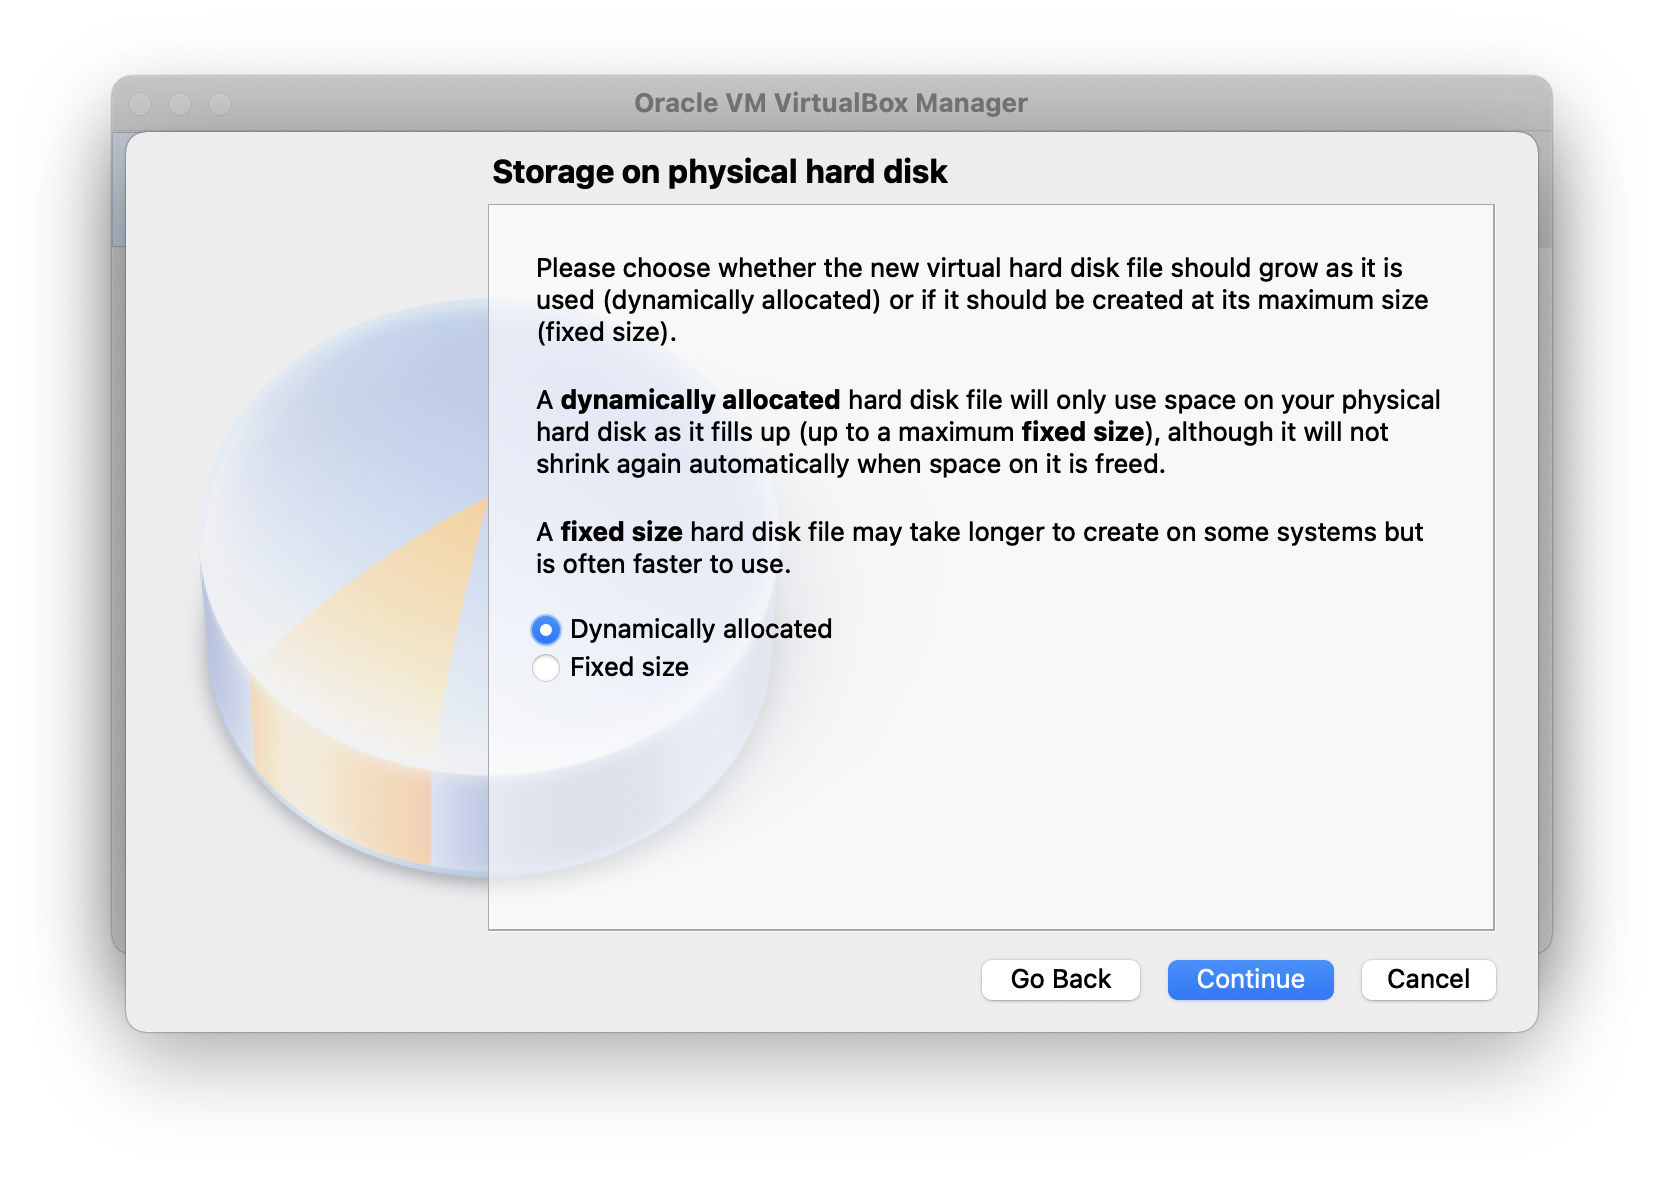
Choose Storage on Physical Hard Disk
Use “Dynamically allocated” that will save the storage on your machine. Then click “Continue”.
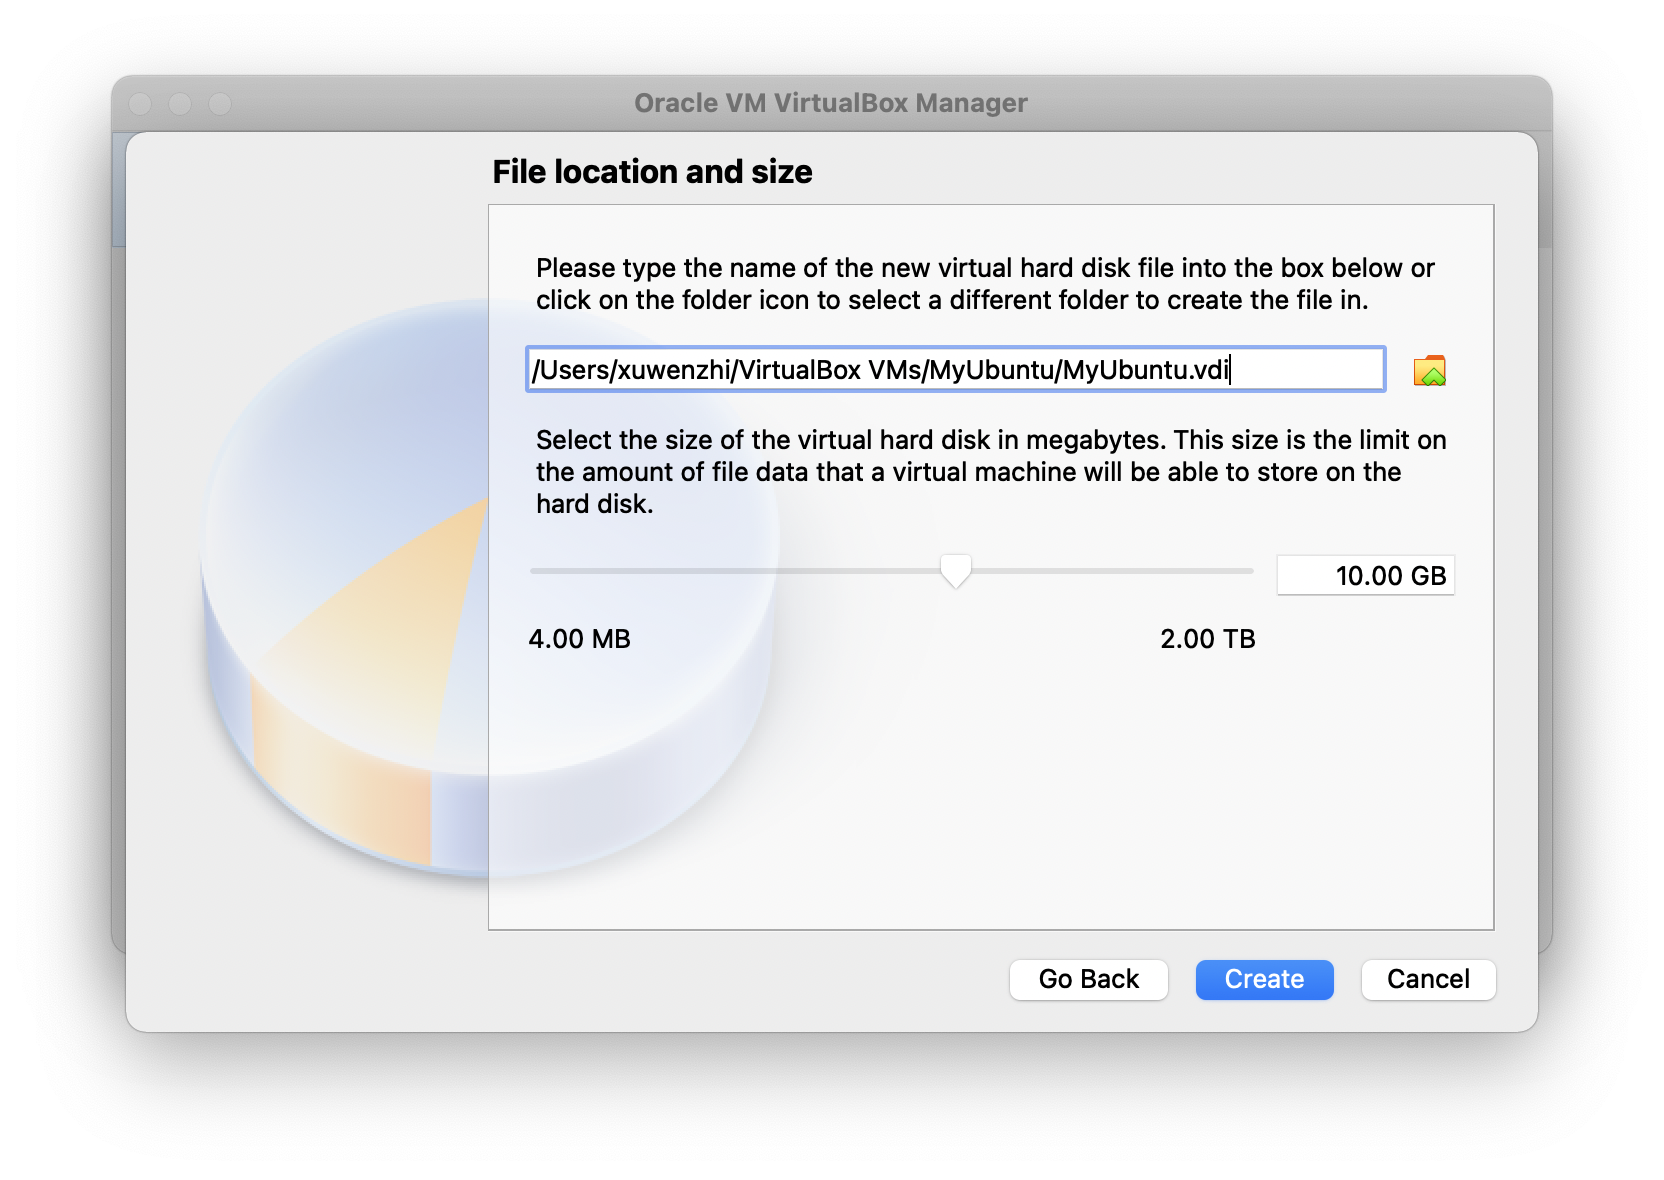
Choose File Location and Size
We will store all the data produced from Ubuntu to the ~/VirtualBox VMs/ directory. Just use the default path and then click “Create”.
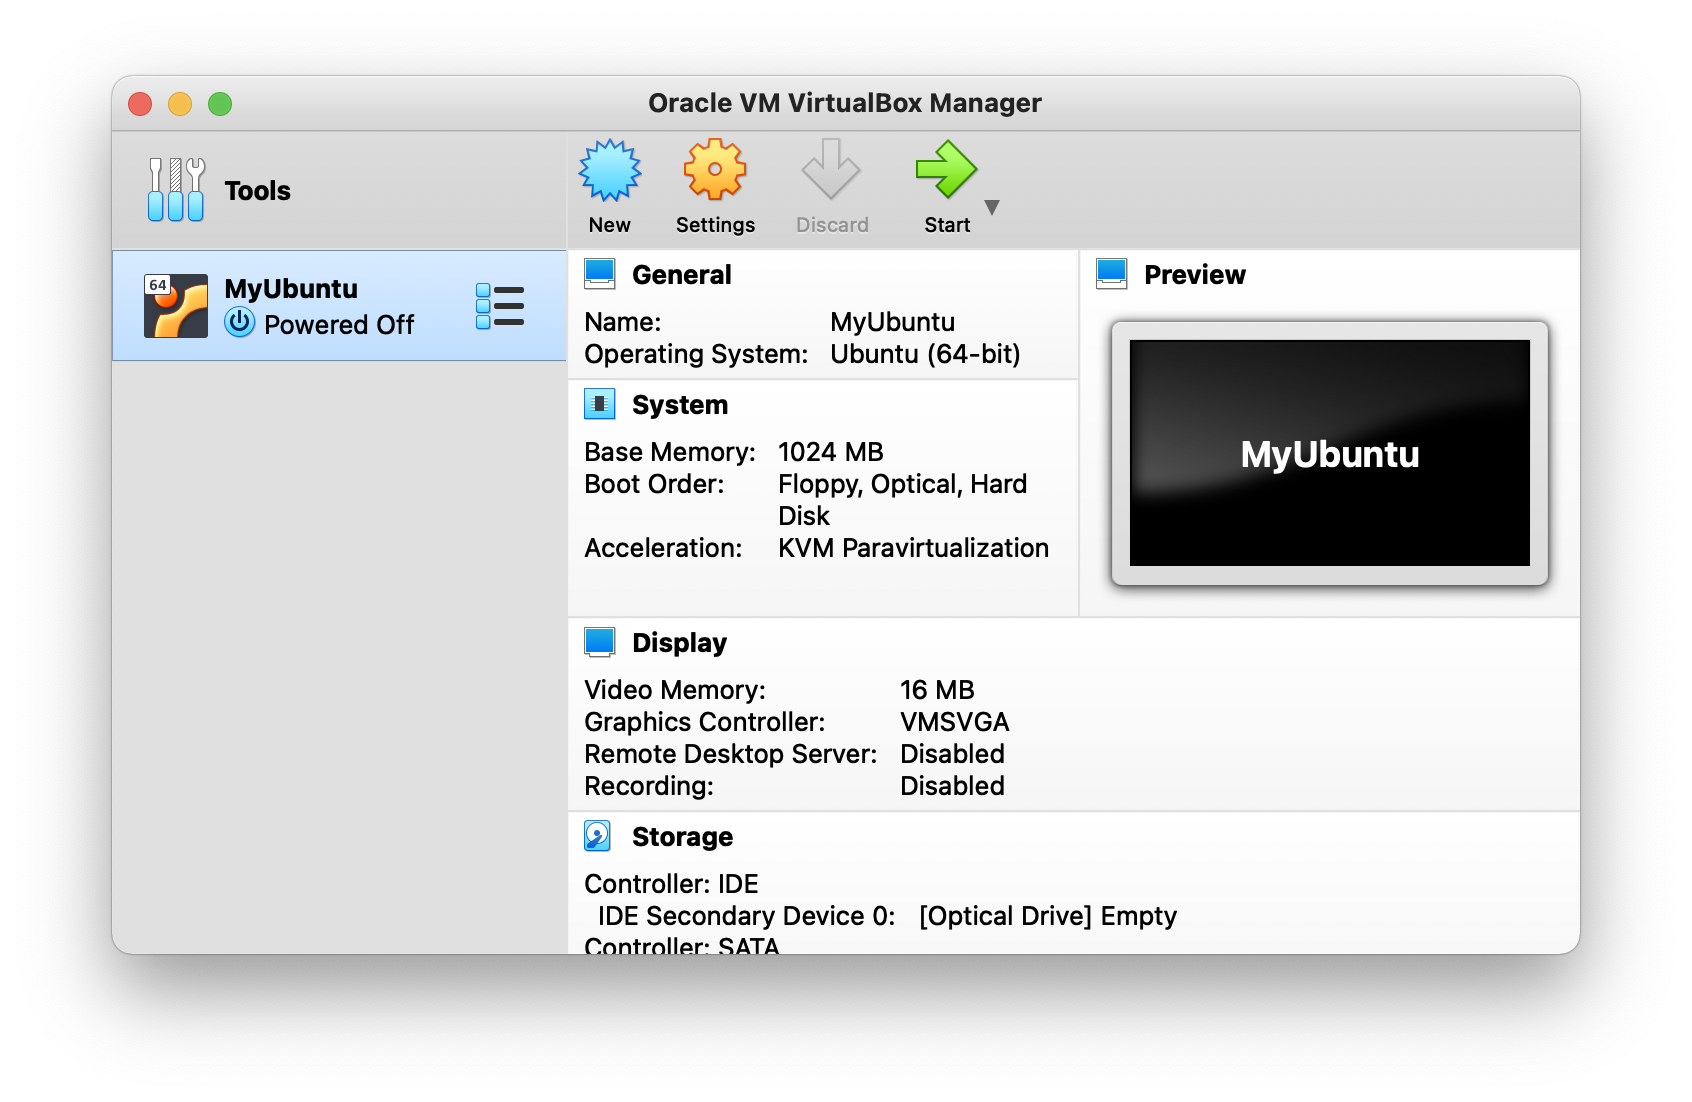
Attach the ISO file
If everything works, you should see that your Ubuntu OS has been installed. However, we still cannot boot the Ubuntu OS. We need to attach the ISO file that we downloaded before.
Click the “Settings” button. Select Storage->Contorller: IDE -> Empty and click that blue button. Then click “choose a disk file”.

After attching the ISO file to your Ubuntu, click the “OK” button. Then go back to the VitualBox dashboard and click “Start”.
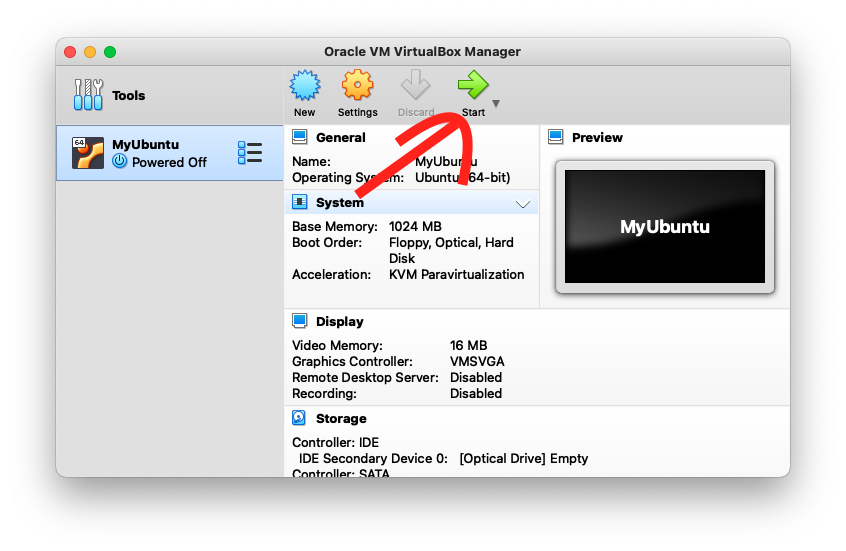
If there are no other problems, you have successfully installed Ubuntu on your machine.
Common errors of Ubuntu installation on Windows
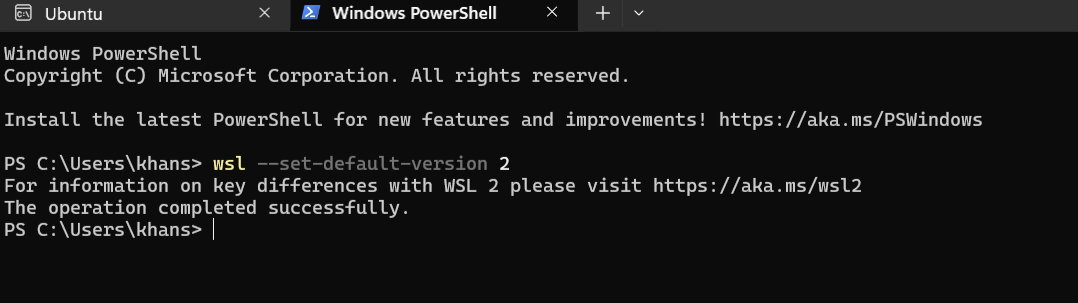
If common errors like, ‘WSL has not been enabled’ or ‘WSL 2 requires an update’ occur follow these steps:
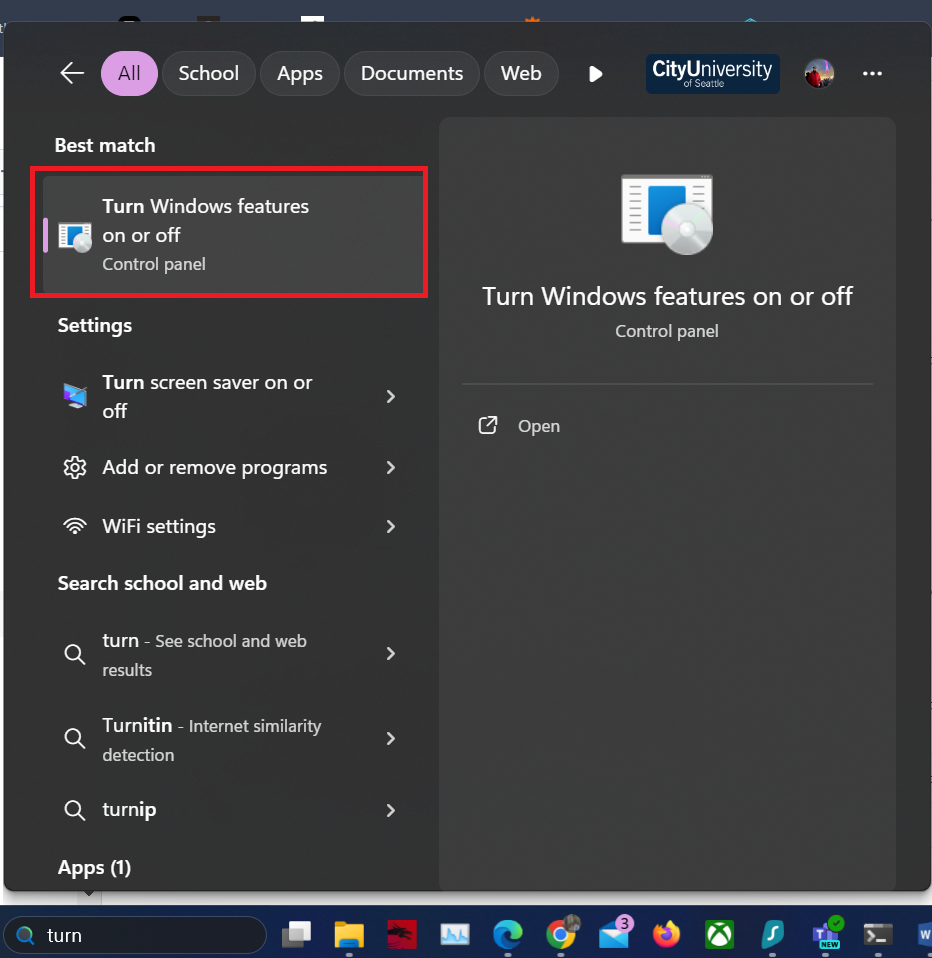
Click on the Windows button and search ‘Turn Windows Features on or off’.
Scroll down and make sure the options ‘Virtual Machine Platform’ and ‘Windows Subsystem for Linux’ are checked.
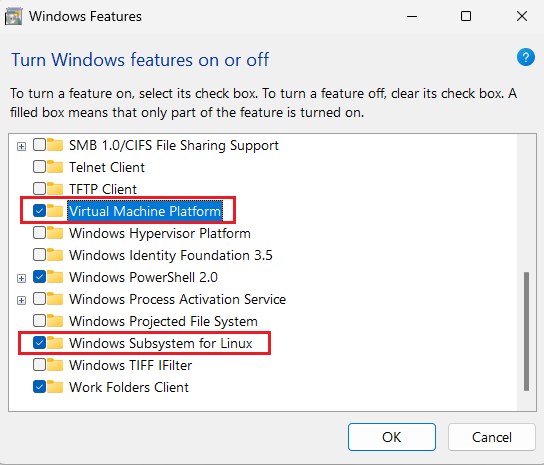
Select OK and when prompted click ‘Restart Now’.
After the restart, open the command line interface with Admin access.
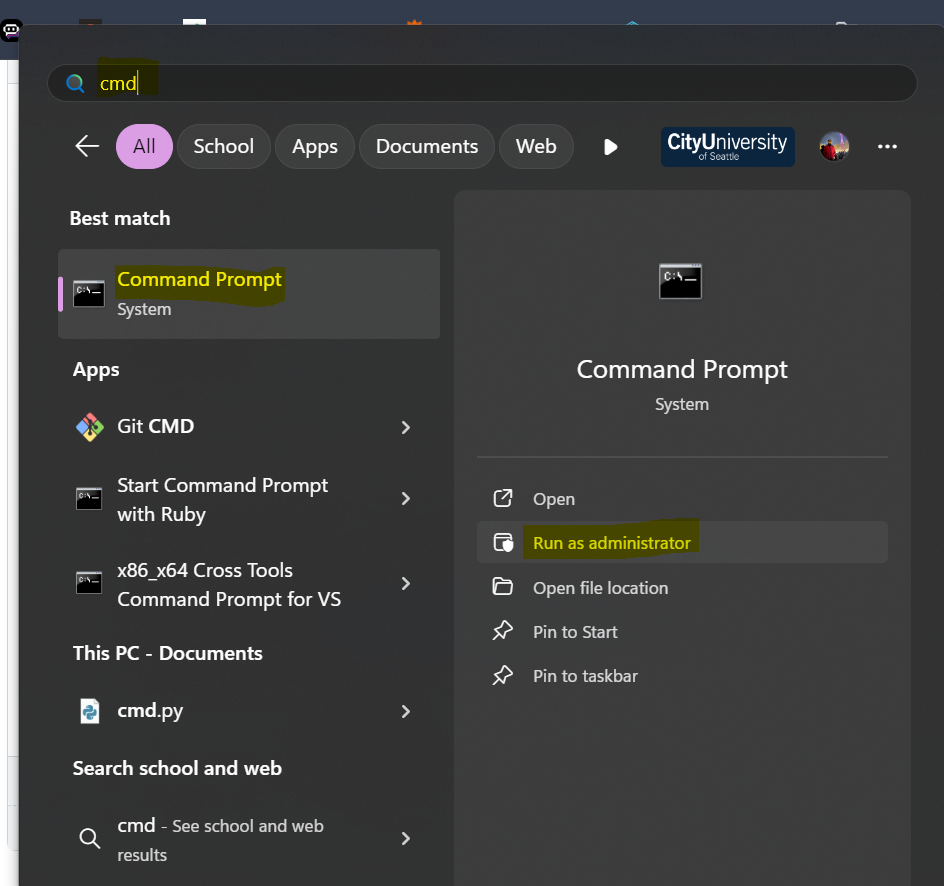
Run the command ‘wsl –set-default-version 2’. Restart Again.