Install MySQL
Table of contents
Install MySQL on macOS
Prerequisite
You’re using a Mac.
You should have Docker installed (if not, see the Docker install guide and return here).
Choose a location on your Mac
Open your terminal and navigate to any folder you want. Create a new folder named “mysql”.
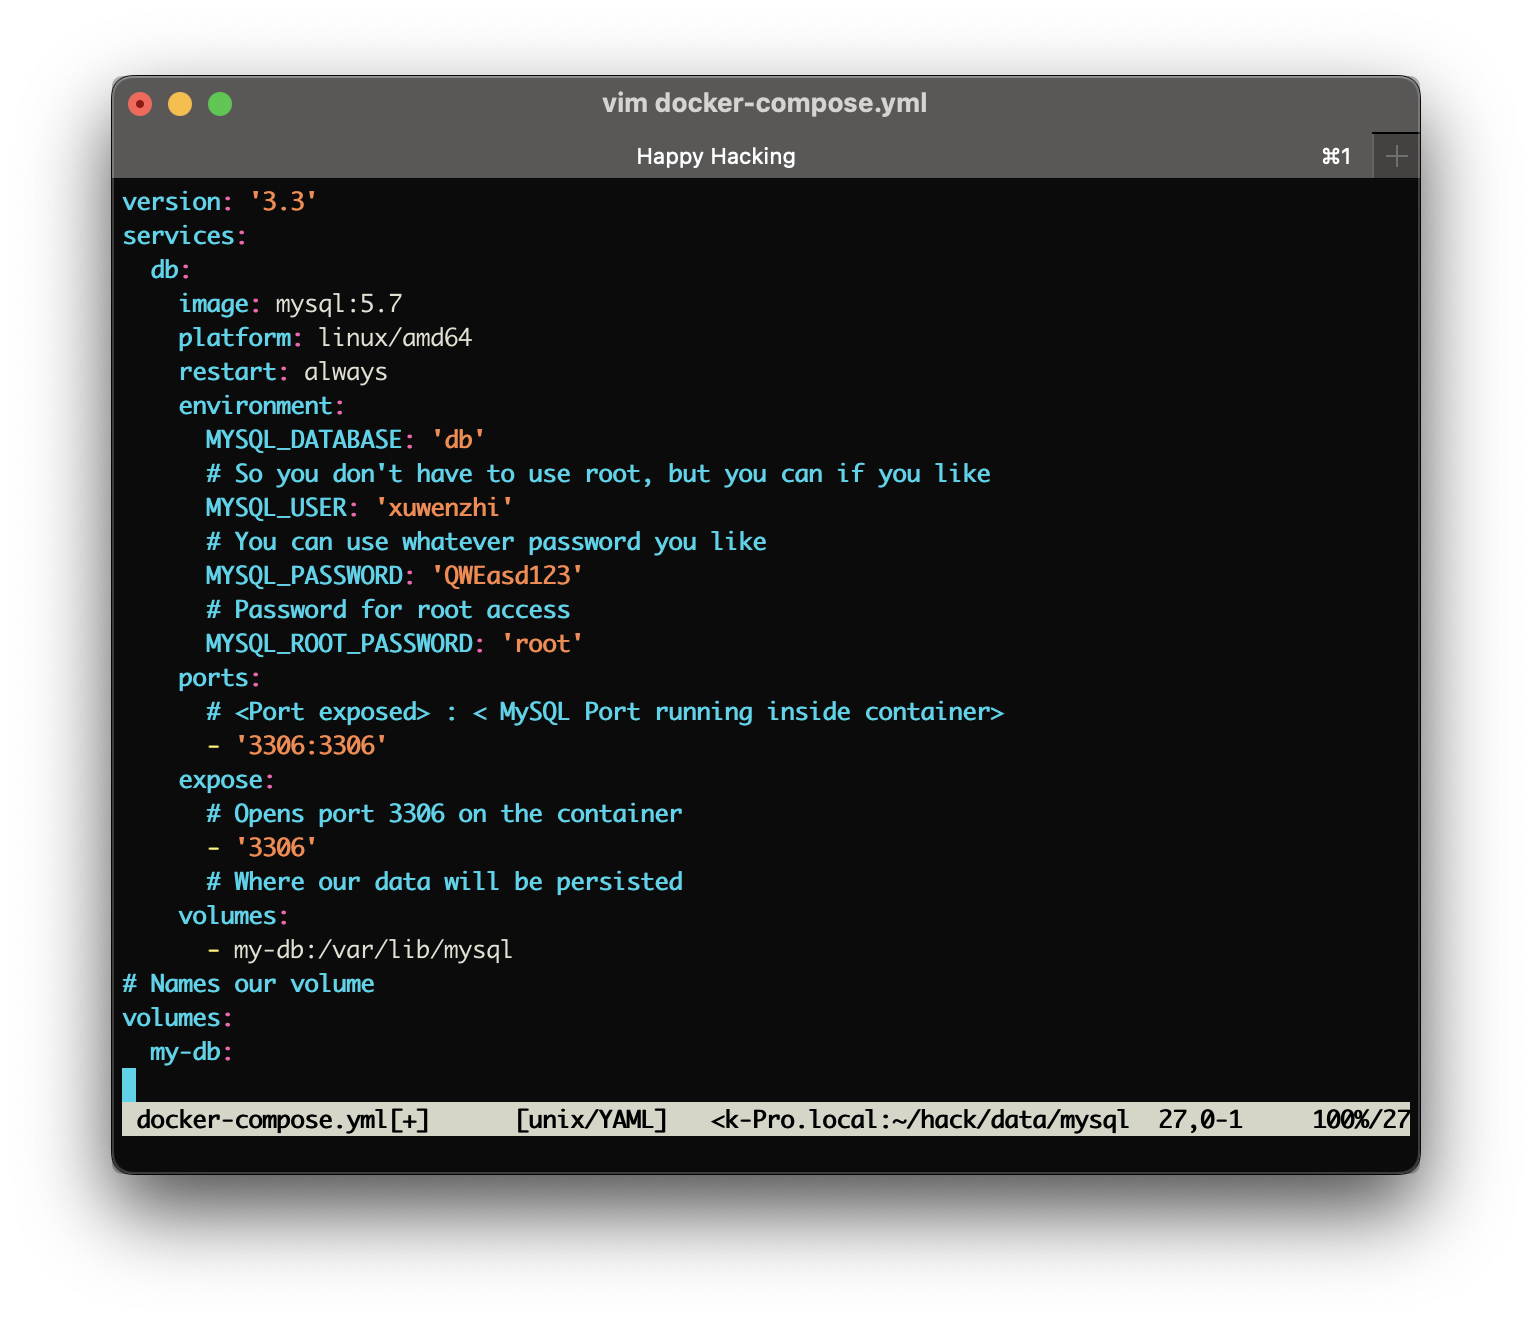
Create docker-compose.yml
Create the file with the following content. Be careful with indentation (if you encounter YAML syntax issues, use this online YAML checker).
[Optional] change the password to yours.
version: '3.3'
services:
  db:
    image: mysql:5.7
    platform: linux/amd64
    restart: always
    environment:
      MYSQL_DATABASE: 'db'
      # So you don't have to use root, but you can if you like
      MYSQL_USER: 'nonrootuser'
      # You can use whatever password you like
      MYSQL_PASSWORD: 'NonRootPassword'
      # Password for root access
      MYSQL_ROOT_PASSWORD: 'YourRootPassword'
    ports:
      # <Port exposed> : < MySQL Port running inside container>
      - '3306:3306'
    expose:
      # Opens port 3306 on the container
      - '3306'
      # Where our data will be persisted
    volumes:
      - my-db:/var/lib/mysql
# Names our volume
volumes:
  my-db:
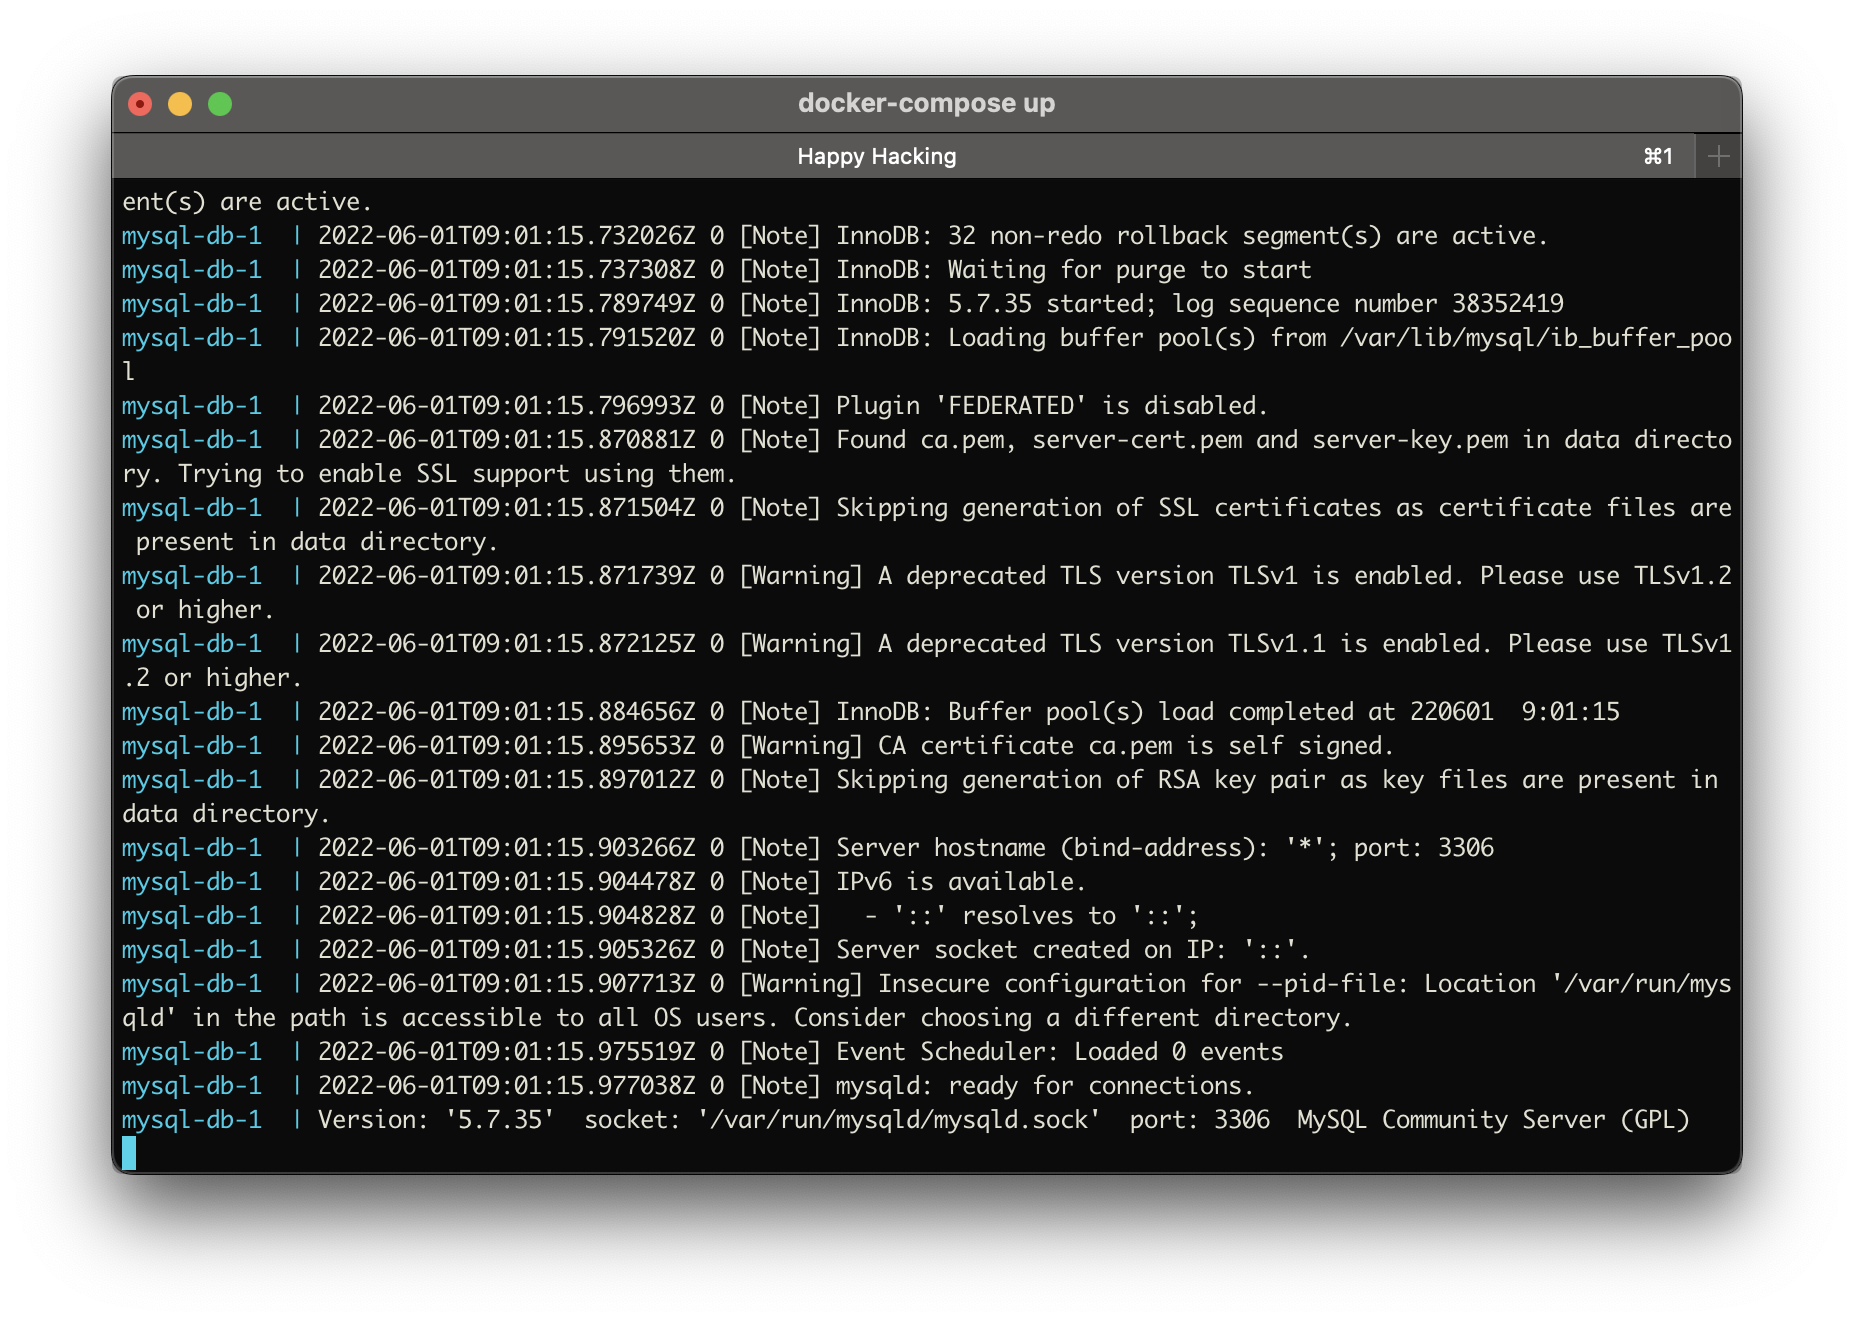
Start your MySQL container
In your terminal, navigate to the folder containing docker-compose.yml. Run:
docker compose up
If everything goes well, you would see a similar outputs like me.
Additional Commands
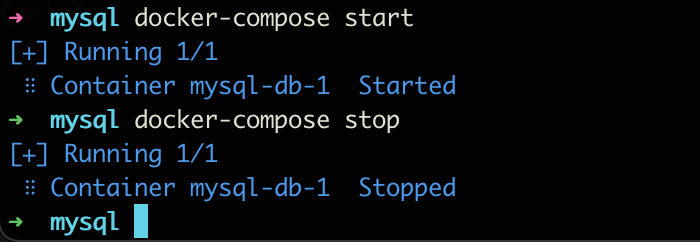
Press Ctrl+C to stop the container. Then use docker compose start to start your container in the future.
docker compose start
To stop your container later, run:
docker compose stop