Install Keil µVision 5 ARMs assembly IDE
![]()
Before You Start
- Version numbers may not match with the most current version at the time of writing. If given the option to choose between stable release (long-term support) or most recent, please select the stable release rather than the beta-testing version.
- This tutorial targets Windows users and macOS users.
- There might be subtle discrepancies along with the steps. Please use your best judgment while going through this cookbook-style tutorial to complete each step.
Table of contents
For macOS Users
Unfortunately, Keil® MDK is not available for Mac devices at the time of creating this document. For this reason, we have deployed an AWS server that hosts this software. To access this server, download the Microsoft Remote Desktop from the App Store. Request the IP address, and your username and password from the instructor and TA for the entire quarter.
For Windows Users
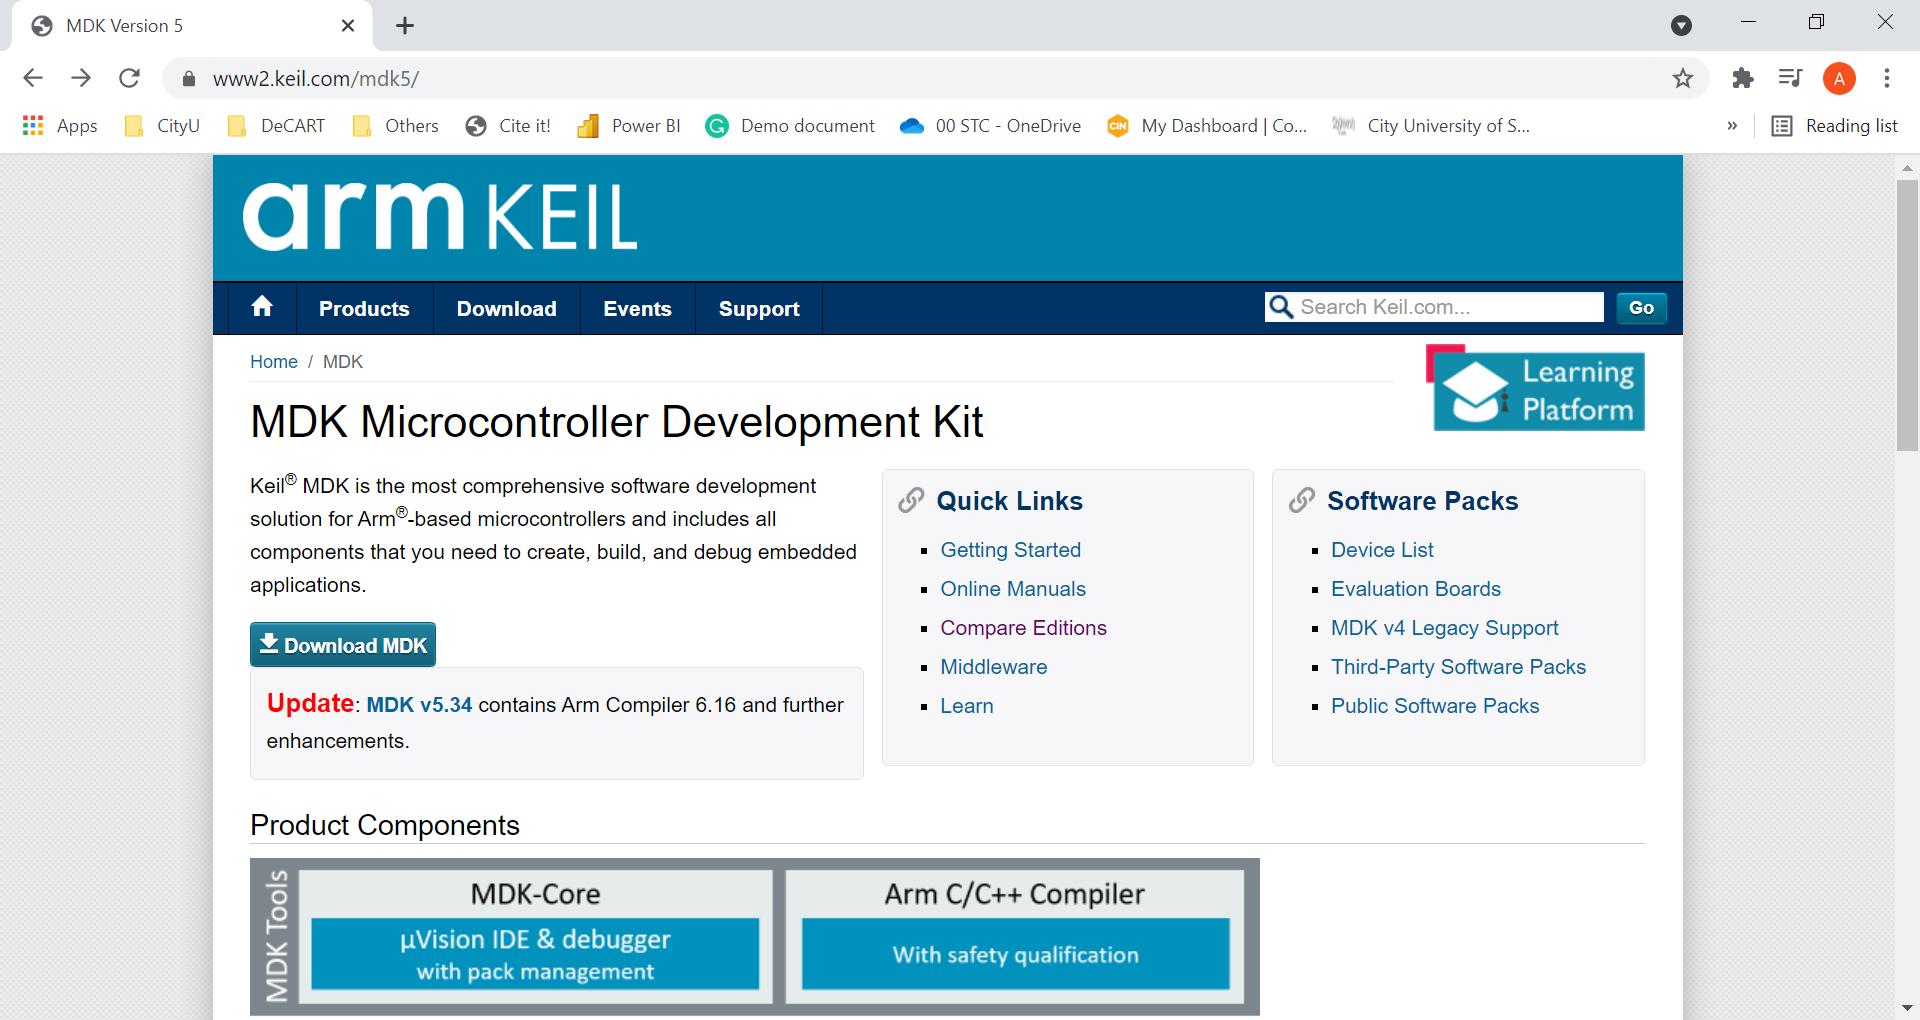
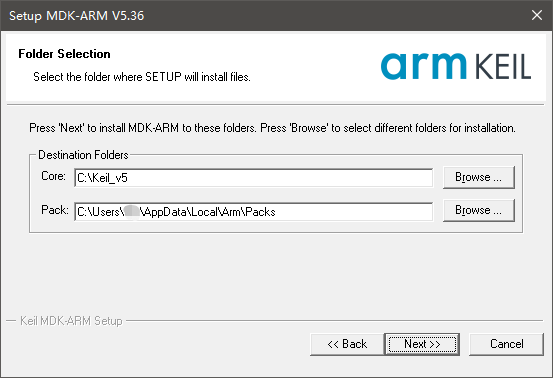
Keil® Microcontroller Development Kit (MDK) is the most comprehensive software development solution for Arm®-based microcontrollers and includes all components that you need to create, build, and debug embedded applications. Additional information can be found in the official website here. This software is provided by ARM. To download the Development Kit, browse here and click on the Download MDK. You will be required to fill in the form and follow the instructions to install the latest version of Keil µVision as shown below:
Keil will collect user data during the download and installation process, please fill in as you like.
In the
Do you want to install this device software?dialog box that pops up during the installation process, please check theAlways trust software from "ARM Ltd" (A).option, and clickInstall.
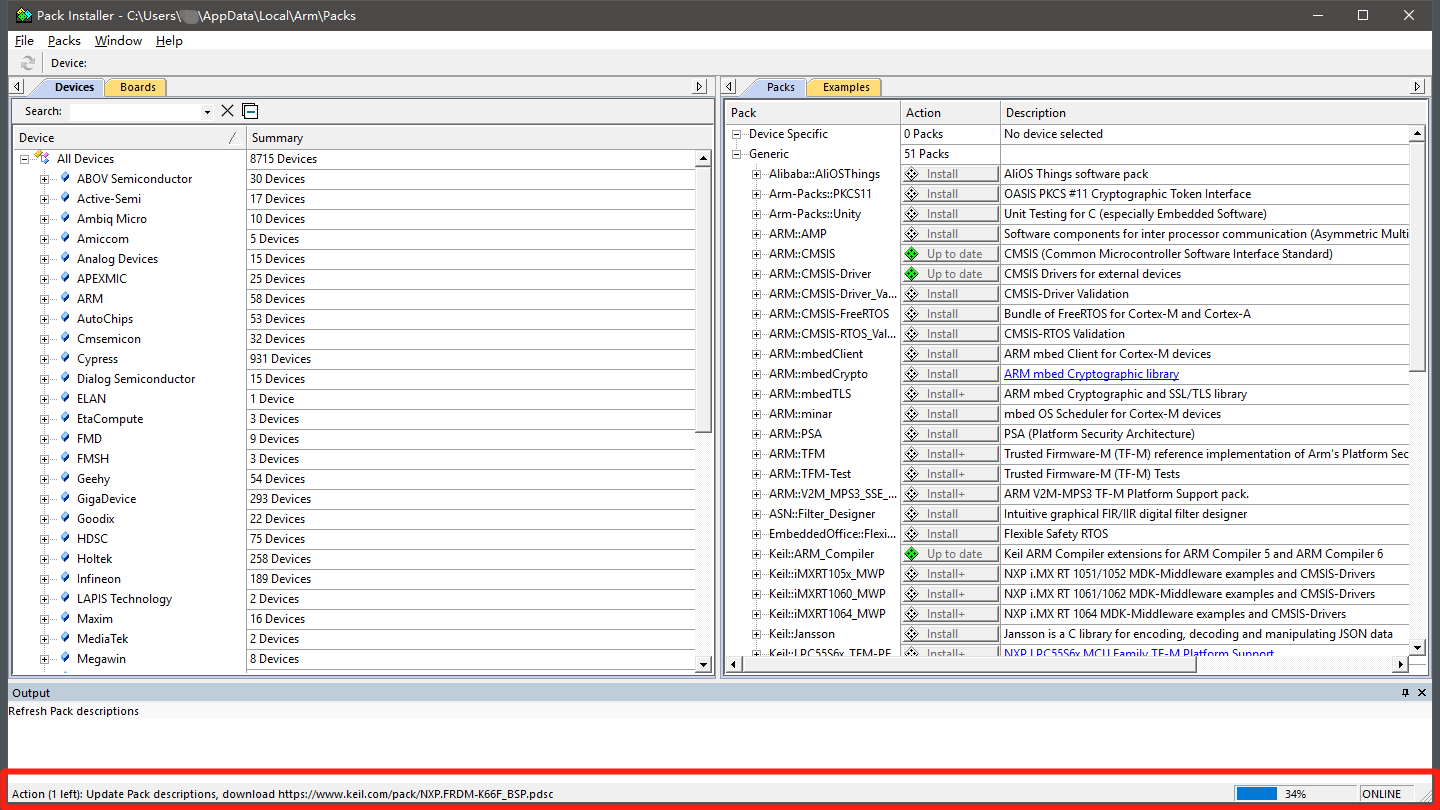
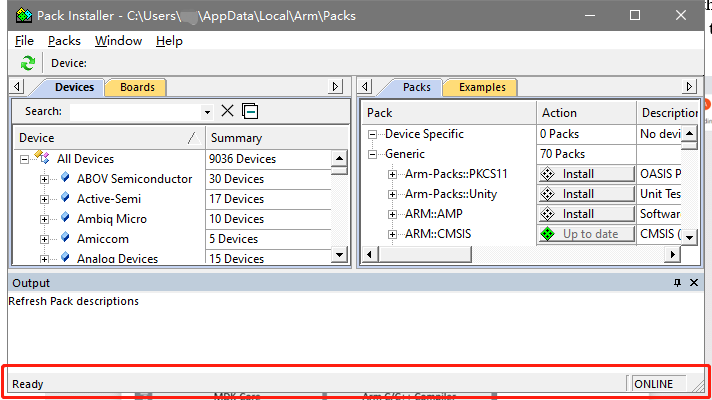
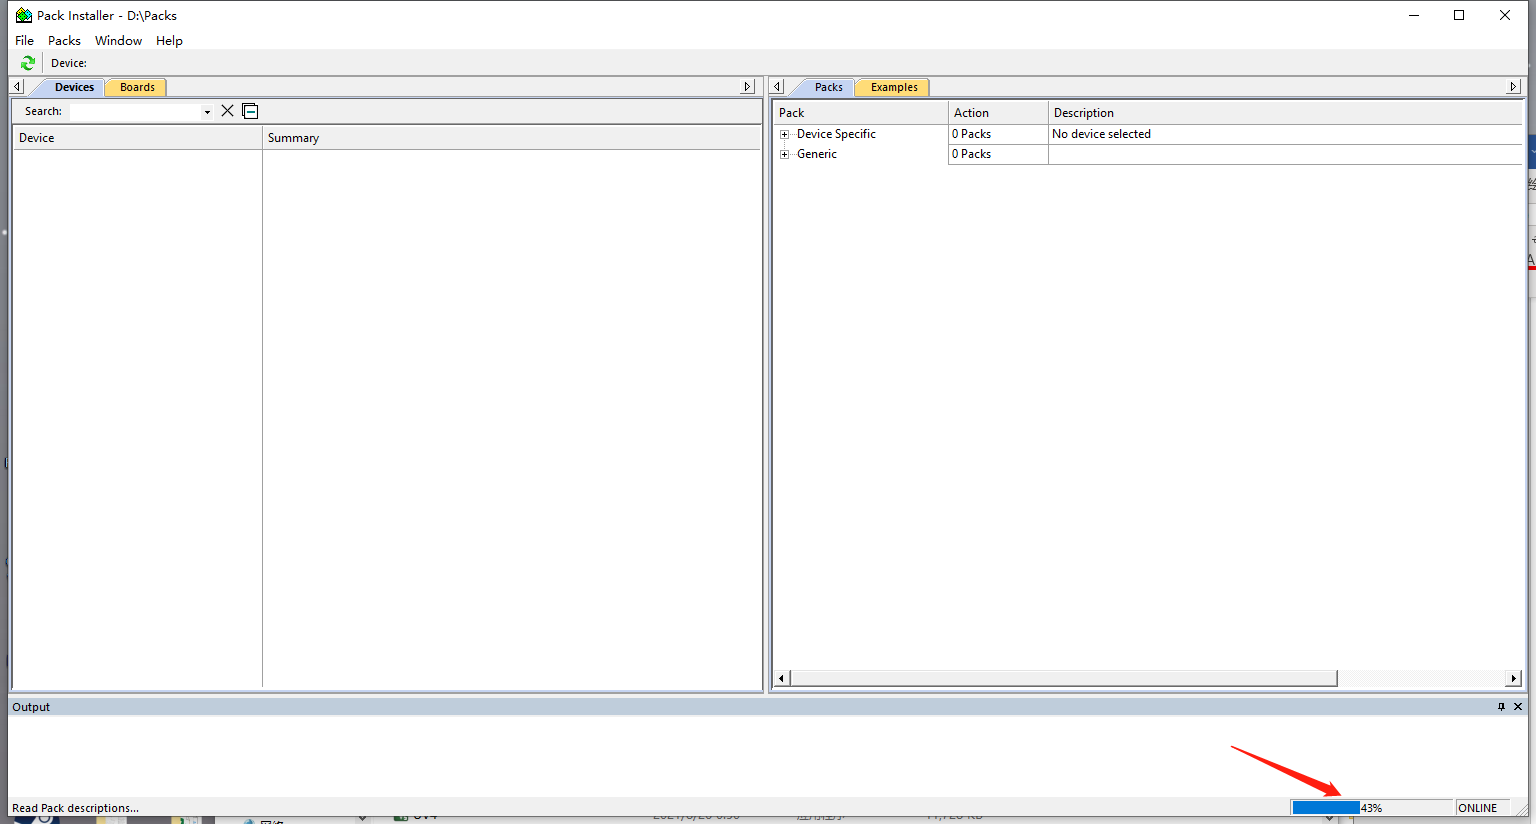
When you finish the installation, Keil’s Pack Installer will pop up automatically. Please wait for all loading/upgrades at the bottom of the page to complete. When there is no progress bar or Ready is displayed, you can close the window.
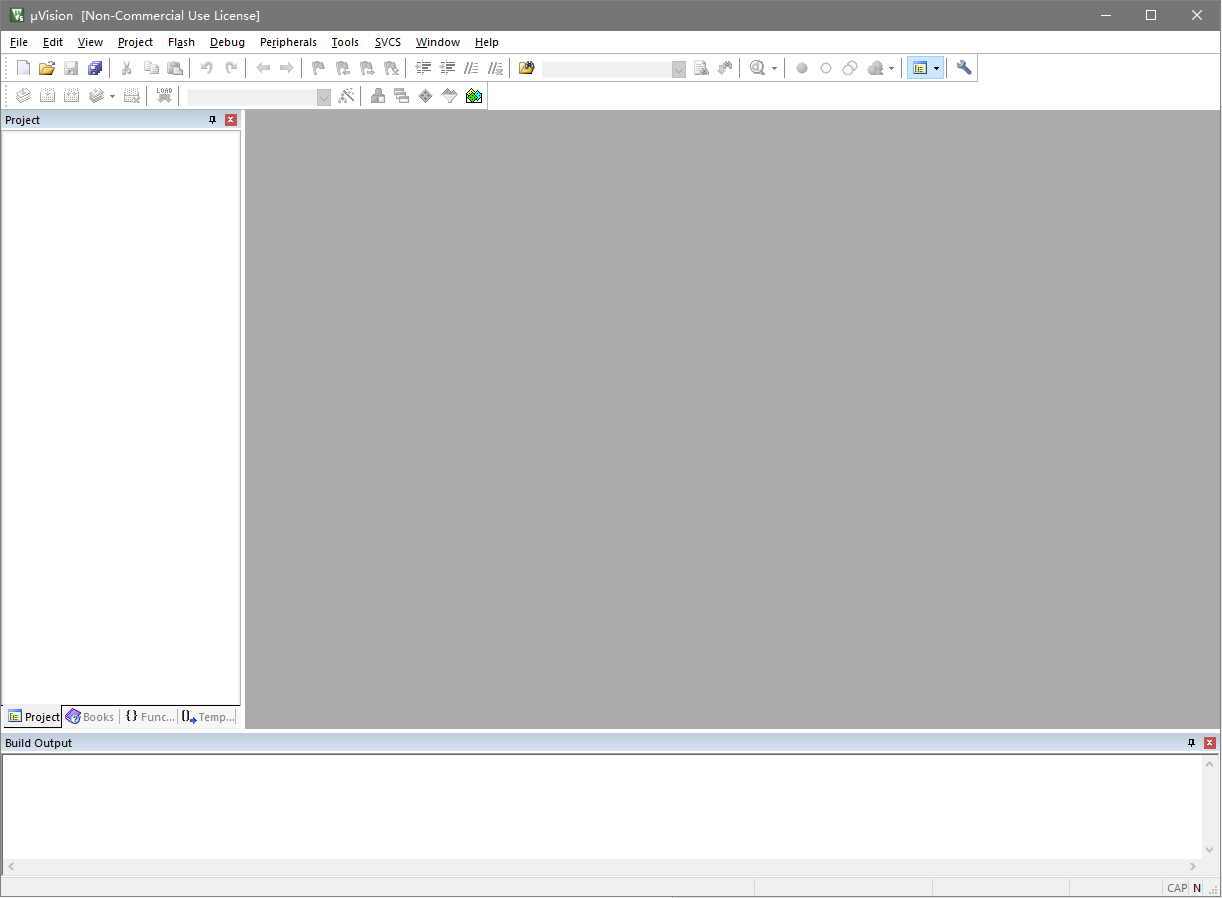
If you have successfully installed Keil, running Keil will have the following display.

Install the Pack You Need
The following steps will demonstrate how to install the packages you need through Keil’s own package installer. This section will take the installation of the STM32F4 device as an example.
First, you need to find and open the package installer that comes with Keil. There are two ways:
Open Keil and find and click the
Pack Installerbutton in the main interface.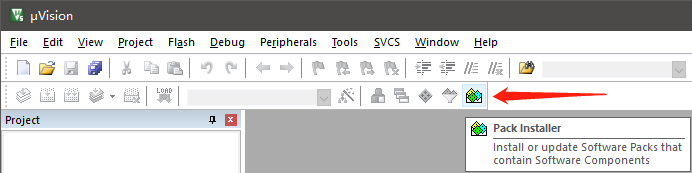
Find Keil_v5 installation path. Usually in the path
C:/Keil_v5/UV4/.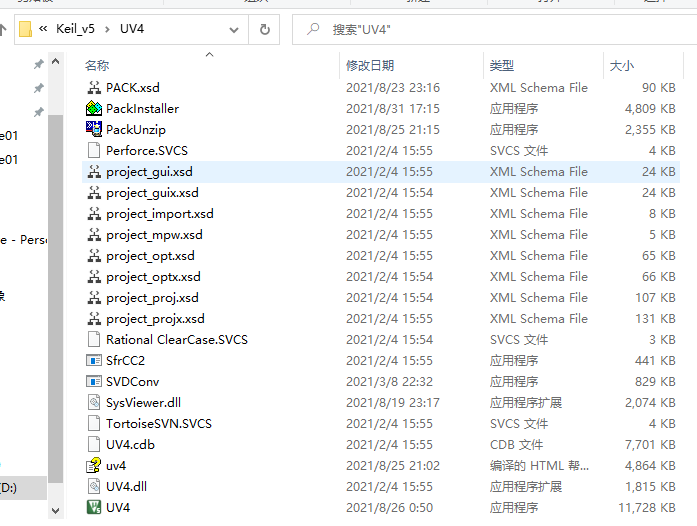
Open
PackInstaller.exe.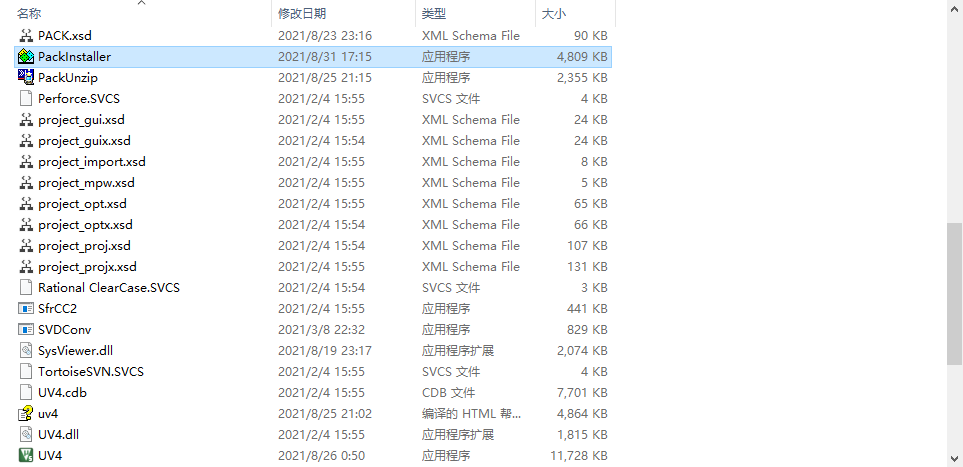
Waiting.
Search the pack you need. Here use
STM32F411as an example.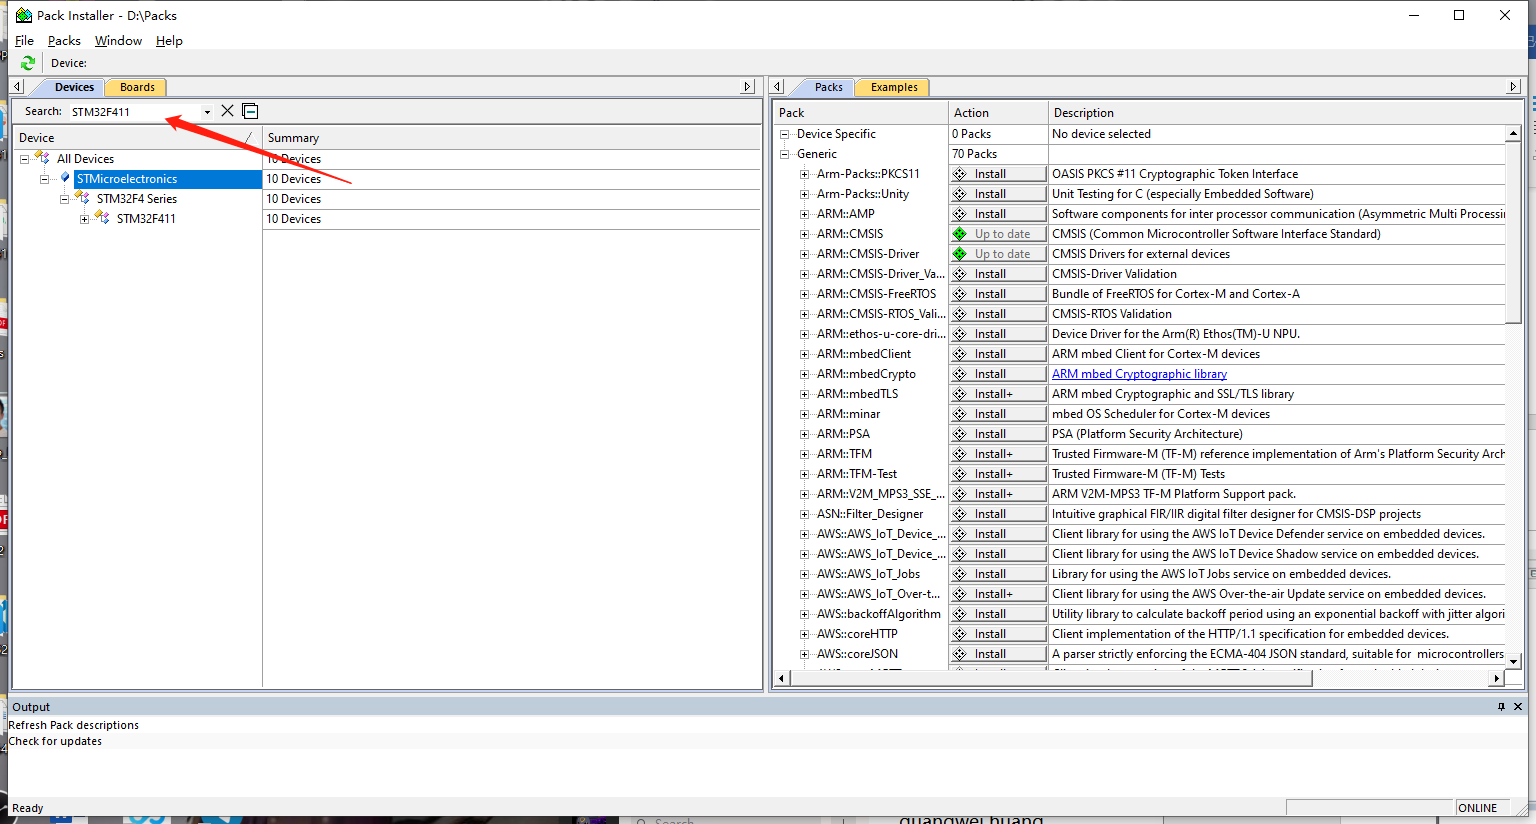
Click
STM32F4 Series, then installKeil::STM32F4xx_DFP.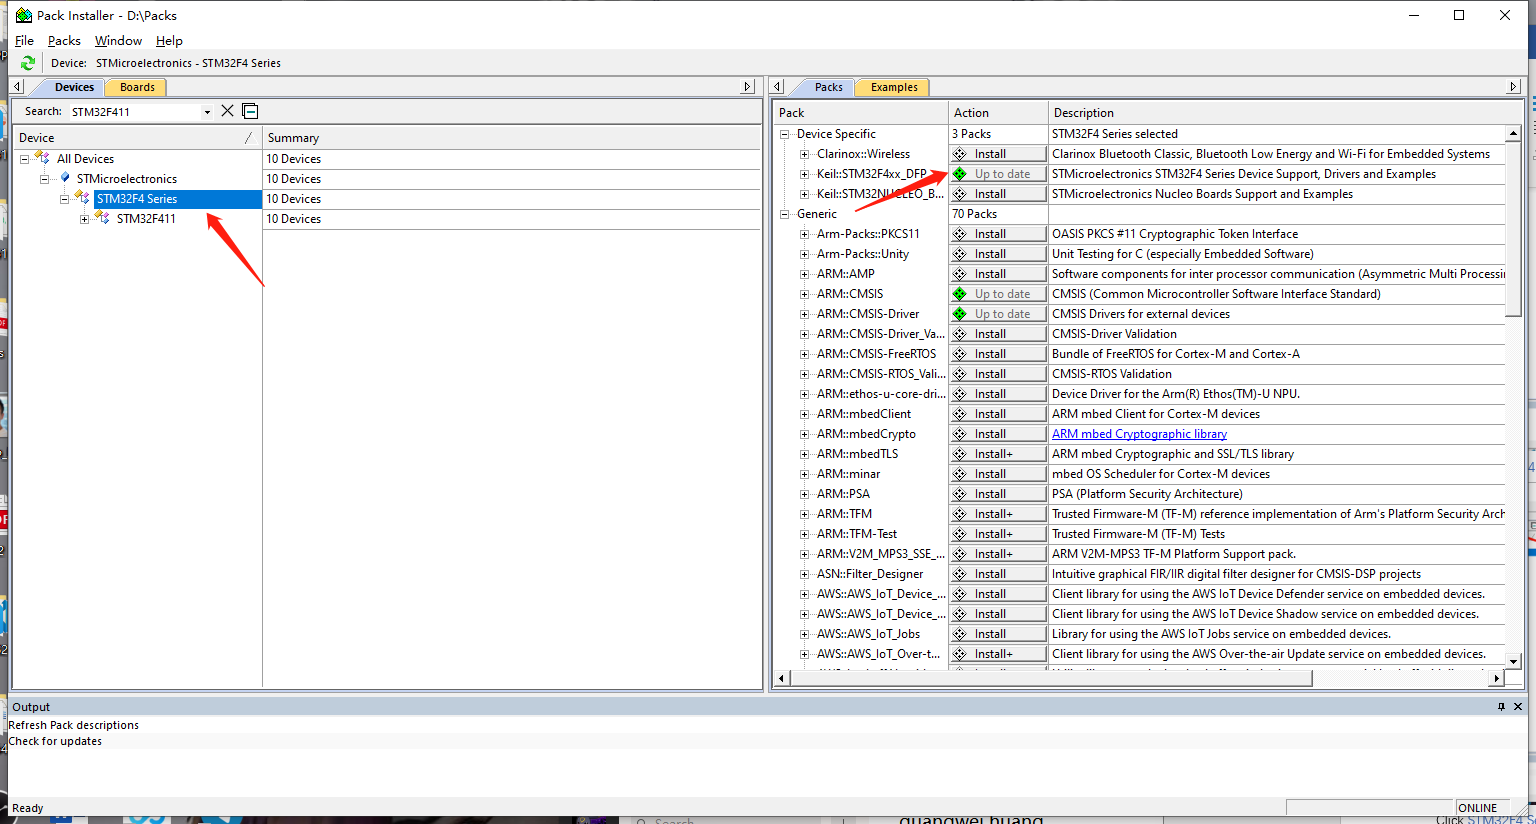
FAQs
error: L6050U: The code size
See section Limit.
How can I see the output in the simulator?
After you have created the project. Click on
Manage Run-Time Environment.
Expand and select
Compiler>I/O>STDOUT, and changeBreakpointtoITM.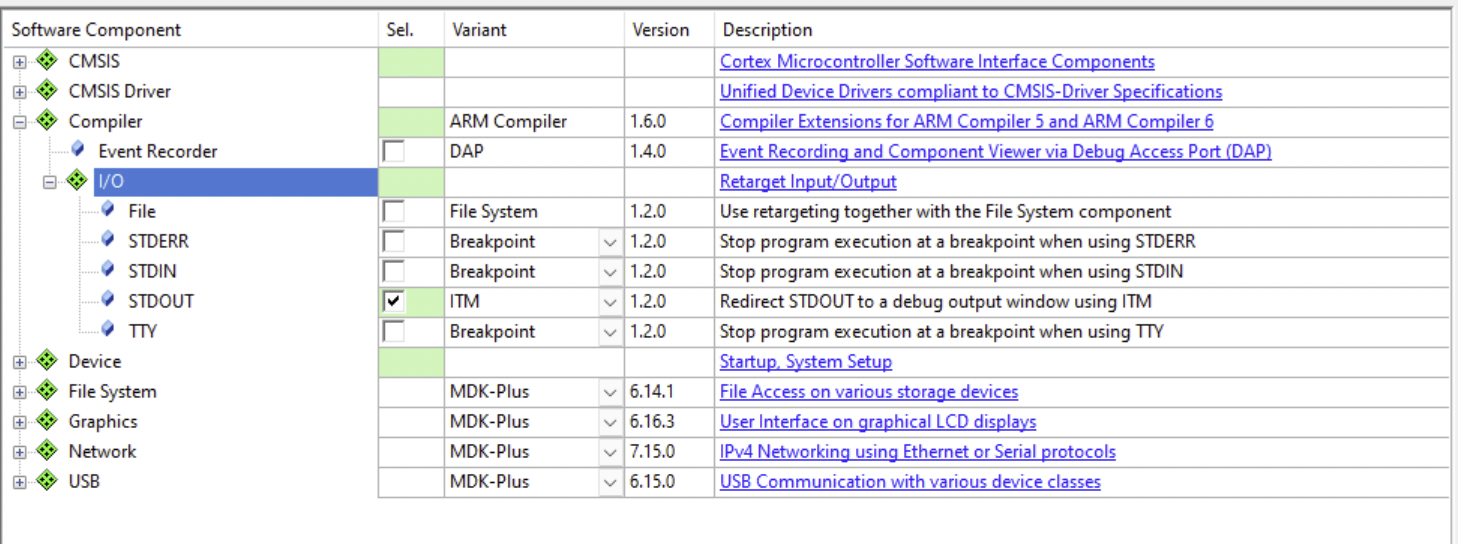
After successfully compiling the code, click
Start/Stop Debug Session.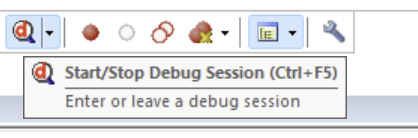
After entering the debug session, in the
Viewabove, findSerial Windows, and selectDebug (printf) Viewer.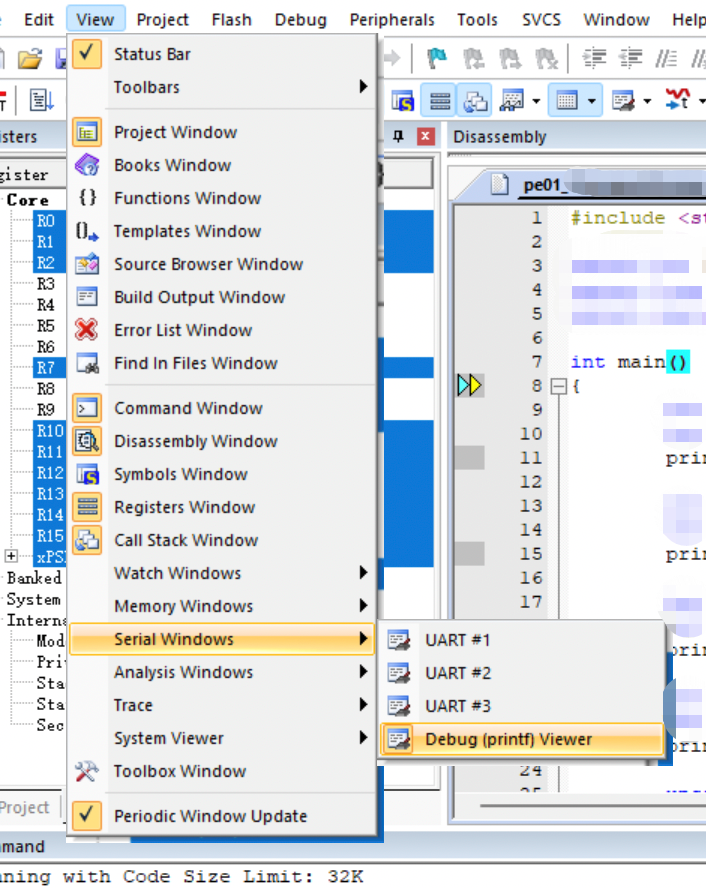
After completing the above operations, you can see that this
Debug (printf) Viewerwindow appears in the lower right corner.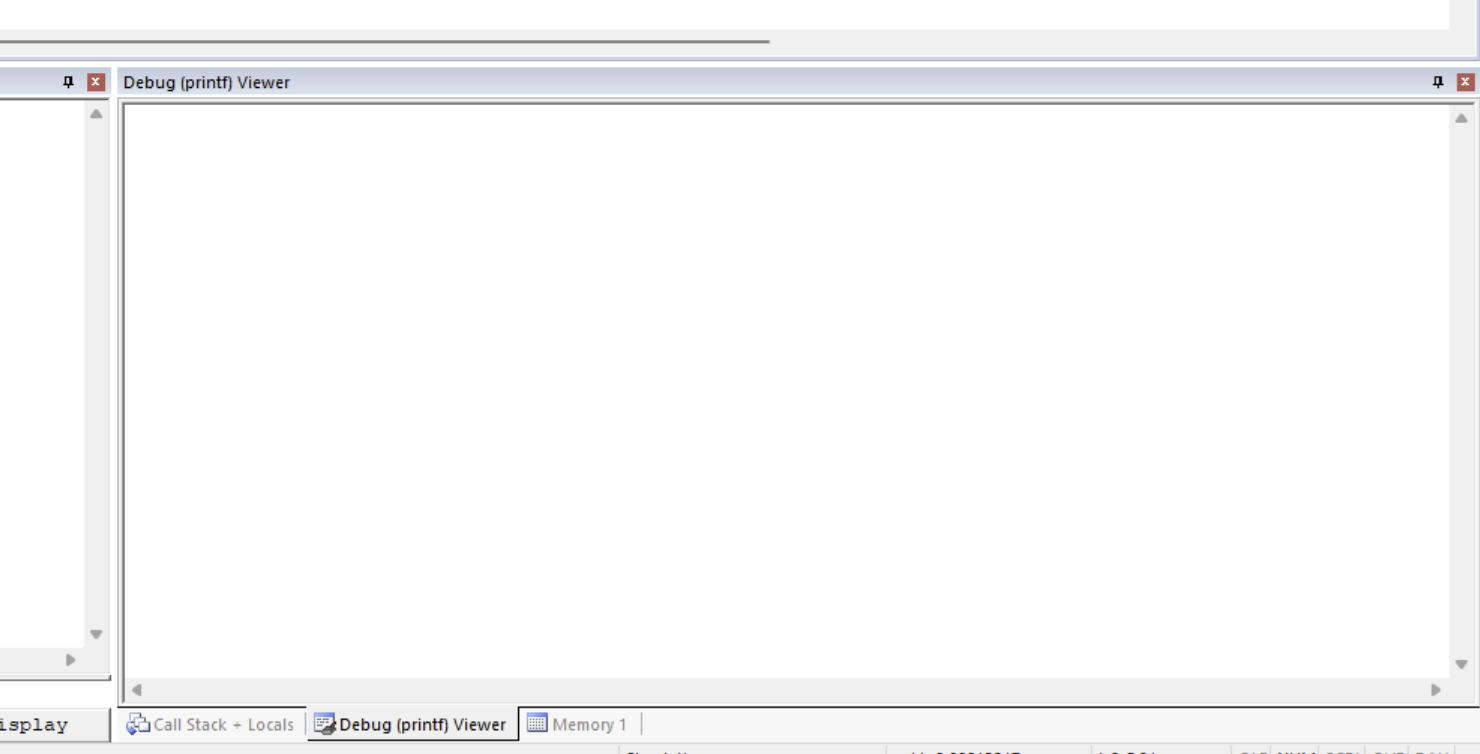
Execute your code and check the
Debug (printf) Viewerwindow, if there is anything in the code that prints to stdout likecoutorprintf, it will be shown in this window.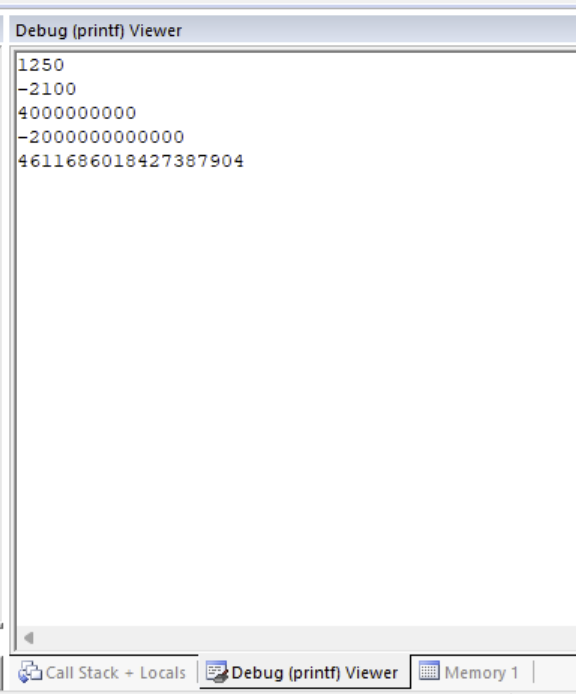
Error: L6218E: Undefined symbol Image
Click on Options for Target.... Select Linker, click the ellipsis (...) next to Scatter File, navigate to .\RTE\Device\[the device you are currently using]\ in your current project directory, there is a file of type .sct, select it. If not, please contact your TA to find other solutions.
warning: long long is incompatible with C++98
If you meet with warning: long long is incompatible with C++98 issue, please check this link https://www.keil.com/support/man/docs/armcc/armcc_chr1359124956849.htm and try to solve it. Please note that debugging is an important skill. Writing code is the easiest part of software development.
Limit
Since we are downloading the free Keil Lite version of the MDK, there are limitations. A full list of limitations can be found here.
If you get an error similar to the following during use, it is due to the limitation of the free version. The free version of Debugger, Compiler, Linker, Libraries, and Utilities only supports 32KBytes code size.
.\Objects\lite.axf: error: L6050U: The code size of this image (84902 bytes) exceeds the maximum allowed for this version of the linker.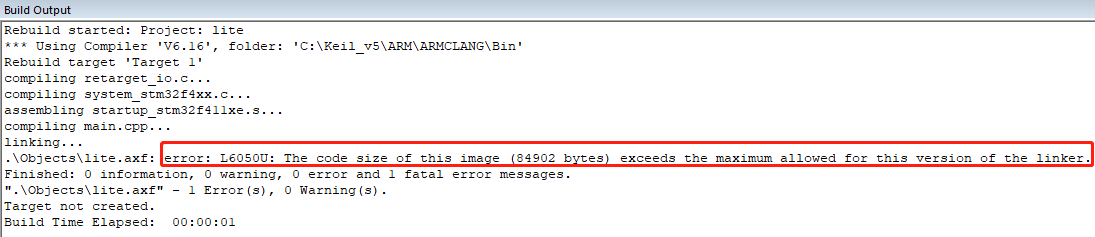
There is no solution to this error. But in general, C++ will use more space than C, you can try to use C code.
The full current device support list is here, and the full legacy device list is here. But if you can’t find chips of ARM Cortex-A series, ARM SecurCore®, ARM Cortex-R series, in the device list, it is due to the limitation of the free version.
If you are looking for a chip that supports double floating-point precision that can be debugged in the simulator, unfortunately, we TAs have no solution yet. Although some chips with the
-DPsuffix support double floating-point precision, there are various issues in the simulator. For example, the errorNo CPU DLL specified under 'Options for Target - Debug' !orError: Target Driver not specified. Debugger aborted !appears when starting a debug session; there is no read/write permission during running; even double-precision floating-point numbers are not passed to the FPU during runtime.
Resource
- Keil Downloads: https://www.keil.com/download/product/
- MDK5 Device List: https://www.keil.com/dd2/
- Legacy Device List: https://www.keil.com/dd/
- Compare MDK Editions: https://www2.keil.com/mdk5/selector
- µVision® Debugger: https://www2.keil.com/mdk5/debug/