Microsoft SQL Server
Before You Start
- Version numbers may not match with the most current version at the time of writing. If given the option to choose between stable release (long-term support) or most recent, please choose the stable release rather than the beta-testing version.
- This tutorial targets Windows users and macOS users.
- There might be subtle discrepancies along the steps. Please use your best judgement while going through this cookbook style tutorial to complete each step.
- The directory path shown in screenshots may be different from yours.
- If you are not sure what to do or confused with any steps:
- Consult the resources listed below.
- If you cannot solve the problem after a few tries, ask a TA for help.
Learning Outcomes
Students will be able to:
- Create and connect to a Microsoft SQL Server Database
Resources
- YouTube Tutorial - https://youtu.be/DhAl4rdrzoA
- Microsoft SQL Server Management Studio Download: https://www.microsoft.com/en-us/download/details.aspx?id=14630
Table of contents
- Download a SQL Server
- Download a SQL Client
- Connect to the Microsoft SQL Server Database
- Import a sample database to Microsoft SQL Server
Download a SQL Server
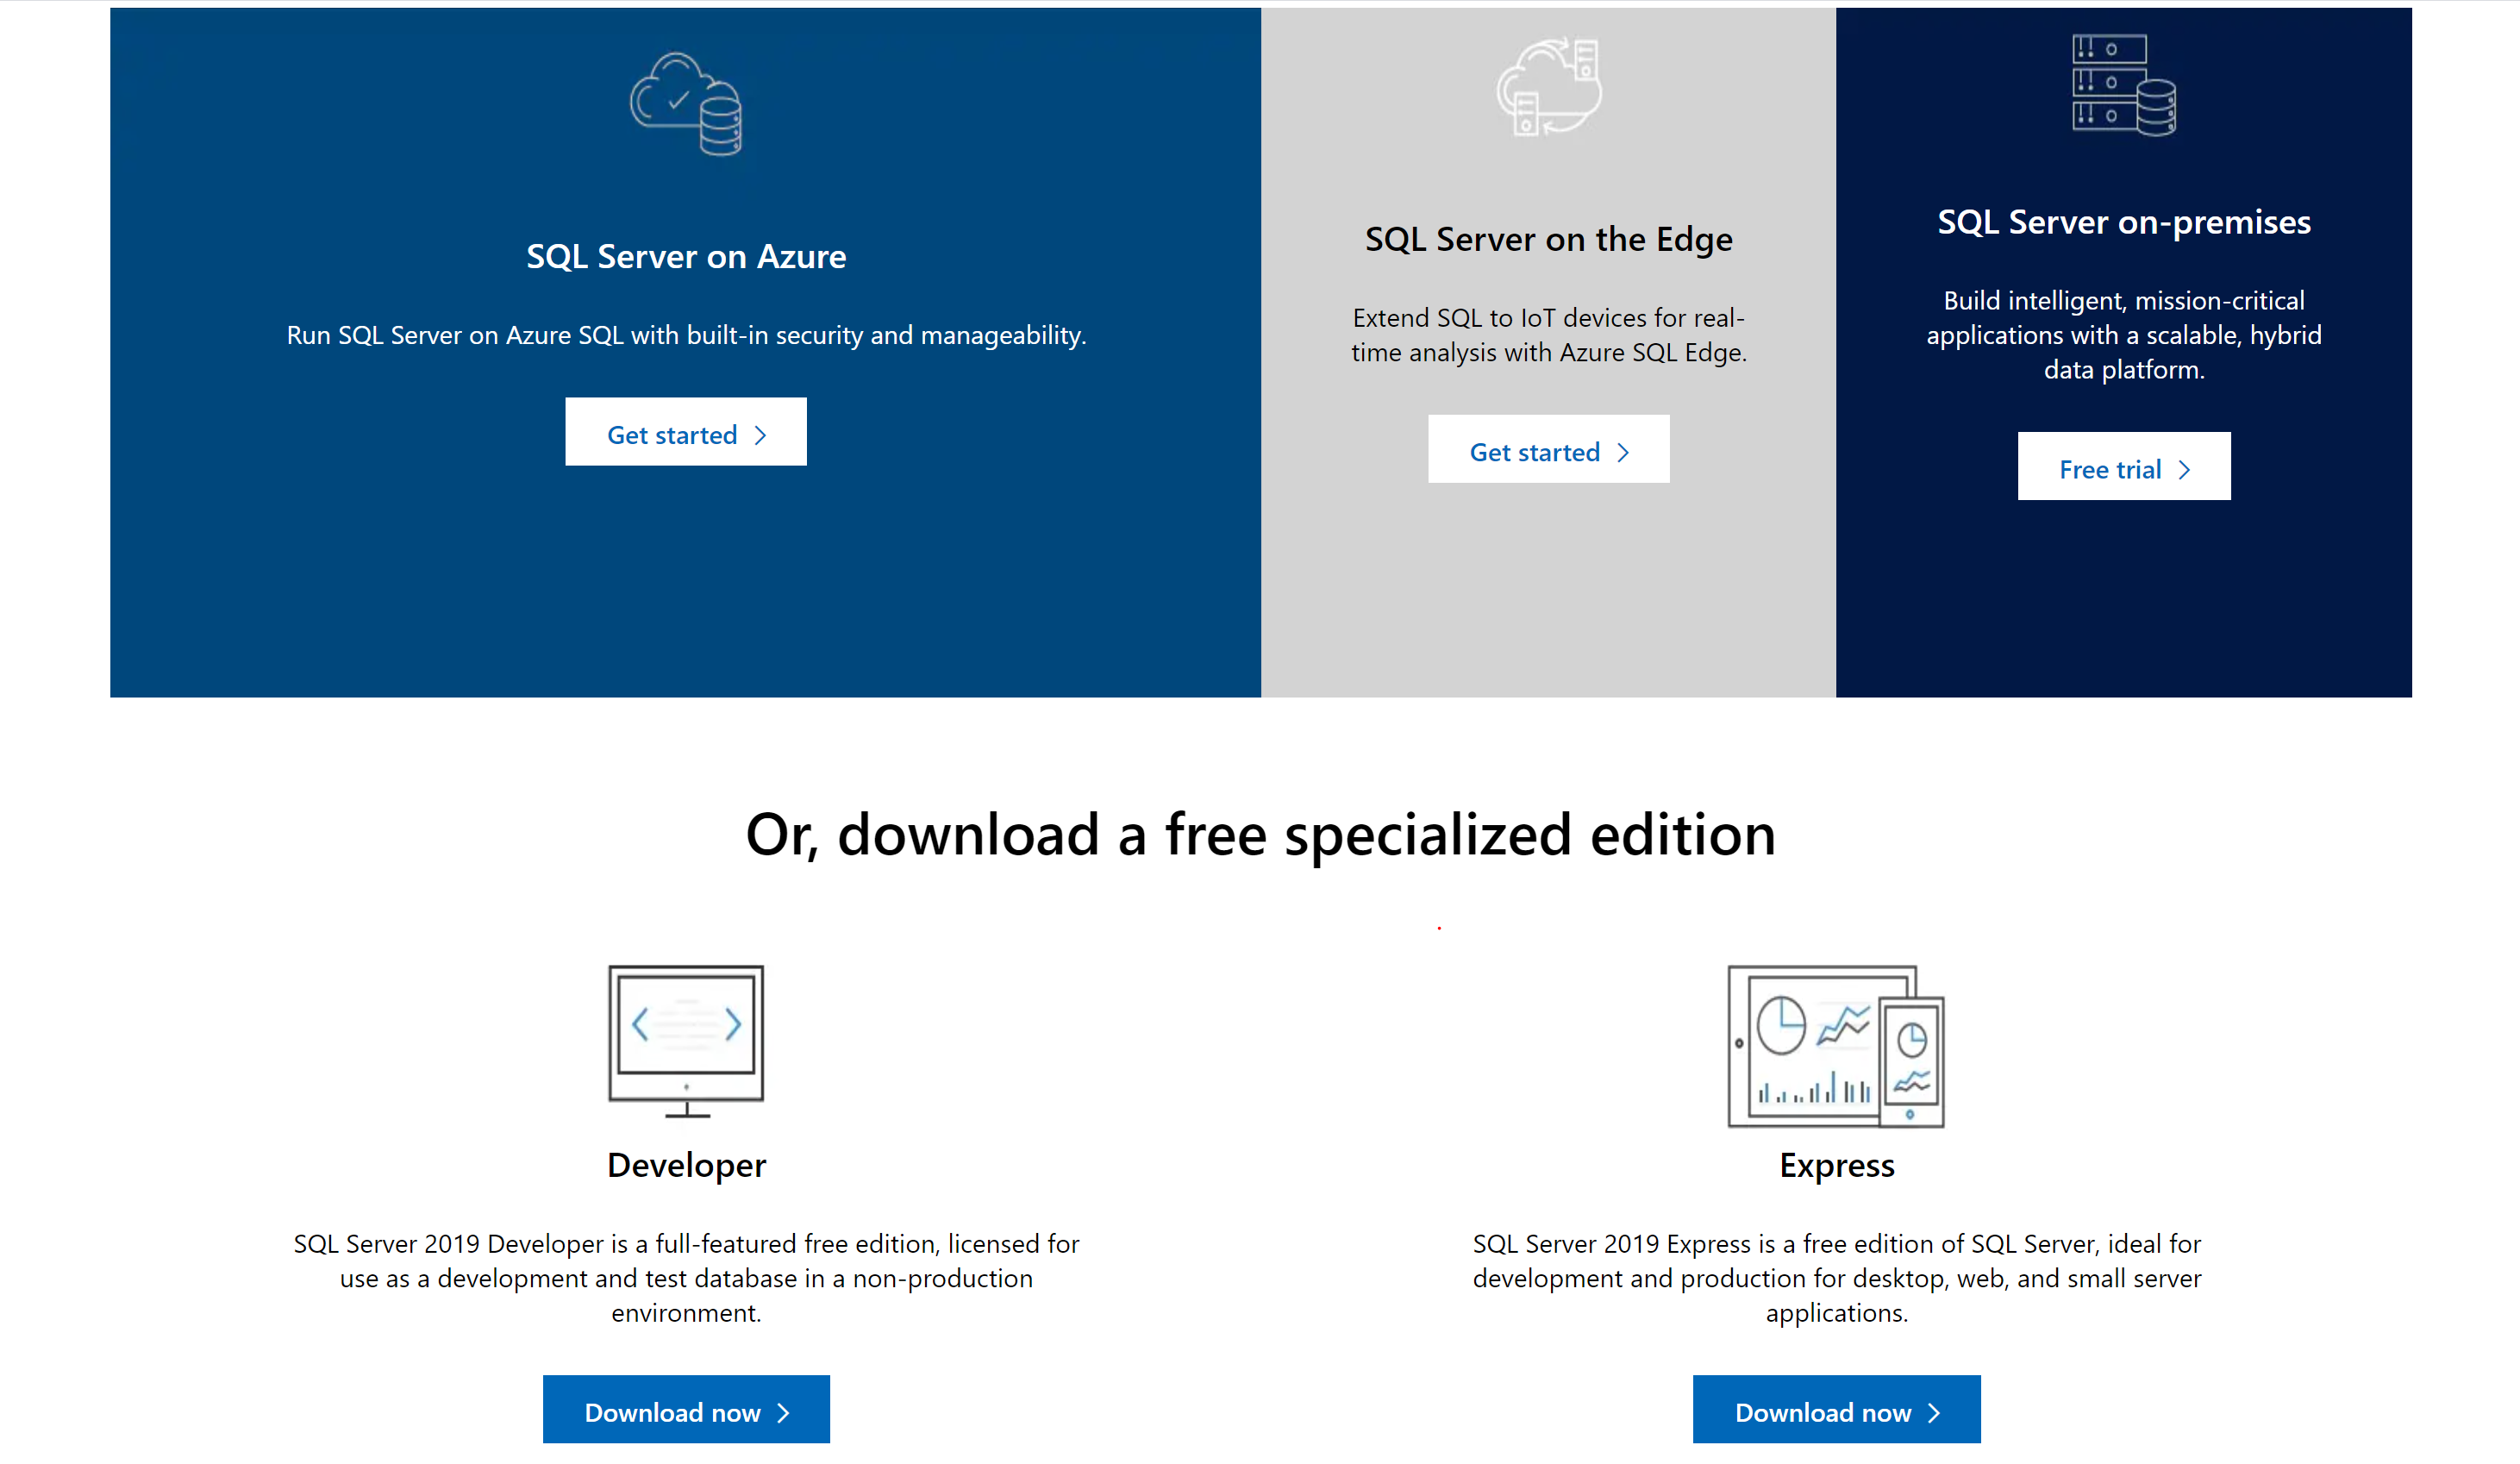
Go to the Microsoft Download Center - https://www.microsoft.com/en-us/sql-server/sql-server-downloads and download the latest developer version for your machine
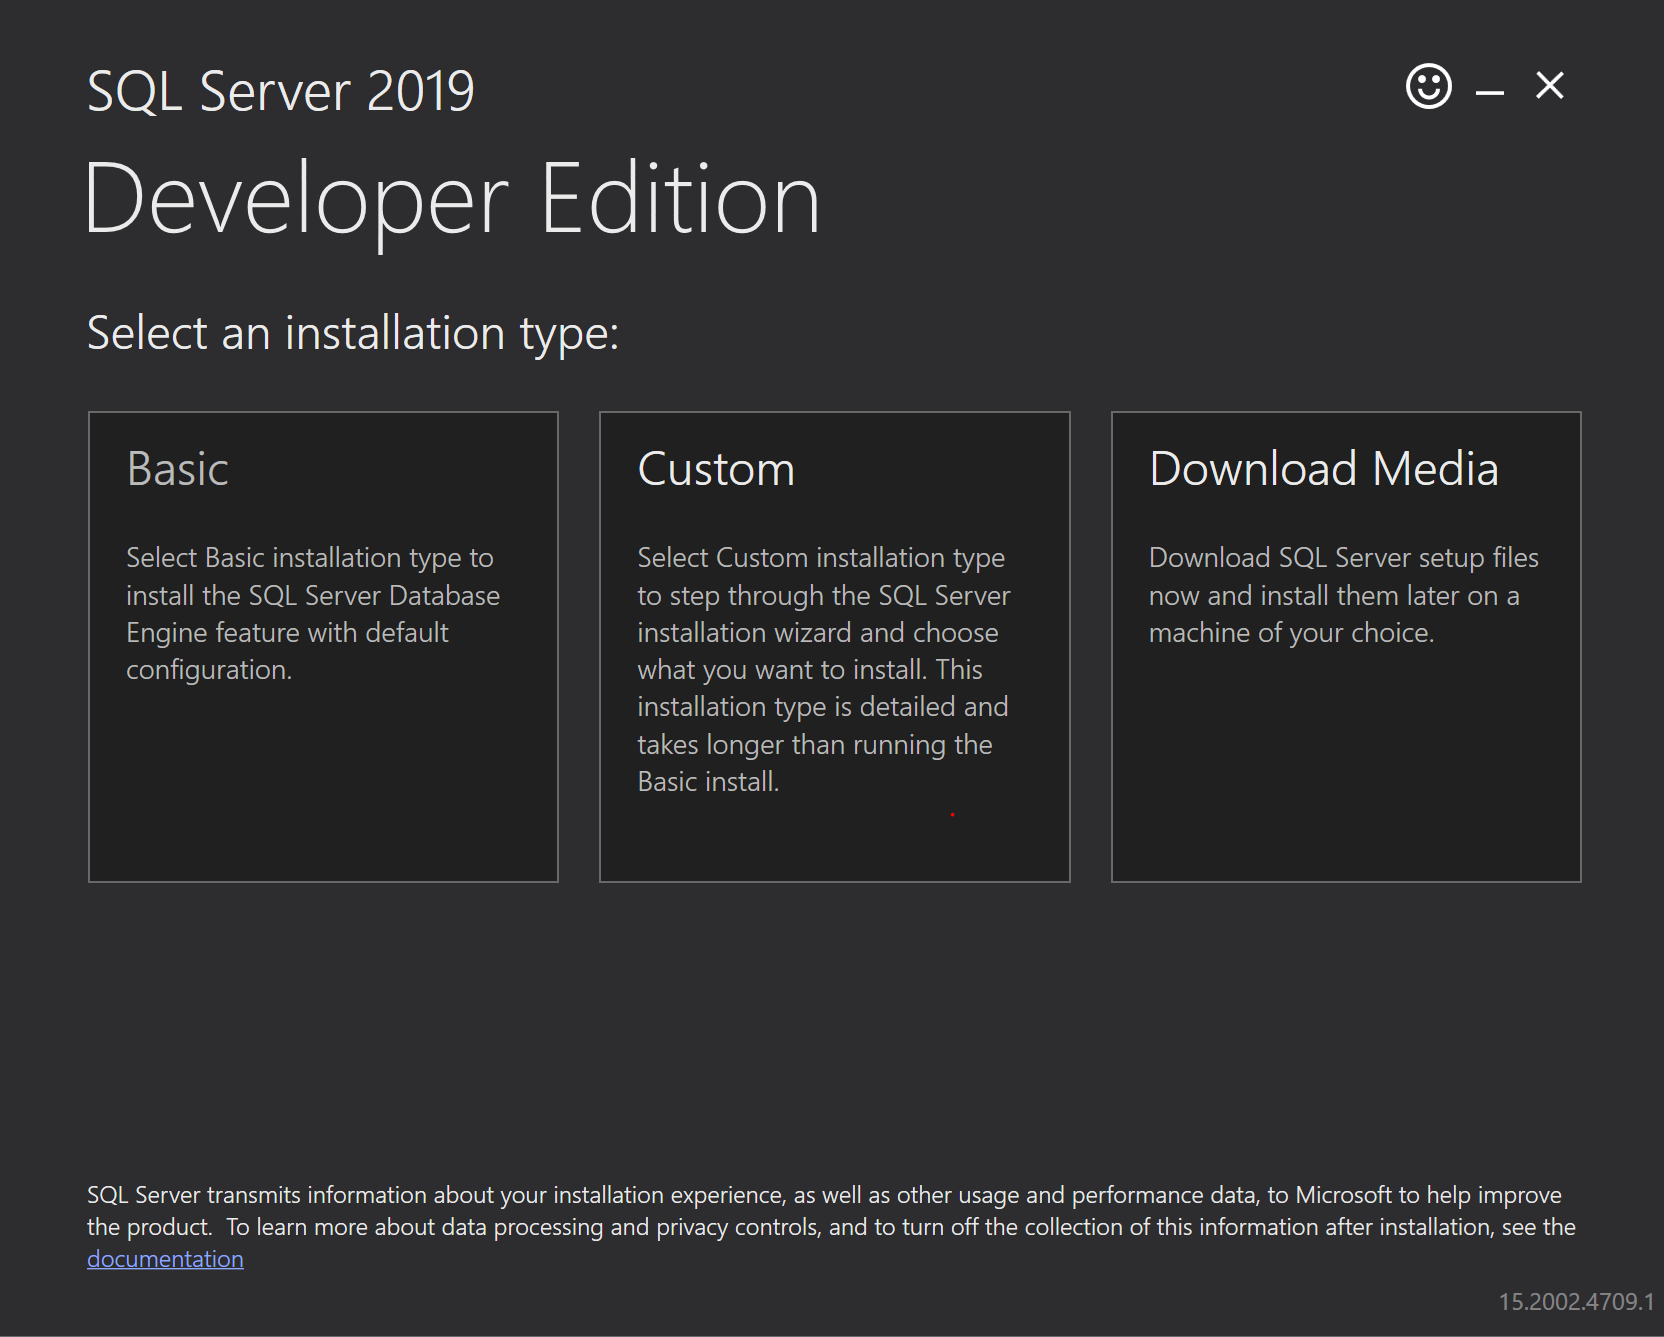
Once the download is completed, run the downloaded .exe file and choose Basic for the installation type.
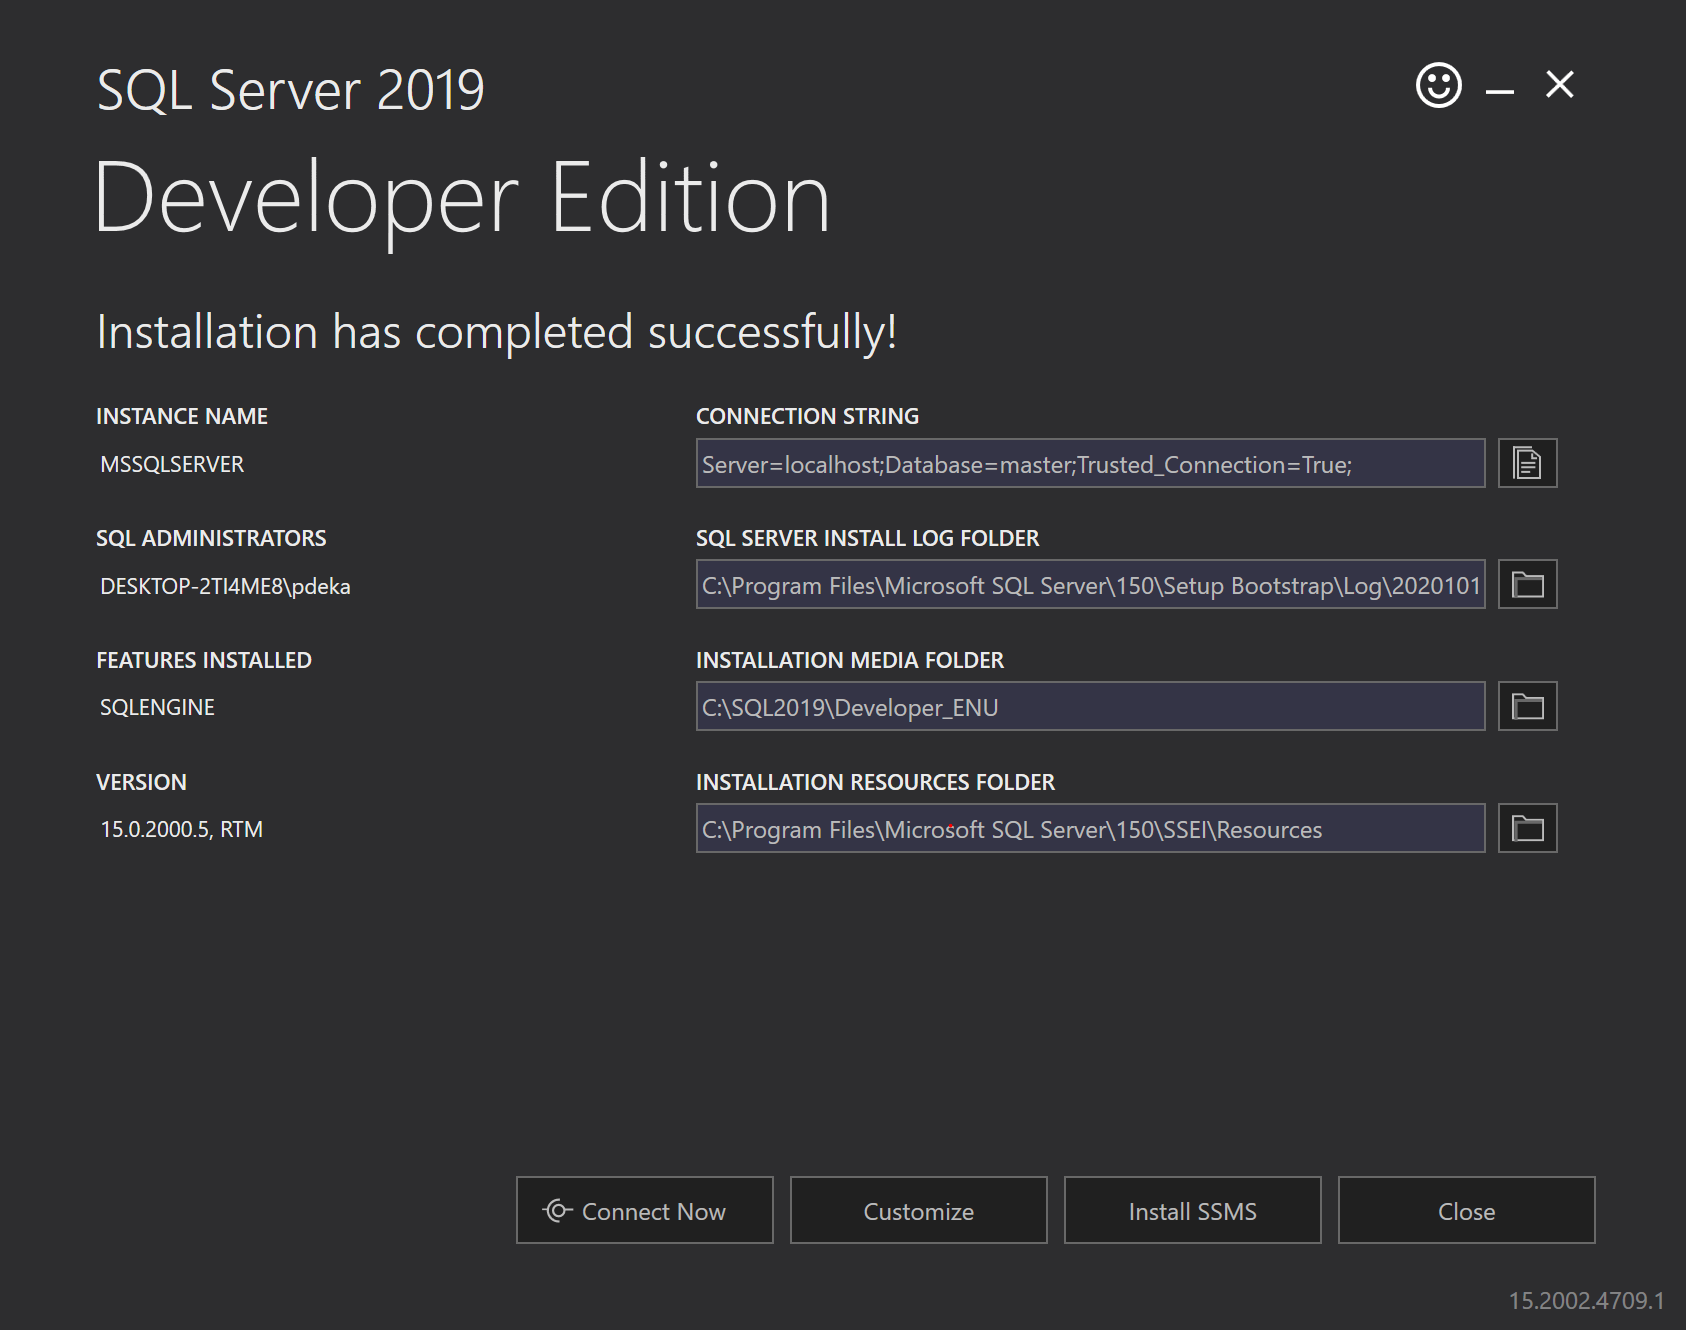
Continue with the installation and once the installation is complete, click Close.
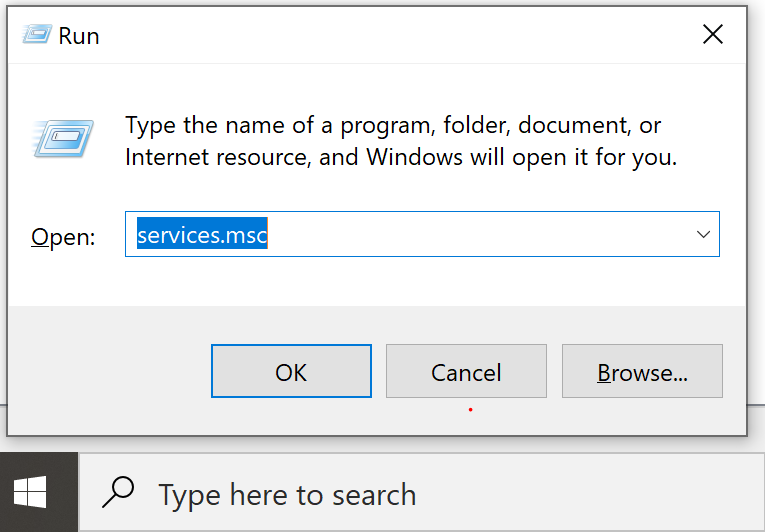
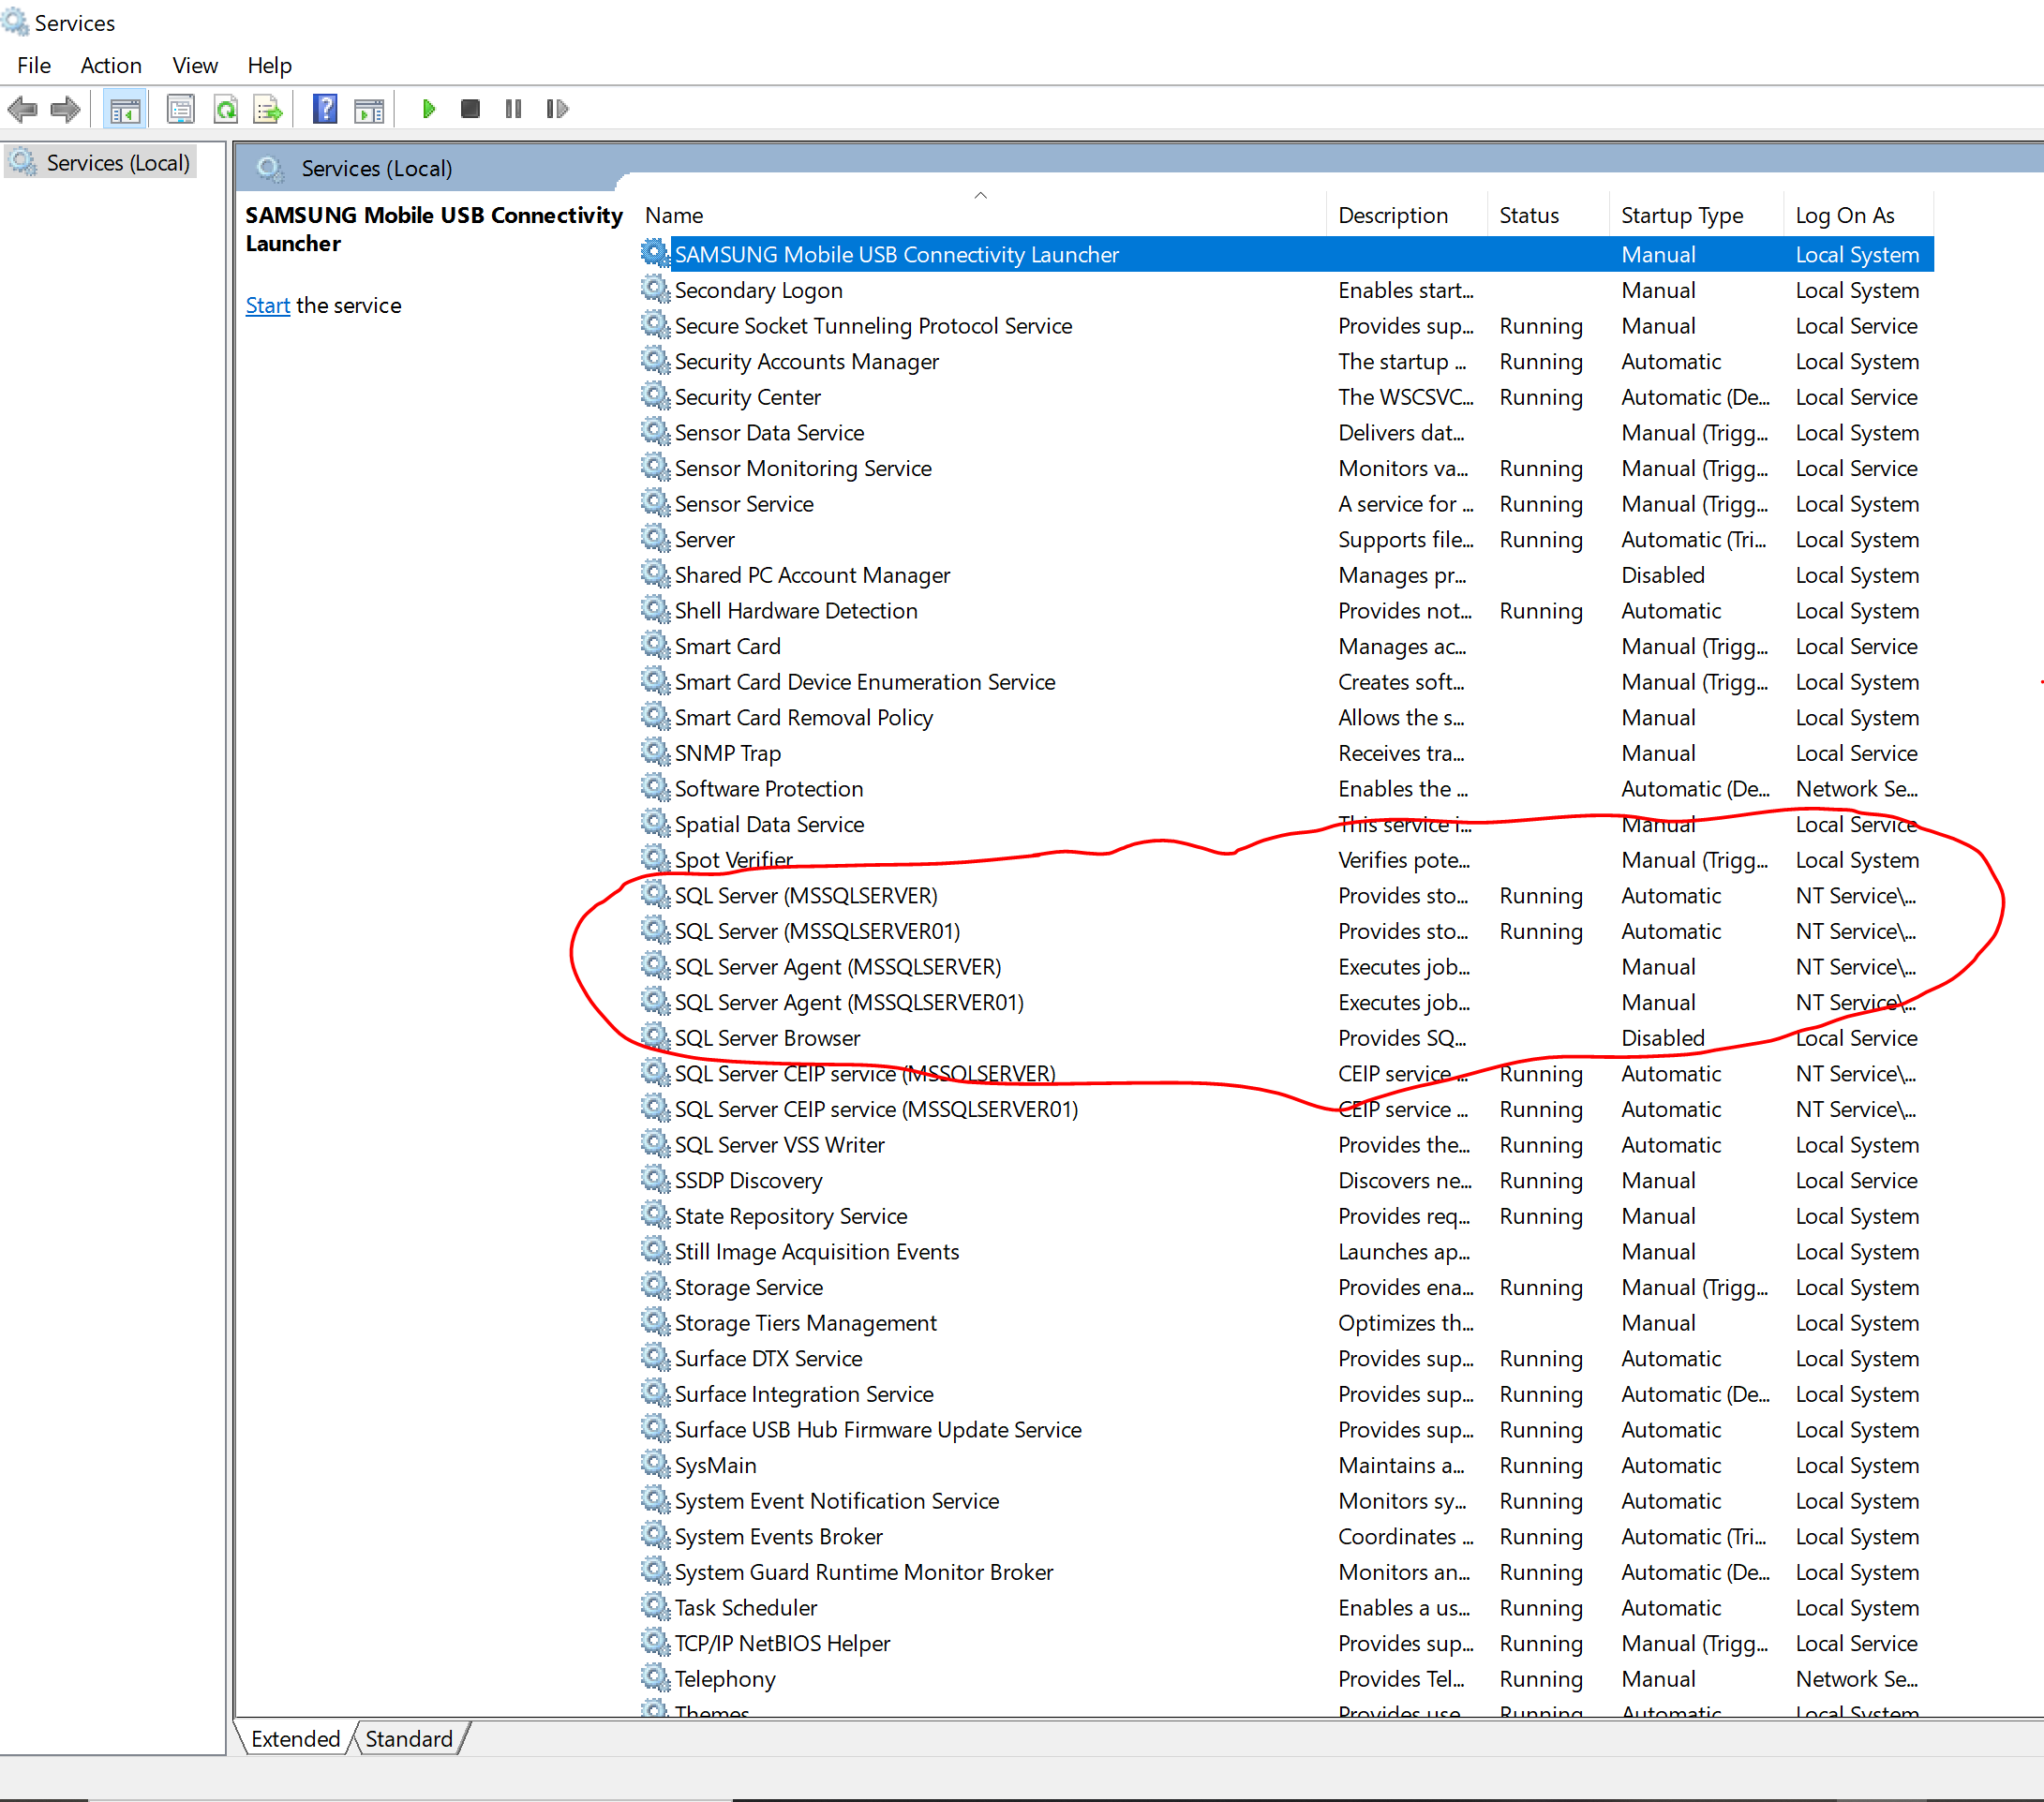
To verify the SQL Server instance, click Windows + R and type services.msc, then click Ok. You should be able to see a SQL Server instance running. Make a note of the SQL Server instance that you just created.
A SQL Server instance is a copy of the sqlservr.exe executable that runs as an operating system service.
Download a SQL Client
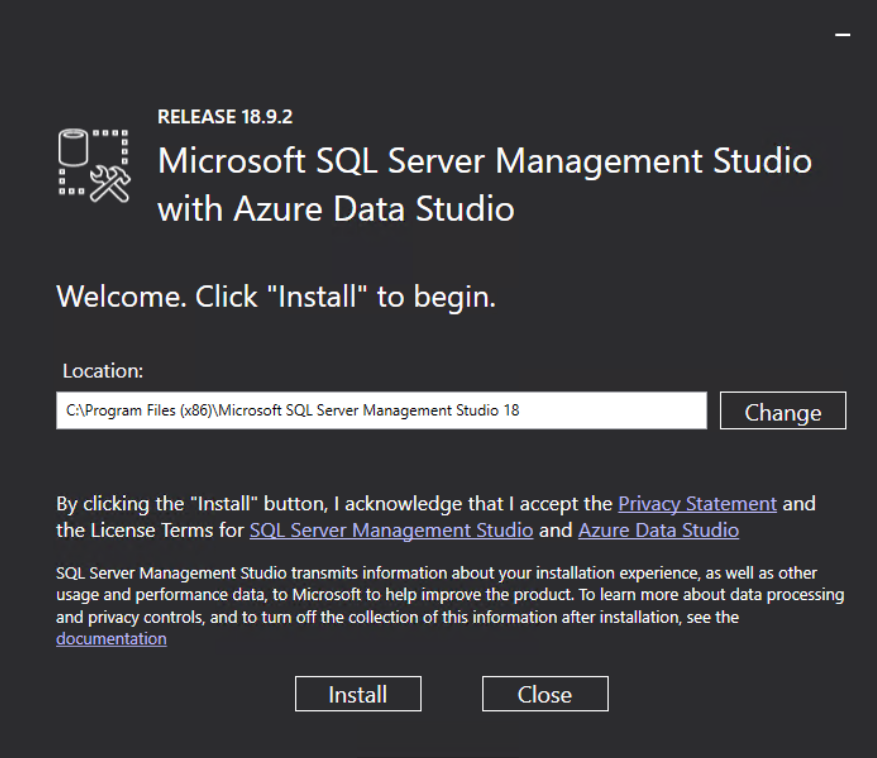
Go to the Microsoft Download Center - Microsoft SQL Server Management Studio Express page and download the latest version for your machine
Connect to the Microsoft SQL Server Database
Once you have completed your download, install and open the program and enter the following in the dialog box:
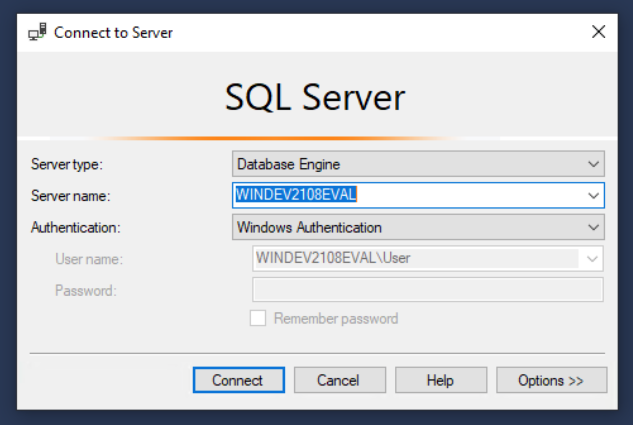
- Server type: Select Database Engine
- Hostname: Select server name as local
- Authentication: Select Windows Authentication
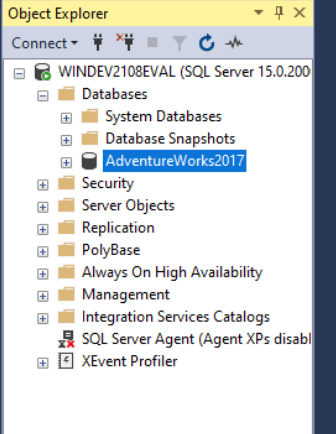
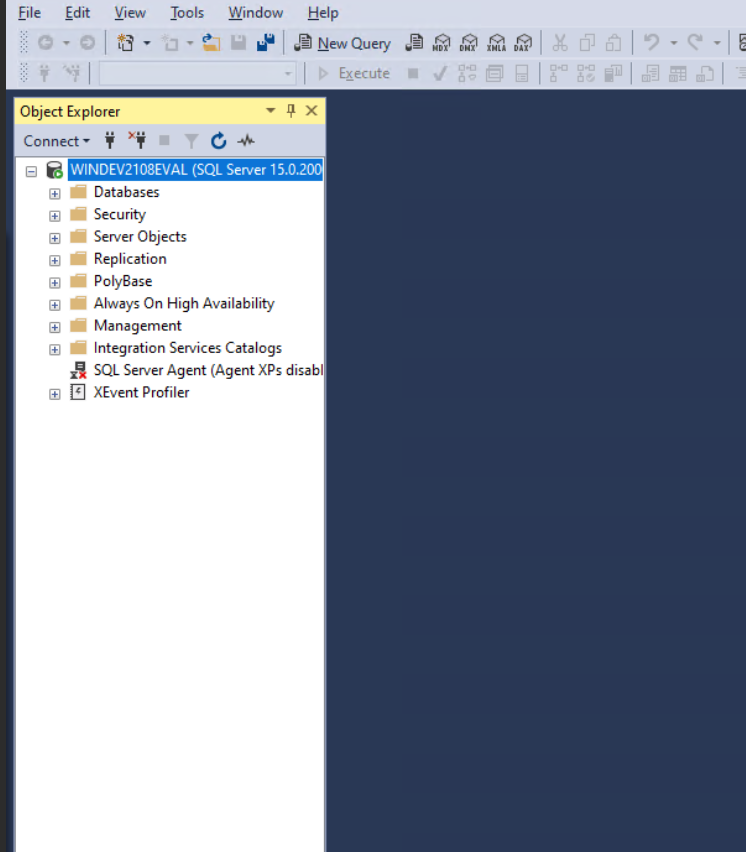
Click connect and you will be connected to the database. The SQL Server management studio should appear like this:
Import a sample database to Microsoft SQL Server
AdventureWorks sample database backup copy
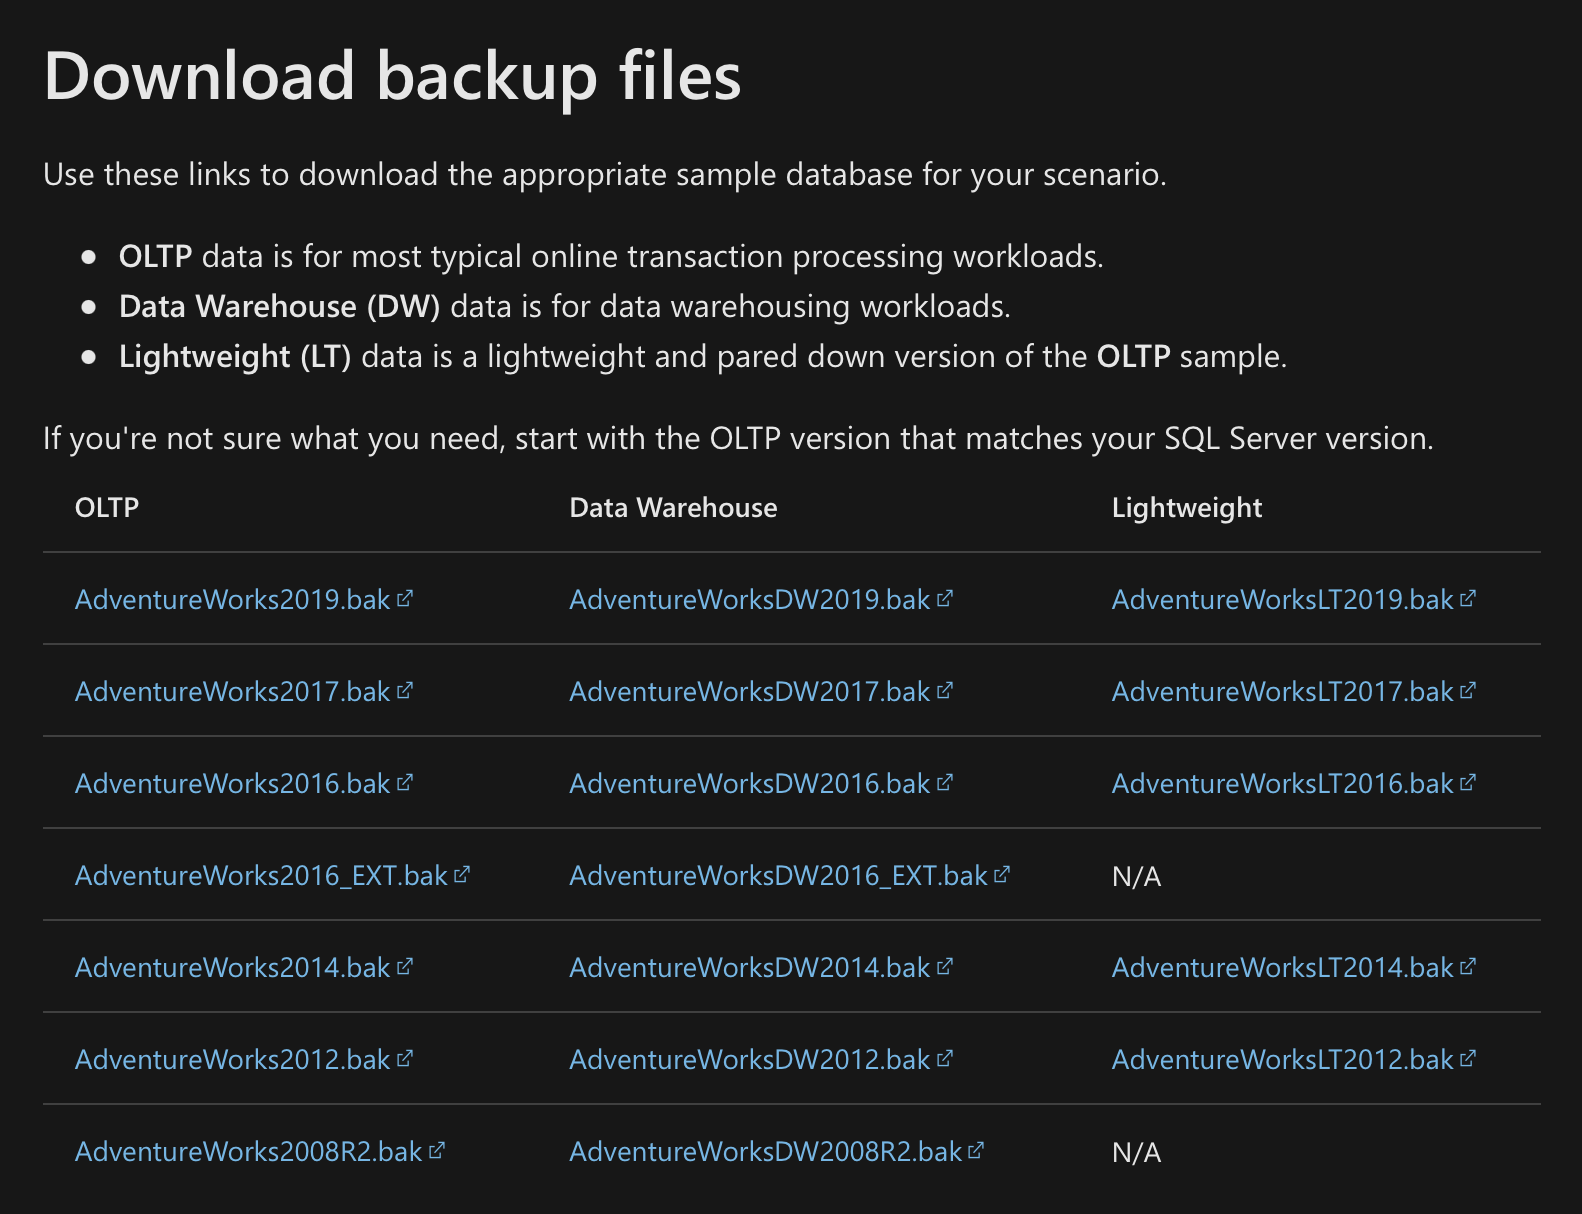
To get the OLTP downloads of AdventureWorks, go to this link. You can choose any. In my example, I chose the AdventureWorks2017.bak version.
Install to SQL Server
Restore backup
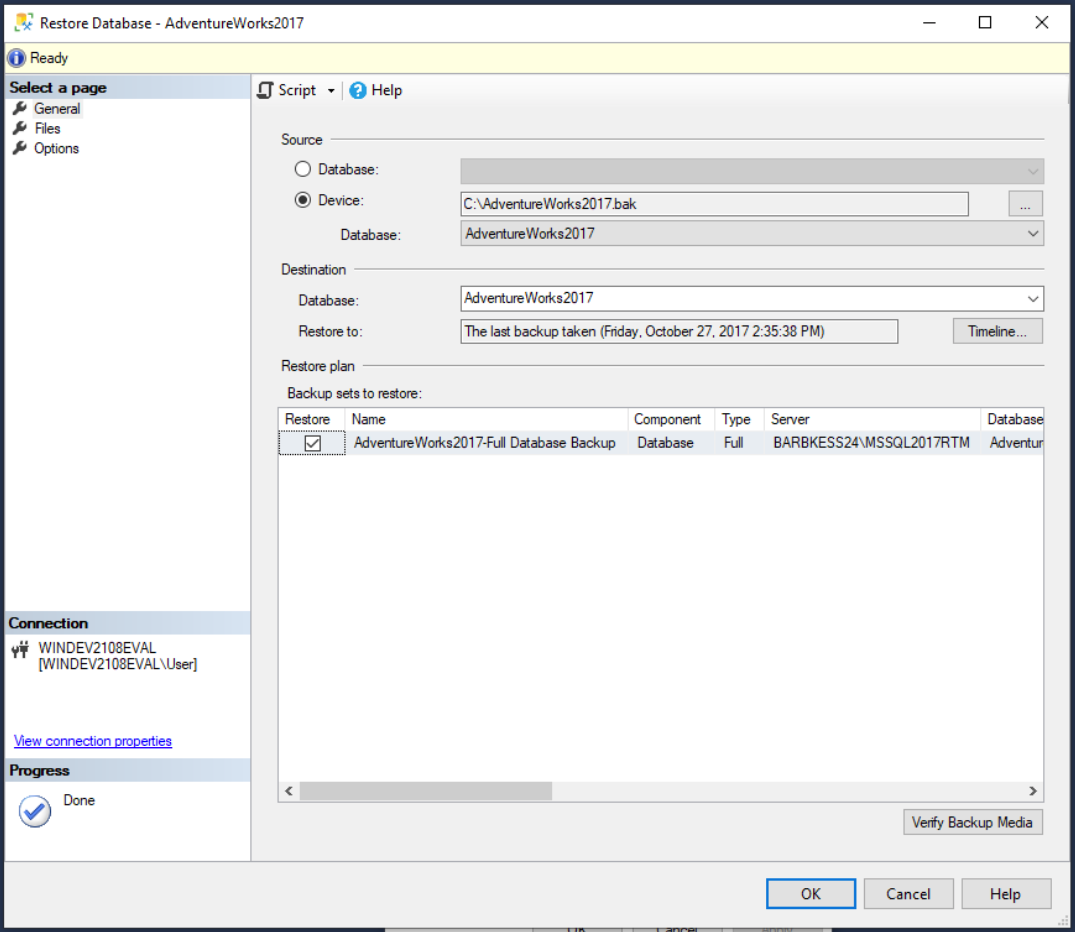
Follow the steps below to restore a backup of your database using SQL Server Management Studio.
Open SQL Server Management Studio and connect to the target SQL Server instance.
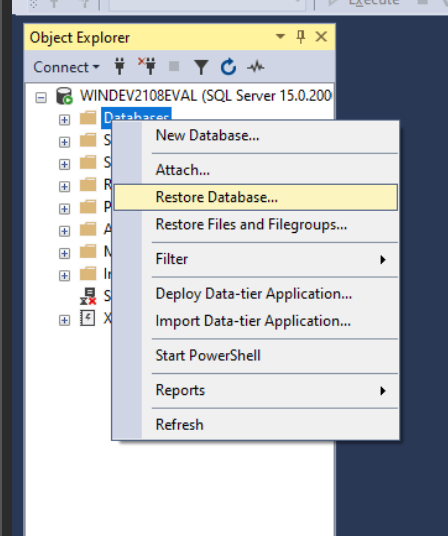
Right-click on the Databases node, and select Restore Database.
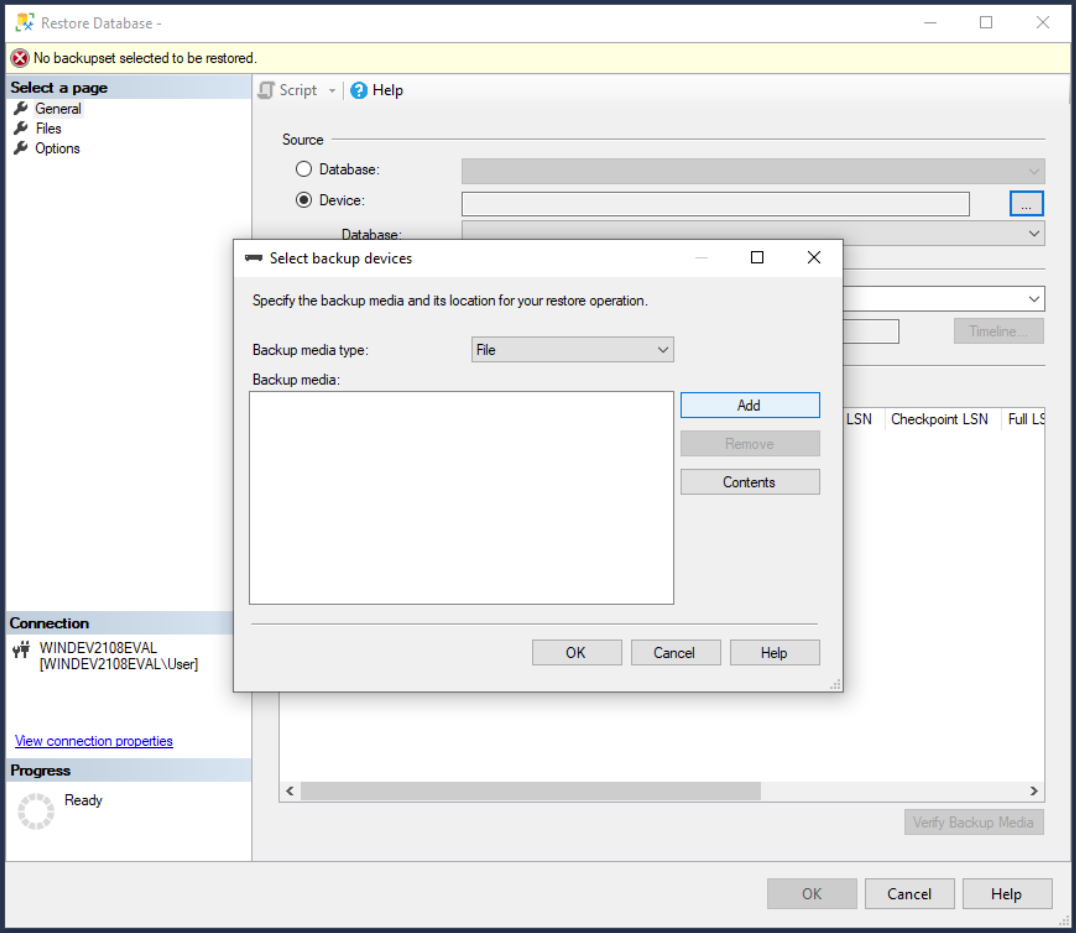
Select Device and click the ellipses (…)
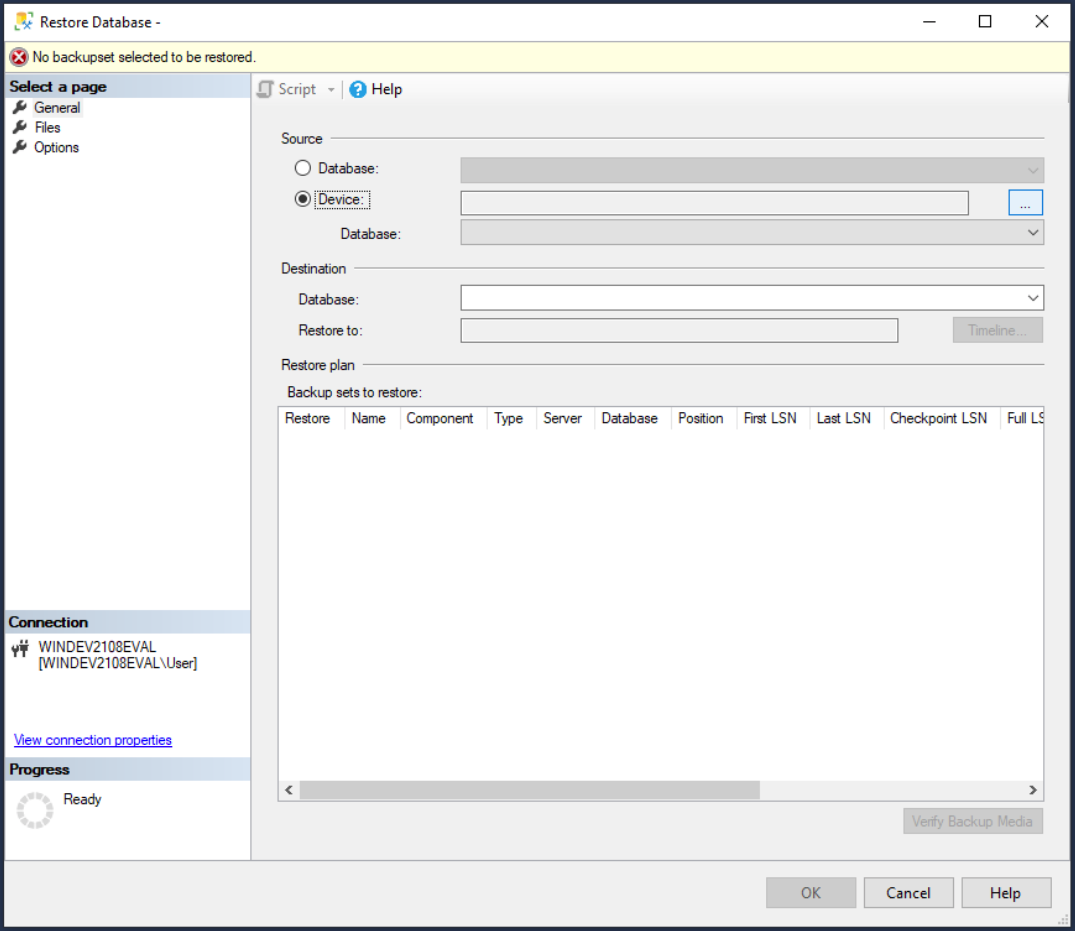
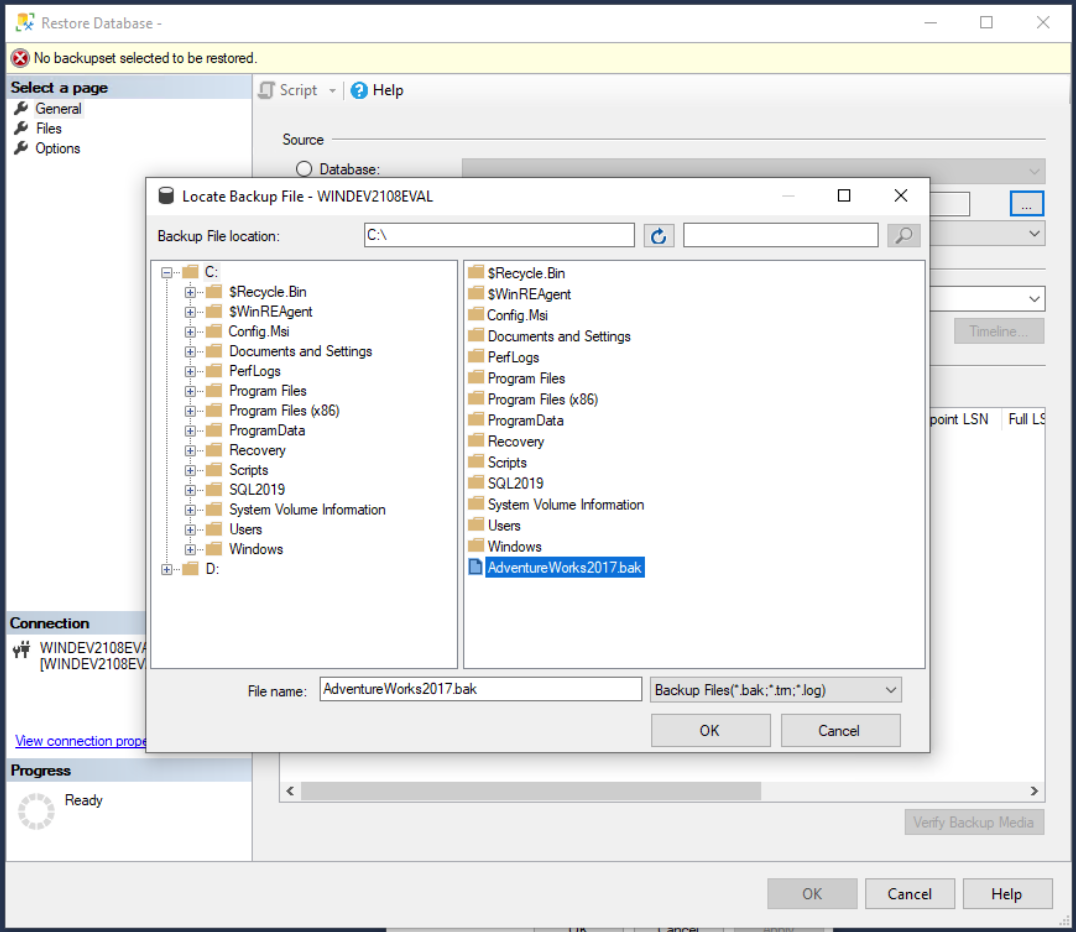
In the Select backup devices dialog, click Add, then navigate to the database backup in the filesystem of the server and select the backup. Click OK.
If needed, change the target location for the data and log files in the Files pane. Note that it is a best practice to place data and log files on different drives.
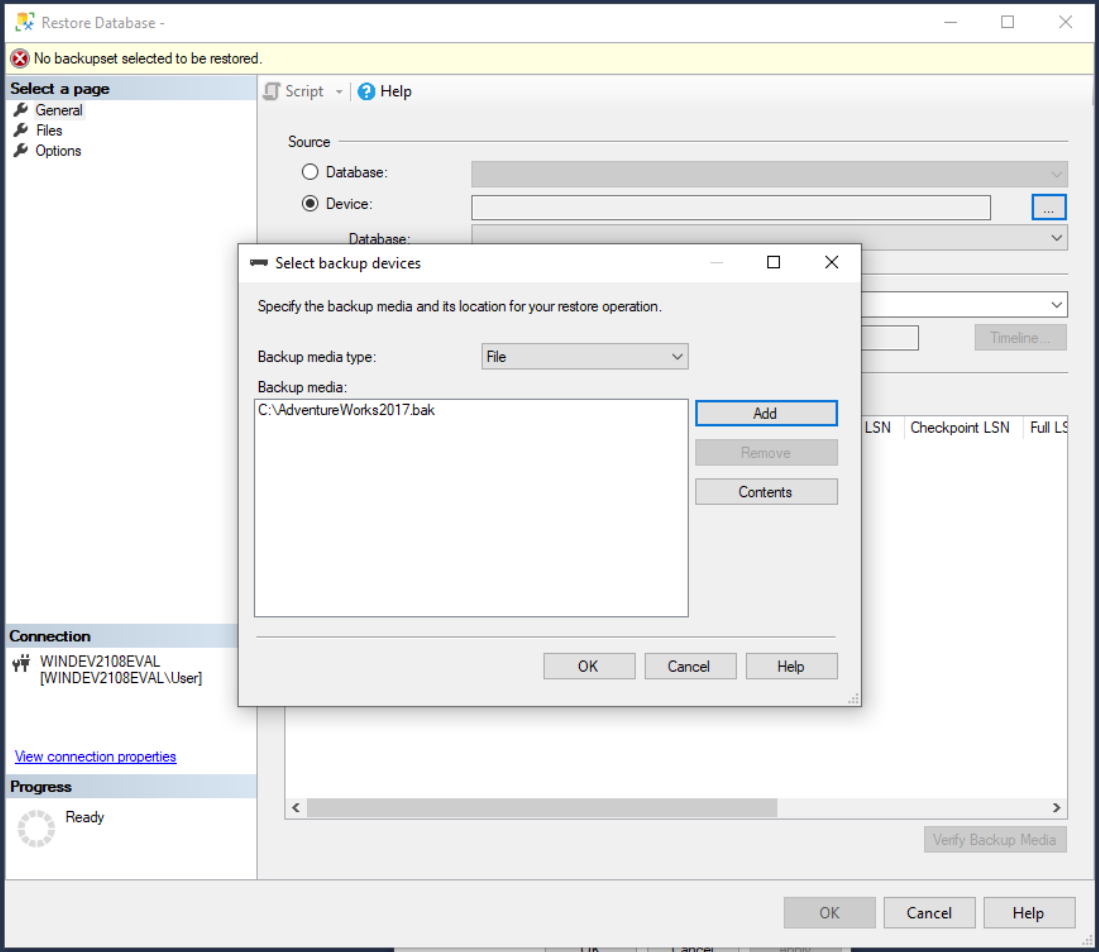
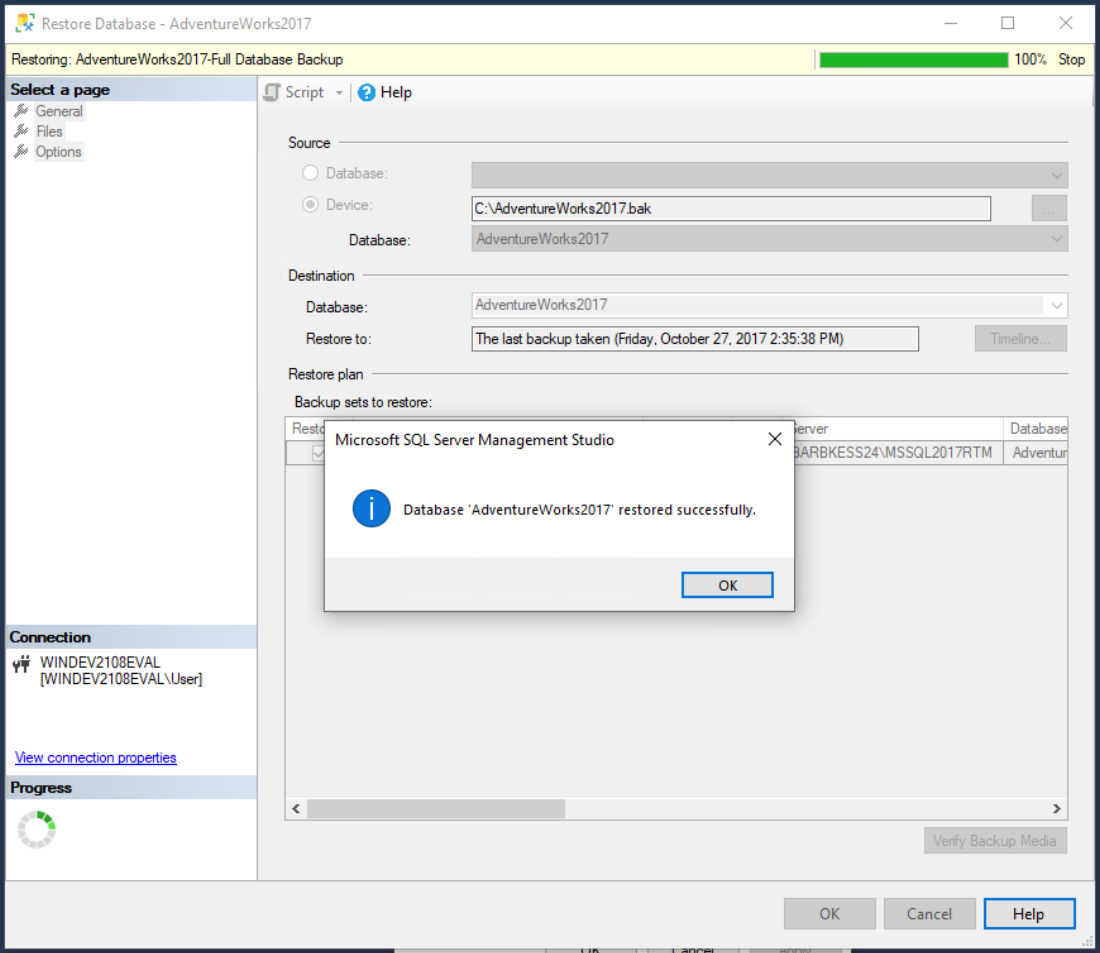
Click OK. This will initiate the database restore. After it completes, you will have the AdventureWorks database installed on your SQL Server instance.
