Table of contents
Prepare
This tutorial is a guide on how to install Kali Linux in VirtualBox. If you have not installed VirtualBox, please refer to here. This tutorial is available for macOS and Windows.
Open the Kali Linux official website. Click the
DOWNLOADorGET KALIbutton.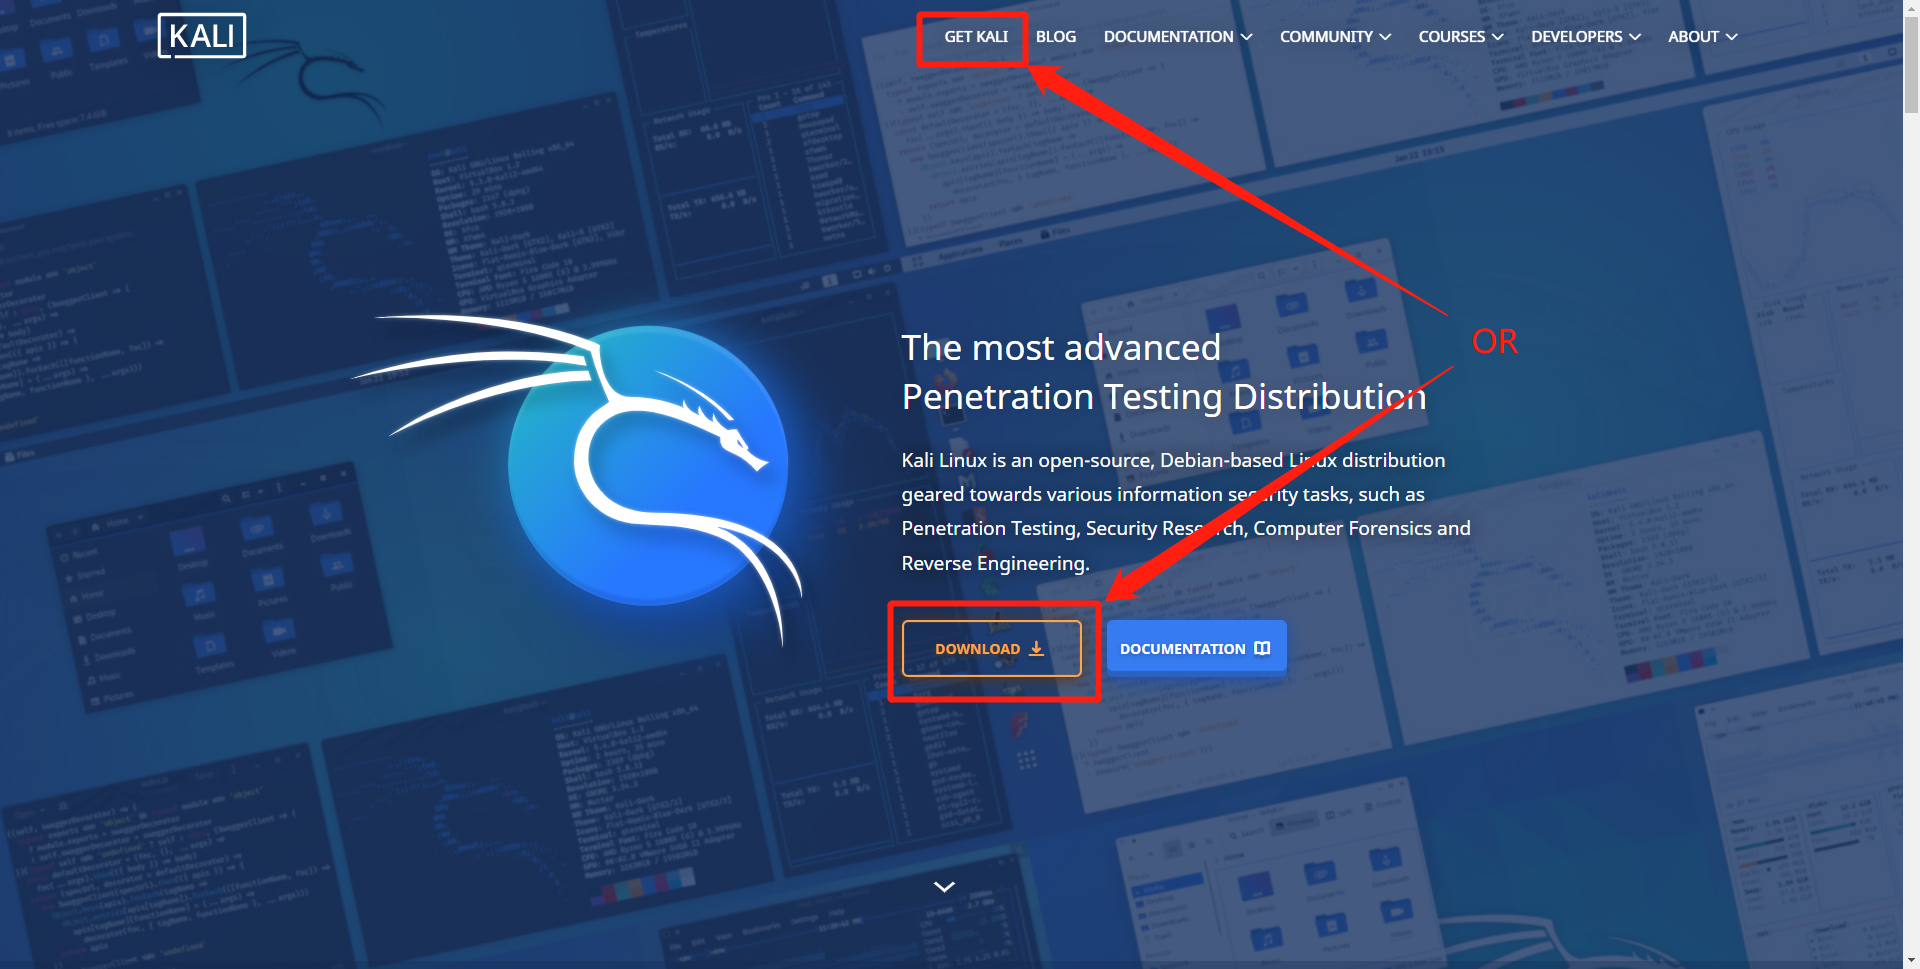
Select the
Virtual Machines.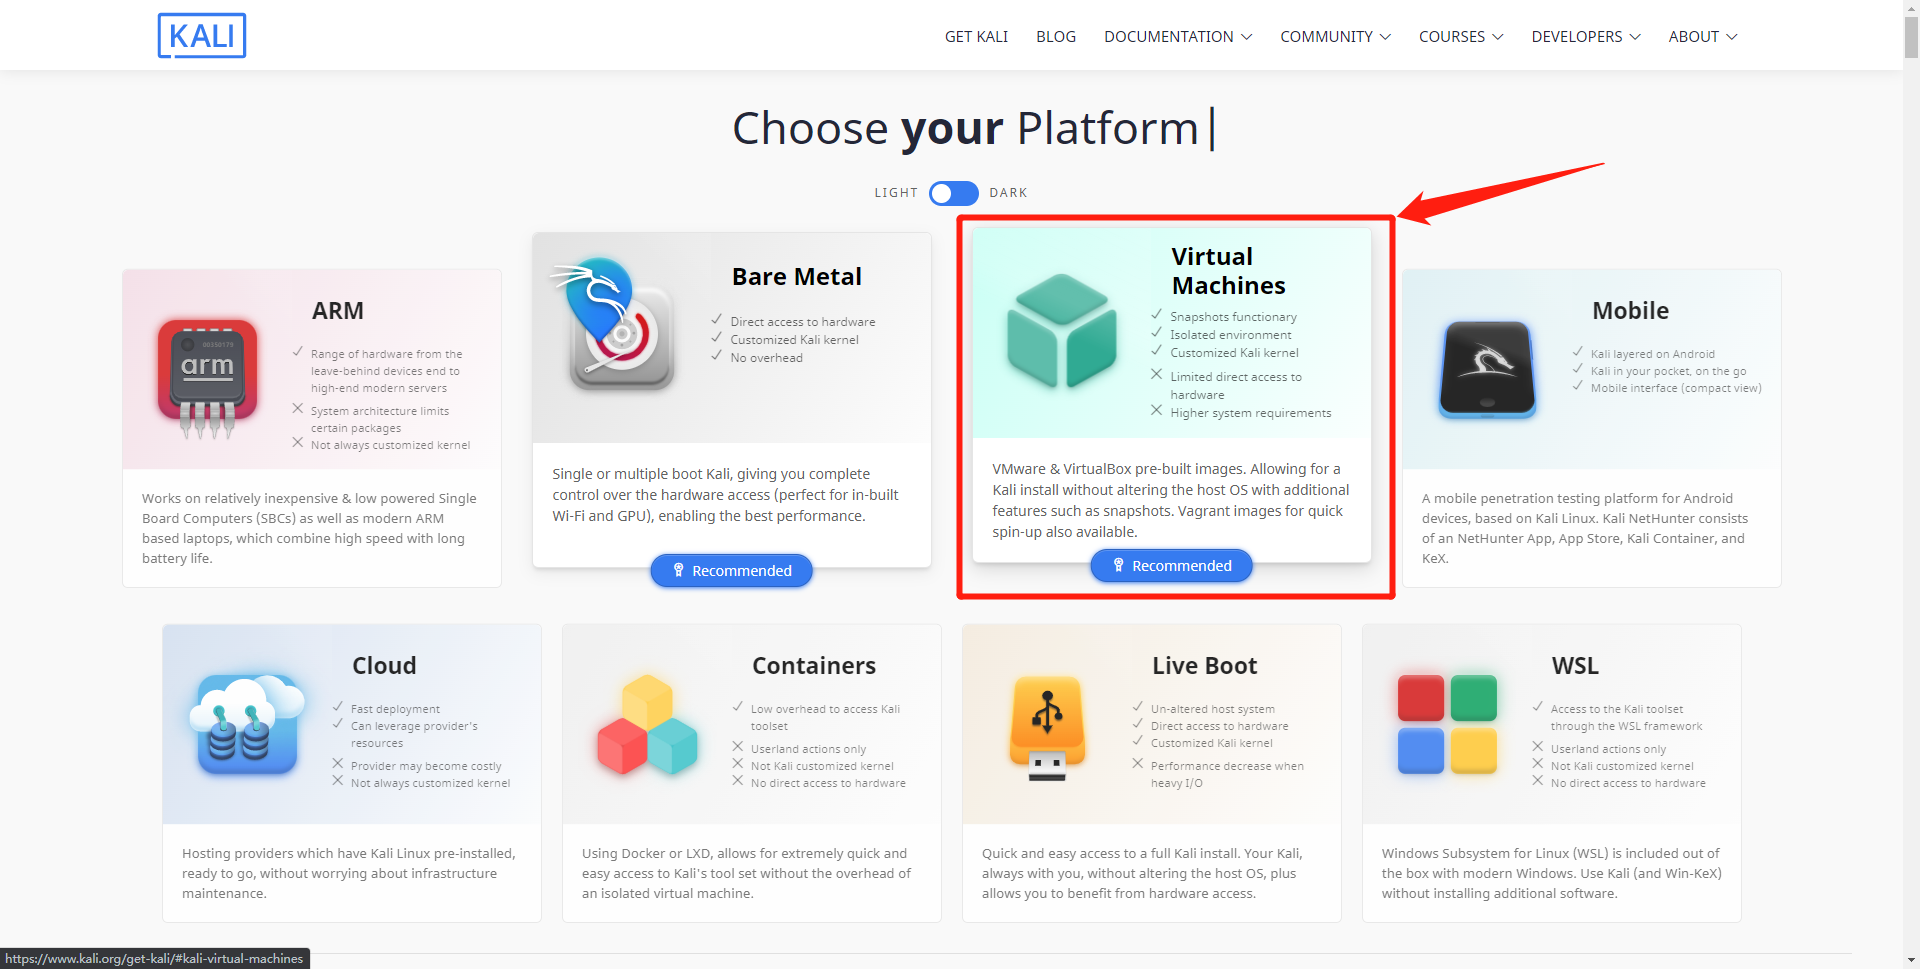
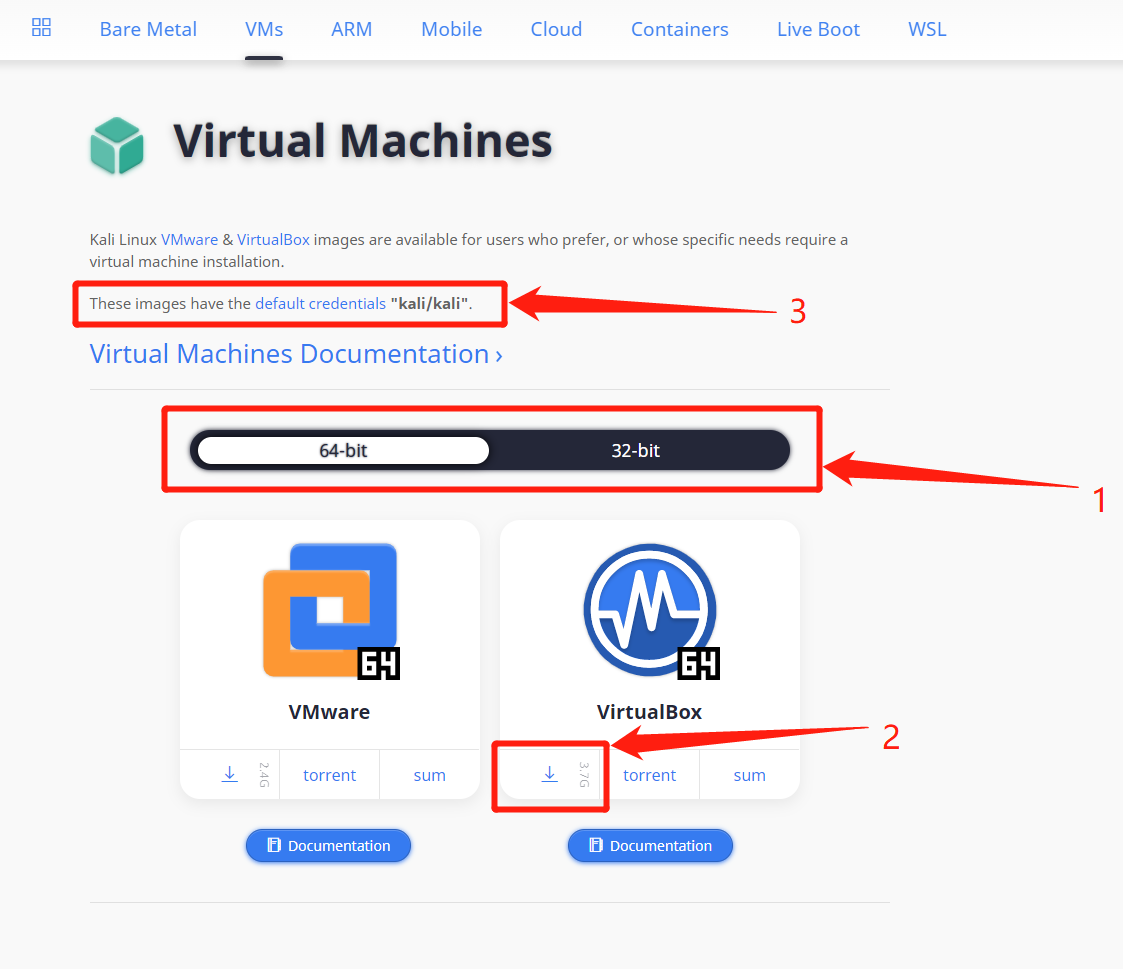
Choose the image you need. If your course does not have specific version requirements, it is recommended that you download a 64-bit system.
Install
After you have downloaded the image, the most convenient way is to double-click to open it. If your computer associates the opening method of related files when installing VirtualBox, the following interface will be displayed after double-clicking (screenshot of the interface is for macOS, but a similar interface with the same options appears on Windows).
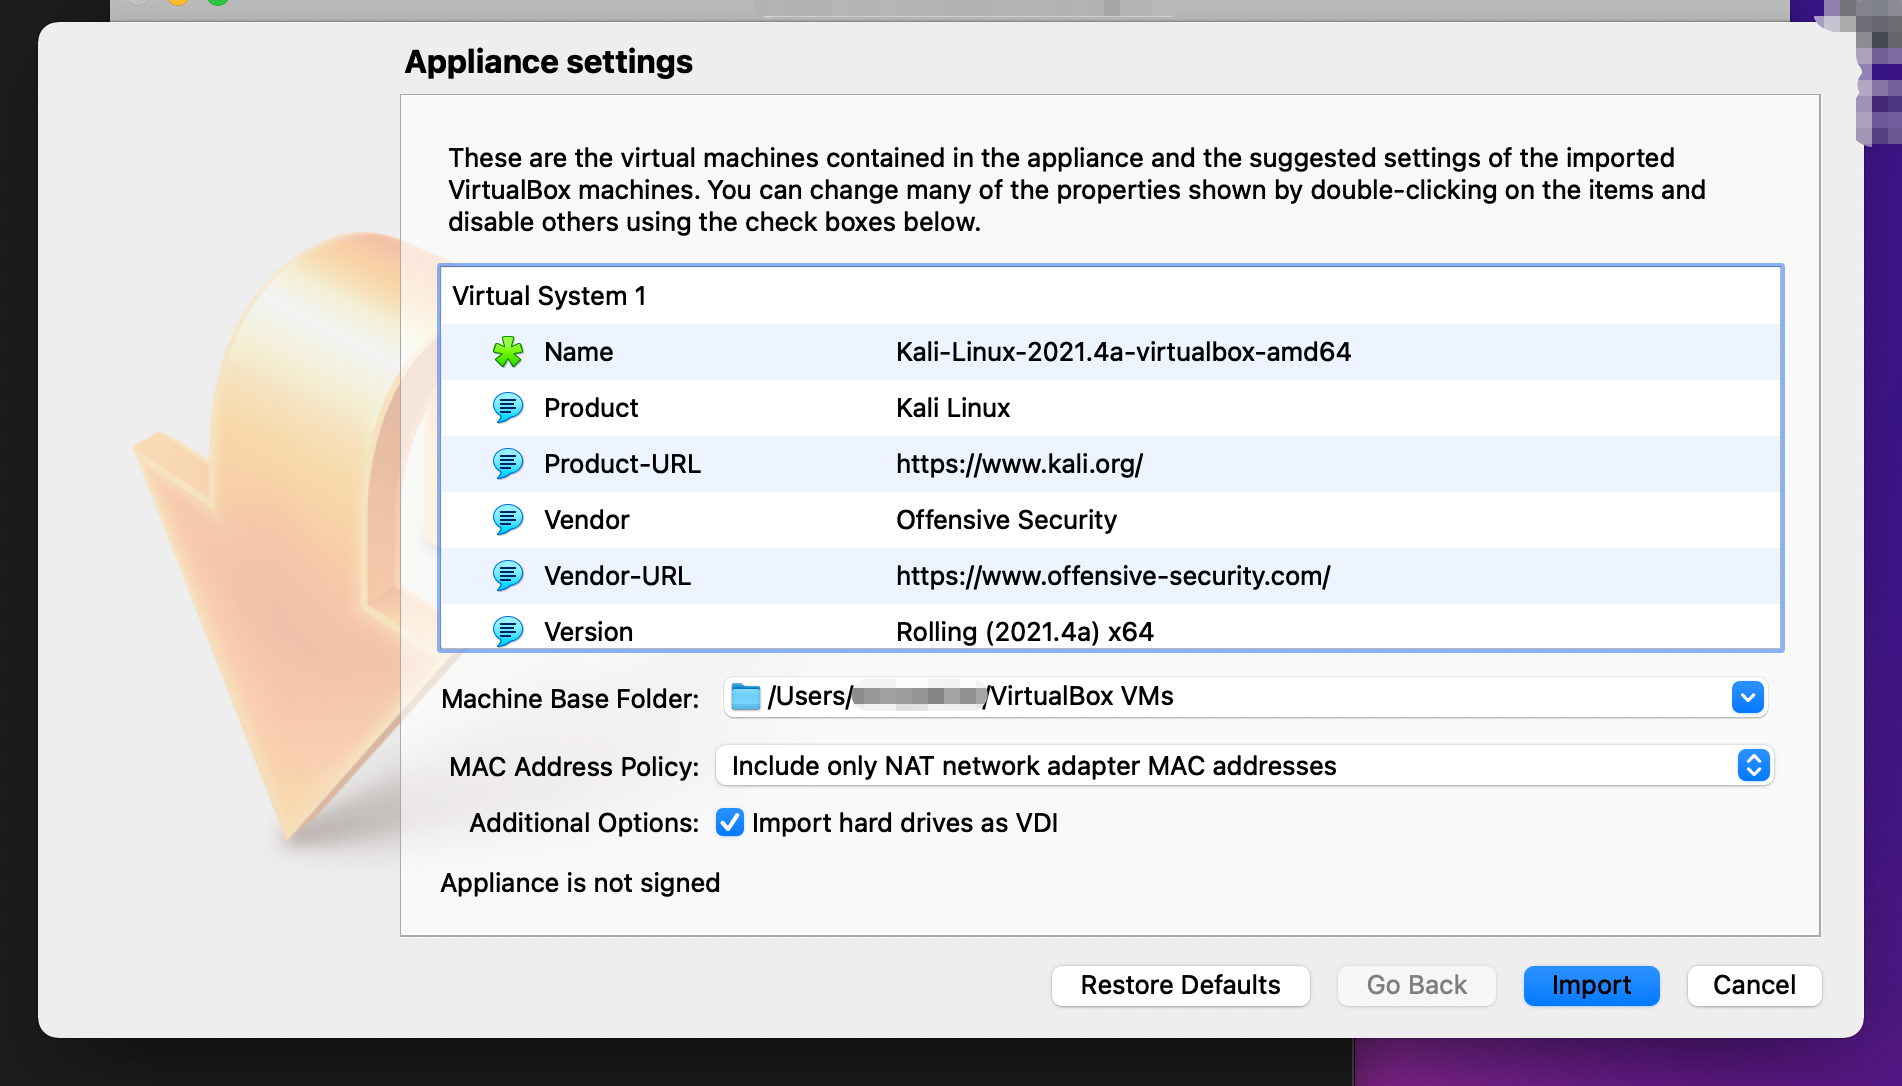
If you cannot double-click to open it, please click the
Importbutton on the homepage of VirtualBox.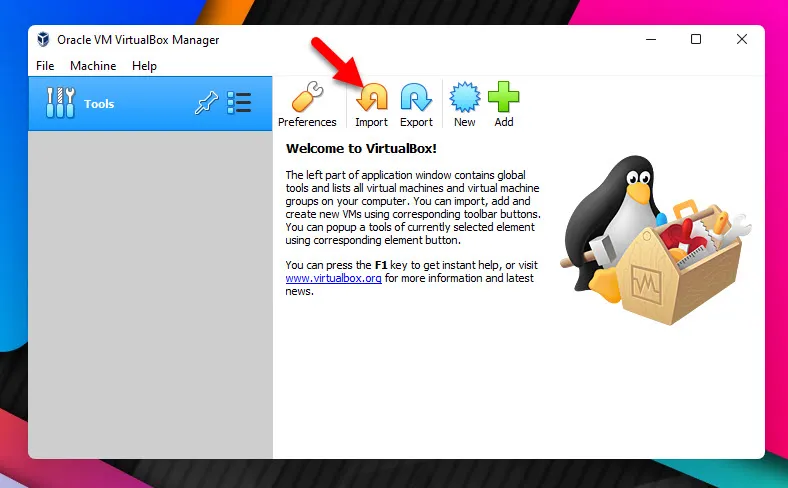
Click the
Expert Modebutton below.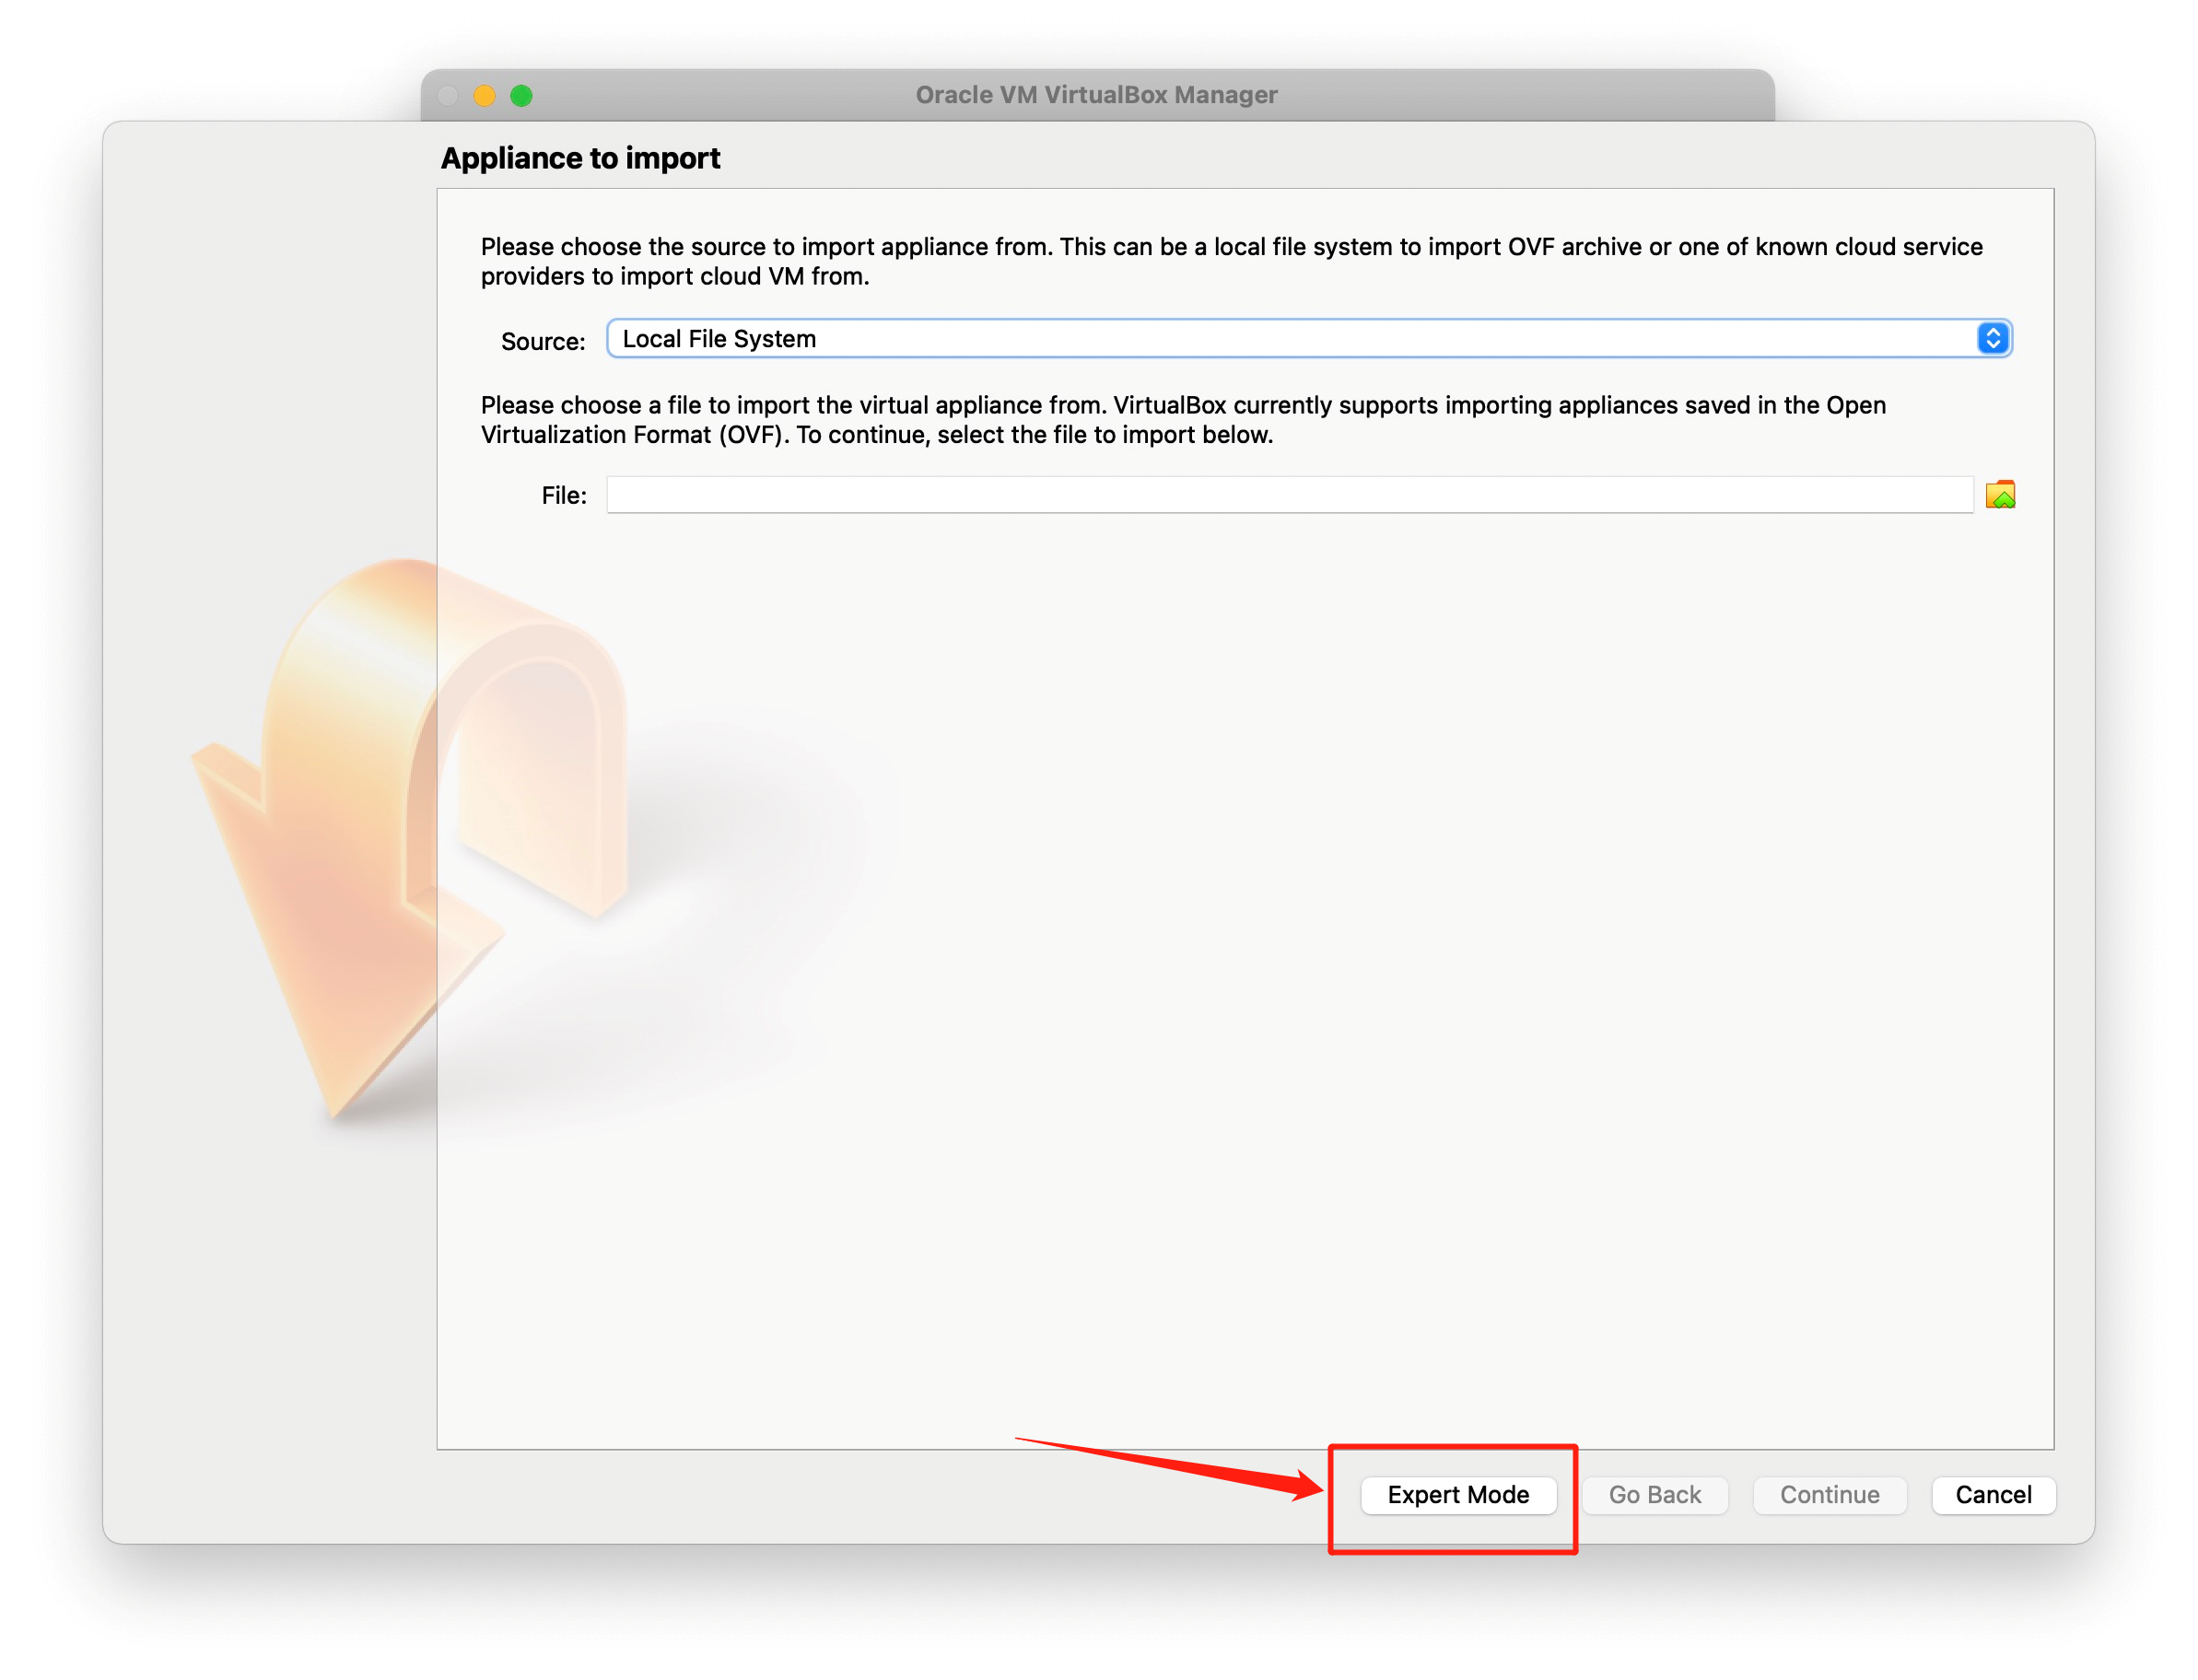
Then find the Kali Linux ova file you downloaded in your
Local File System.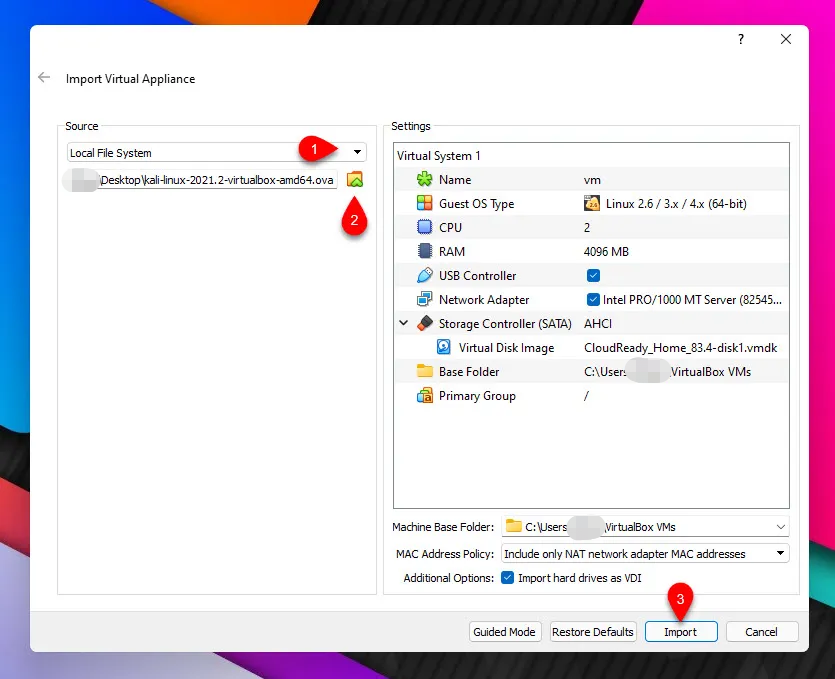
Please Perform basic configuration of the virtual machine or keep the default options, and click
Import.Give it a minute or so, until the importation should be complete.
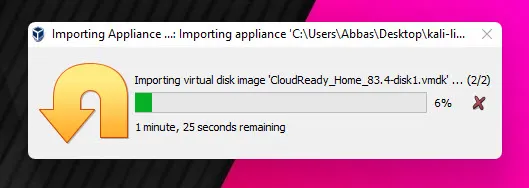
If the import is successful, you will see a new item added in the VirtualBox homepage. The item may have a different name.
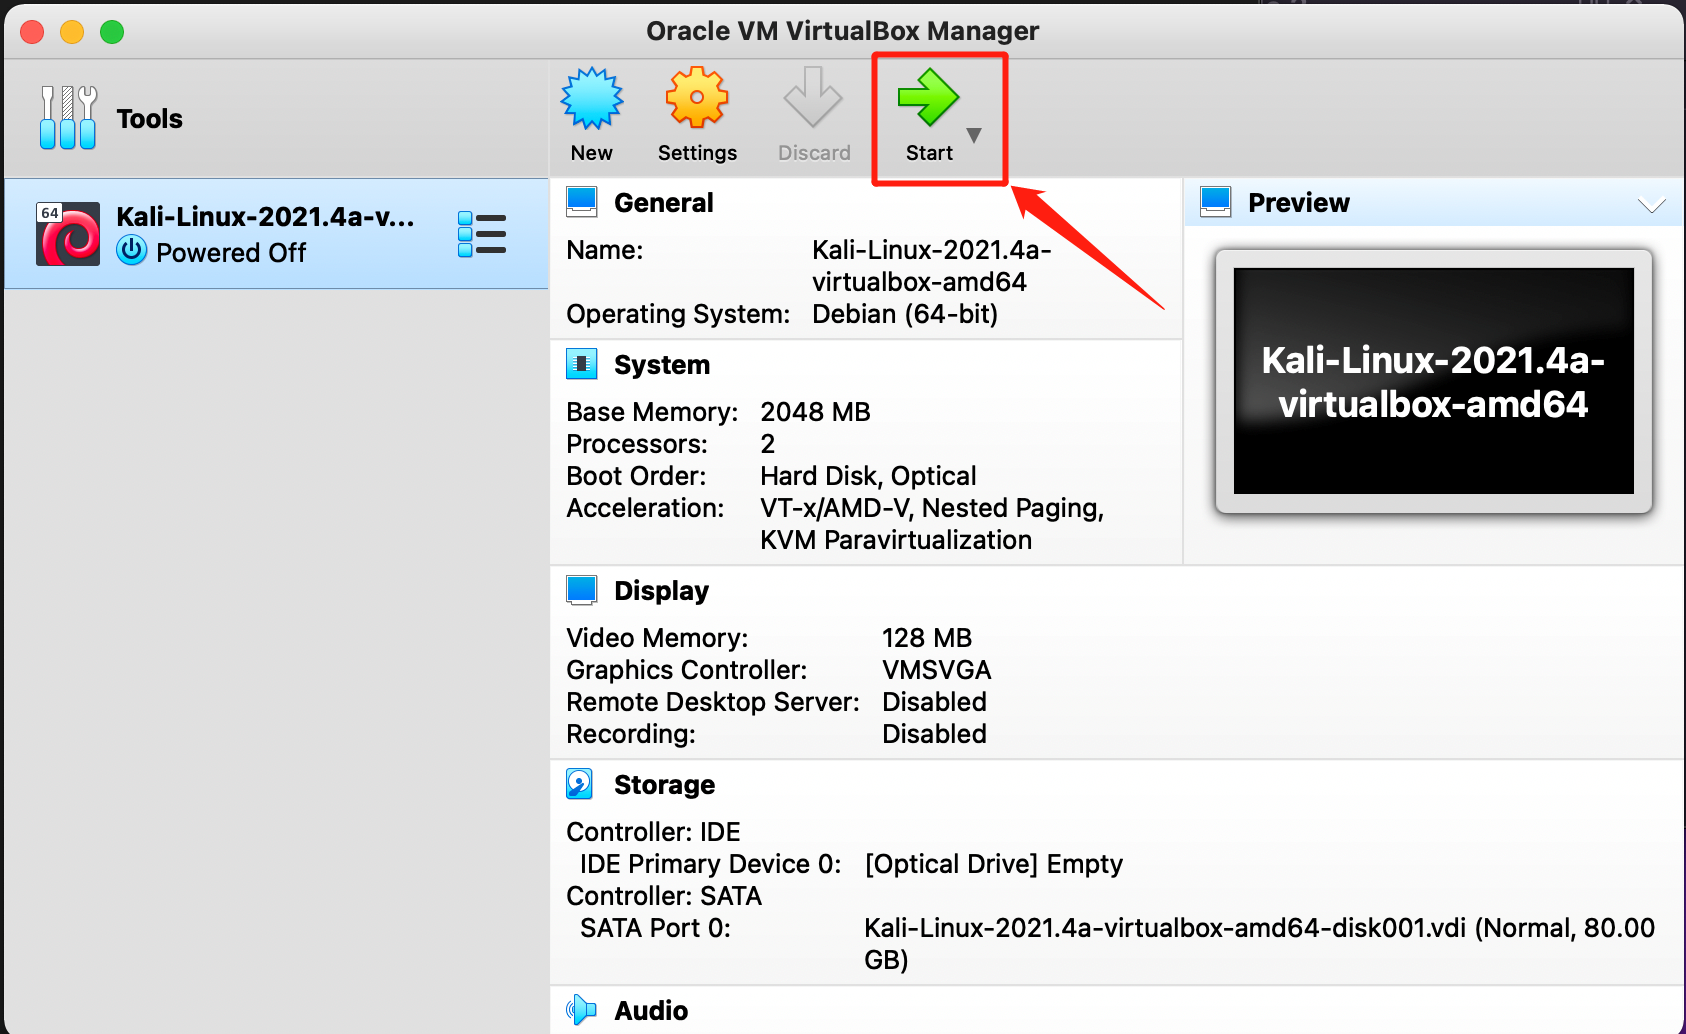
Start Kali Linux for the first time may show the Boost menu, select the first option, and press Enter to make it install by default. Wait for a while and you can see the Kali login interface, the login user name is
kali, and the password iskali.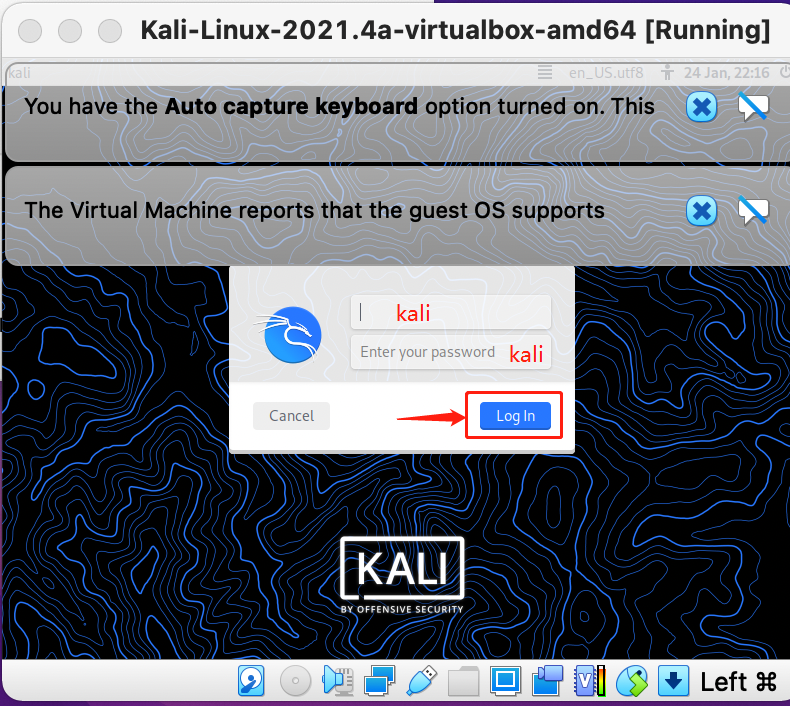
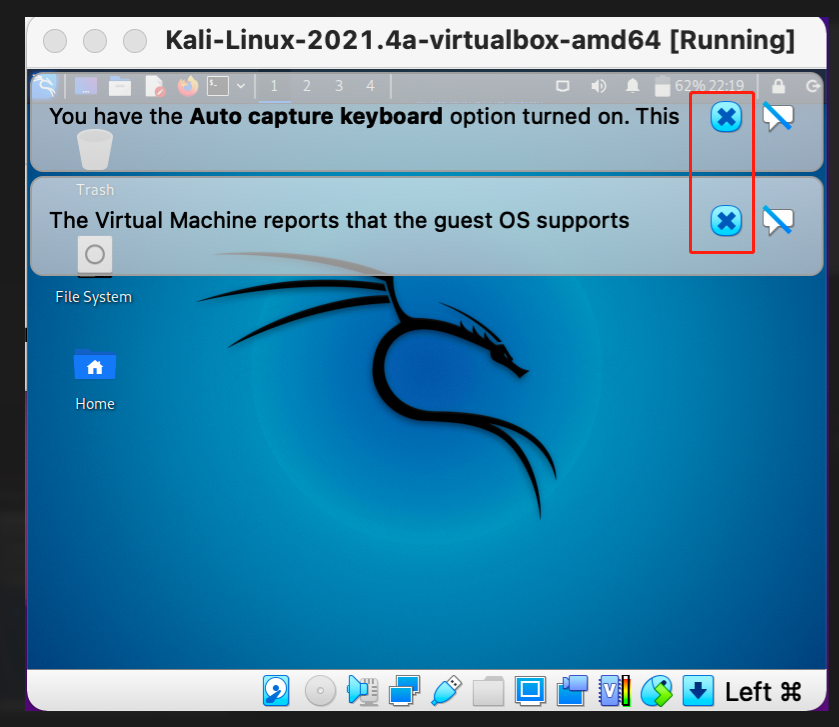
You can close the alerts.
